Fluffy Dalgona Coffee Recipe: Whip Up Cloud-Like Joy
In the world of viral internet trends, dalgona coffee emerged as a delightful sensation that captured hearts worldwide.
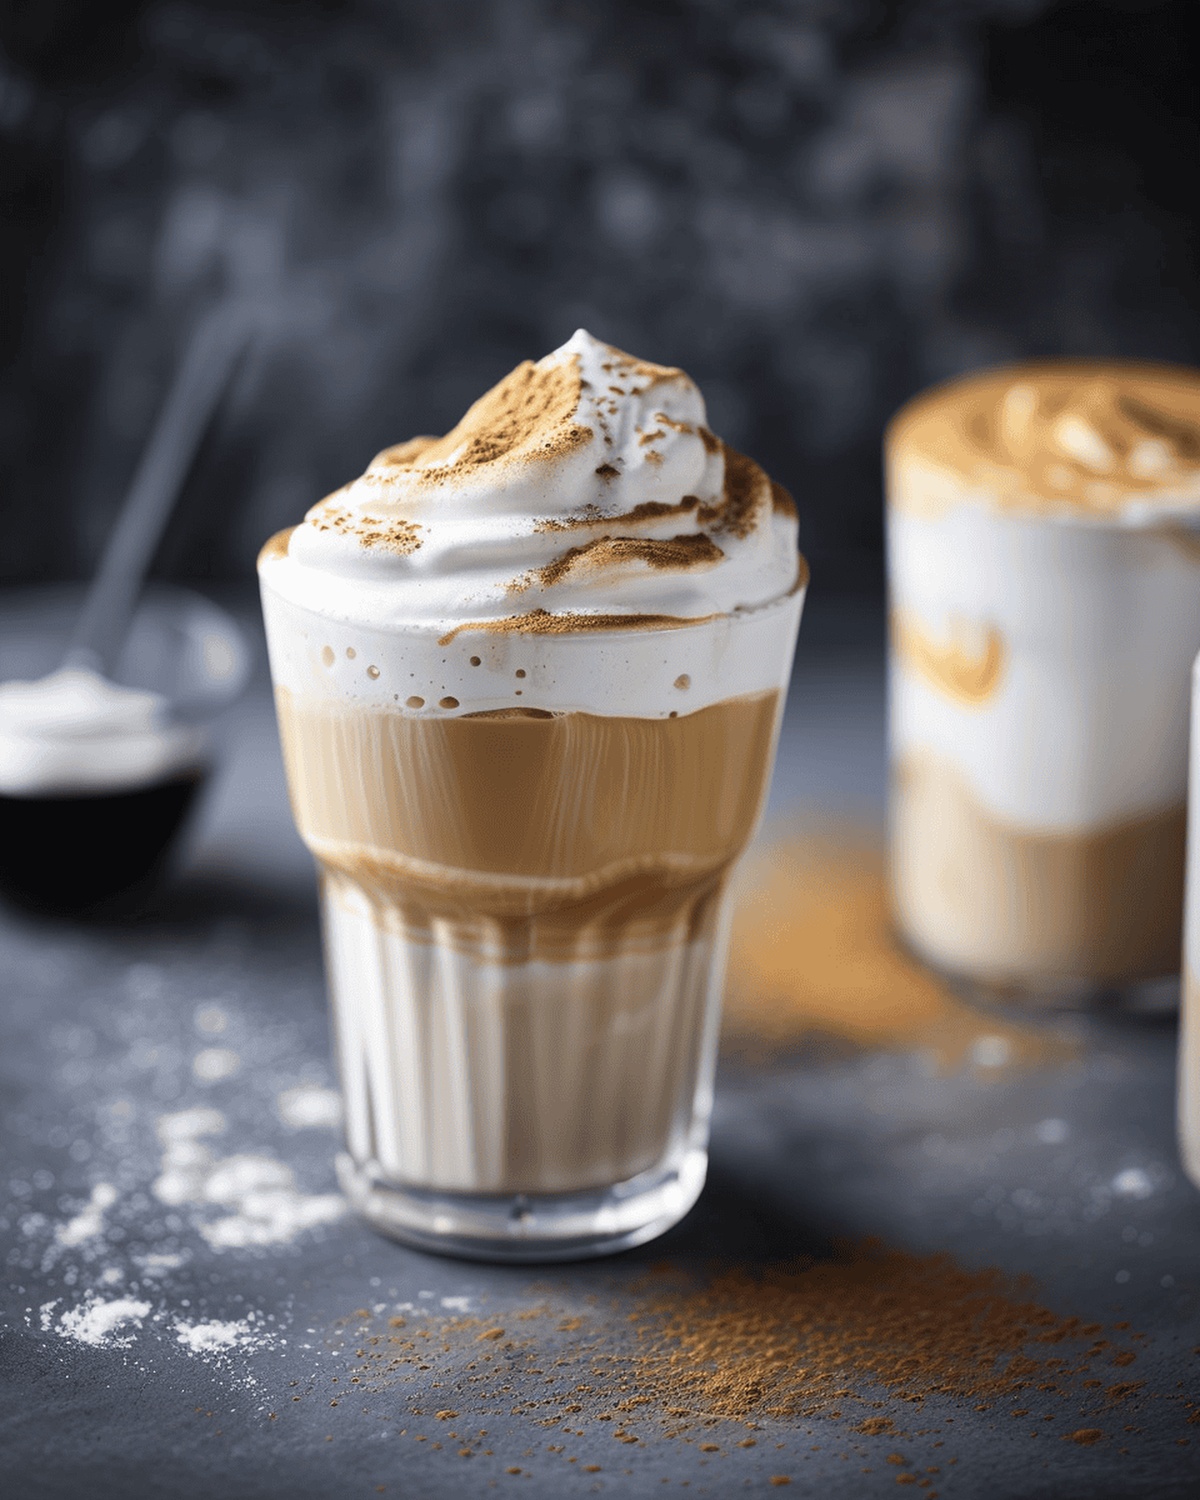
This whipped coffee marvel blends rich, creamy textures with a mesmerizing aesthetic that instantly sparks joy.
Korean coffee culture introduced this photogenic beverage during global lockdowns, turning ordinary mornings into extraordinary moments.
The magic happens when instant coffee, sugar, and hot water dance together, creating a silky smooth foam that sits atop cold milk.
Each spoonful promises a luxurious blend of sweet and robust flavors that tantalize taste buds.
Whisking the ingredients becomes a meditative ritual, transforming simple pantry staples into a cafe-worthy experience.
Dive into this delectable recipe and elevate your coffee game with a drink that’s as fun to make as it is to sip.
Quick Recipe Overview
What You Need for Dalgona Coffee
For Coffee Base:For Milk Layer:For Garnish and Serving:Tools to Create Dalgona’s Signature Foam
Whip Up Dalgona Coffee in Minutes
Grab a mixing bowl and toss in instant coffee, sugar, and hot water. Whip these ingredients with passion using a hand mixer or whisk until the mixture transforms into a luxurious, creamy cloud with stiff peaks that resemble golden-brown meringue.
Select a tall glass and fill it generously with ice cubes, then pour cold milk until the glass is about three-quarters full.
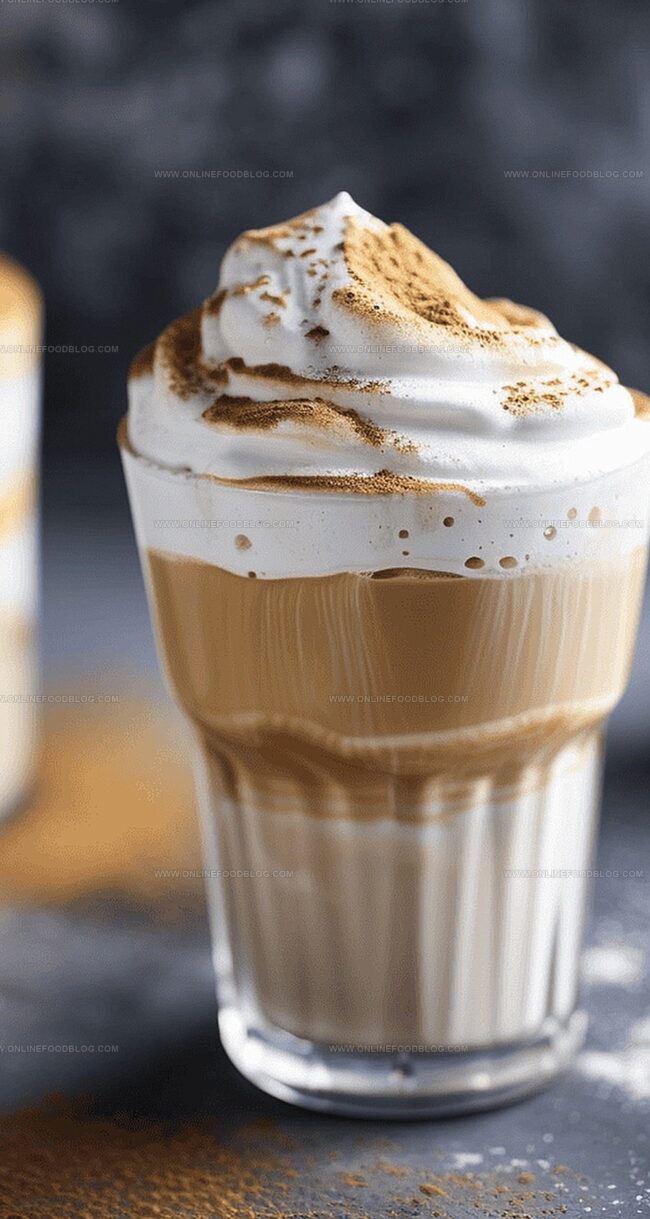
Carefully spoon or pipe the whipped coffee cloud over the milk, creating a stunning two-toned effect. For an Instagram-worthy presentation, use a slow swirling motion to create a beautiful, soft peak that sits elegantly on top of the milk.
Add-In Tips for Dalgona Coffee Perfection
Serve Dalgona Coffee Beautifully
Storing Dalgona Coffee Components Separately
Print
Whipped Dalgona Coffee Recipe
- Total Time: 5 minutes
- Yield: 2 1x
Description
Whipped dalgona coffee originated in South Korea, creating a visual and flavor sensation with instant coffee, sugar, and milk. Creamy peaks crown cold or hot milk, delivering a delightful Korean-inspired treat you can craft in minutes.
Ingredients
- 2 tbsps instant coffee
- 200–250 ml (6.8–8.5 fl oz) milk or milk alternative
- 2 tbsps granulated sugar
- 2 tbsps boiling water
- Ice cubes
Instructions
- Whip Base: In a medium bowl, combine instant coffee, granulated sugar, and steaming hot water, whisking rapidly to transform the mixture into a pale, voluminous foam with an airy, cloud-like consistency.
- Texture Development: Continue aggressively beating the mixture with a handheld mixer until stiff, glossy peaks form, creating a luxurious coffee cream that holds its shape dramatically.
- Glass Preparation: Fill a tall glass with ice cubes, covering approximately two-thirds of the vessel’s volume, then gently cascade cold milk over the ice, leaving a small space at the top for the coffee foam.
- Final Composition: Delicately spoon the whipped coffee mixture onto the milk’s surface, using a swirling technique to create an elegant, soft-peaked topping that resembles artisan ice cream.
- Serving Technique: Present the beverage immediately, providing a long spoon for the drinker to blend the layers, transforming the stratified drink into a harmonious, rich coffee experience.
Notes
- Instant Coffee Matters: Choose high-quality instant coffee for the best flavor and optimal foam consistency.
- Whisking Technique: Use an electric mixer for faster, more consistent peaks and to prevent arm fatigue during manual whisking.
- Temperature Precision: Hot water is crucial for dissolving sugar and creating the signature smooth, glossy texture.
- Serving Suggestion: Consume immediately after preparation to enjoy the perfect frothy texture and temperature contrast.
- Prep Time: 5 minutes
- Cook Time: 0 minutes
- Category: Drinks, Snacks
- Method: Blending
- Cuisine: Korean
Nutrition
- Serving Size: 2
- Calories: 150
- Sugar: 15 g
- Sodium: 100 mg
- Fat: 6 g
- Saturated Fat: 4 g
- Unsaturated Fat: 2 g
- Trans Fat: 0 g
- Carbohydrates: 30 g
- Fiber: 0 g
- Protein: 4 g
- Cholesterol: 10 mg
Mia Reynolds
Food Writer & Home Cooking Specialist
Expertise
Easy Home Baking, Recipe Writing and Storytelling, Local and Seasonal Ingredients, Baking for Beginners
Education
New England Culinary Institute (NECI), Montpelier, Vermont
Community College of Vermont, Winooski, Vermont
Mia Reynolds fell in love with baking as a teenager experimenting in her family kitchen. Her passion took her to New England Culinary Institute, where she learned practical pastry techniques, and later to Community College of Vermont to deepen her understanding of food management.
Mia combines clear, simple baking instructions with heartwarming stories, making home baking approachable for everyone.