Zesty Blood Orange Candied Slices: Sweet Homemade Recipe
When winter’s citrus bounty meets sweet indulgence, these homemade candied blood orange slices emerge as a delightful treat that sparkles with vibrant flavor.
Rich, crimson oranges from sunny Mediterranean groves become delicate, translucent confections through a simple sugar transformation.
Each glistening slice carries an intense, almost jewel-like quality that captures the essence of winter’s most luxurious fruit.
The process requires patience but rewards you with stunning, glossy candied oranges that can adorn desserts or serve as a standalone delicacy.
These elegant slices blend tartness with sugary sweetness, creating a sophisticated snack that elevates any culinary spread.
Bold colors and intense citrus notes make these candied blood orange slices a conversation-starting delicacy that’s sure to impress.
Dive into this recipe and unlock a world of stunning, sweet citrus magic.
Quick Recipe Overview
Ingredients for Homemade Candied Blood Orange Slices
For Syrup Base:For Fruit:For Finishing:For Preparation Support:Tools Required for Candied Blood Orange Prep
Making Candied Blood Orange Slices
Set up a wire cooling rack sprayed lightly with non-stick coating. Place parchment paper underneath to catch potential drips.
Choose ripe blood oranges with vibrant, unblemished skin. Wash thoroughly to remove any surface residue.
Trim orange ends and slice into uniform, delicate rounds. Carefully remove seeds for a smooth candying process.
Combine sugar and water in a medium saucepan. Heat gently, stirring until sugar completely dissolves. Avoid stirring once bubbling begins.
Carefully nestle orange slices into simmering syrup. Cook slowly, turning occasionally to ensure even coating and translucent appearance.
Watch for syrup to reach soft ball stage. Slices should become tender and slightly see-through after about an hour of gentle cooking.
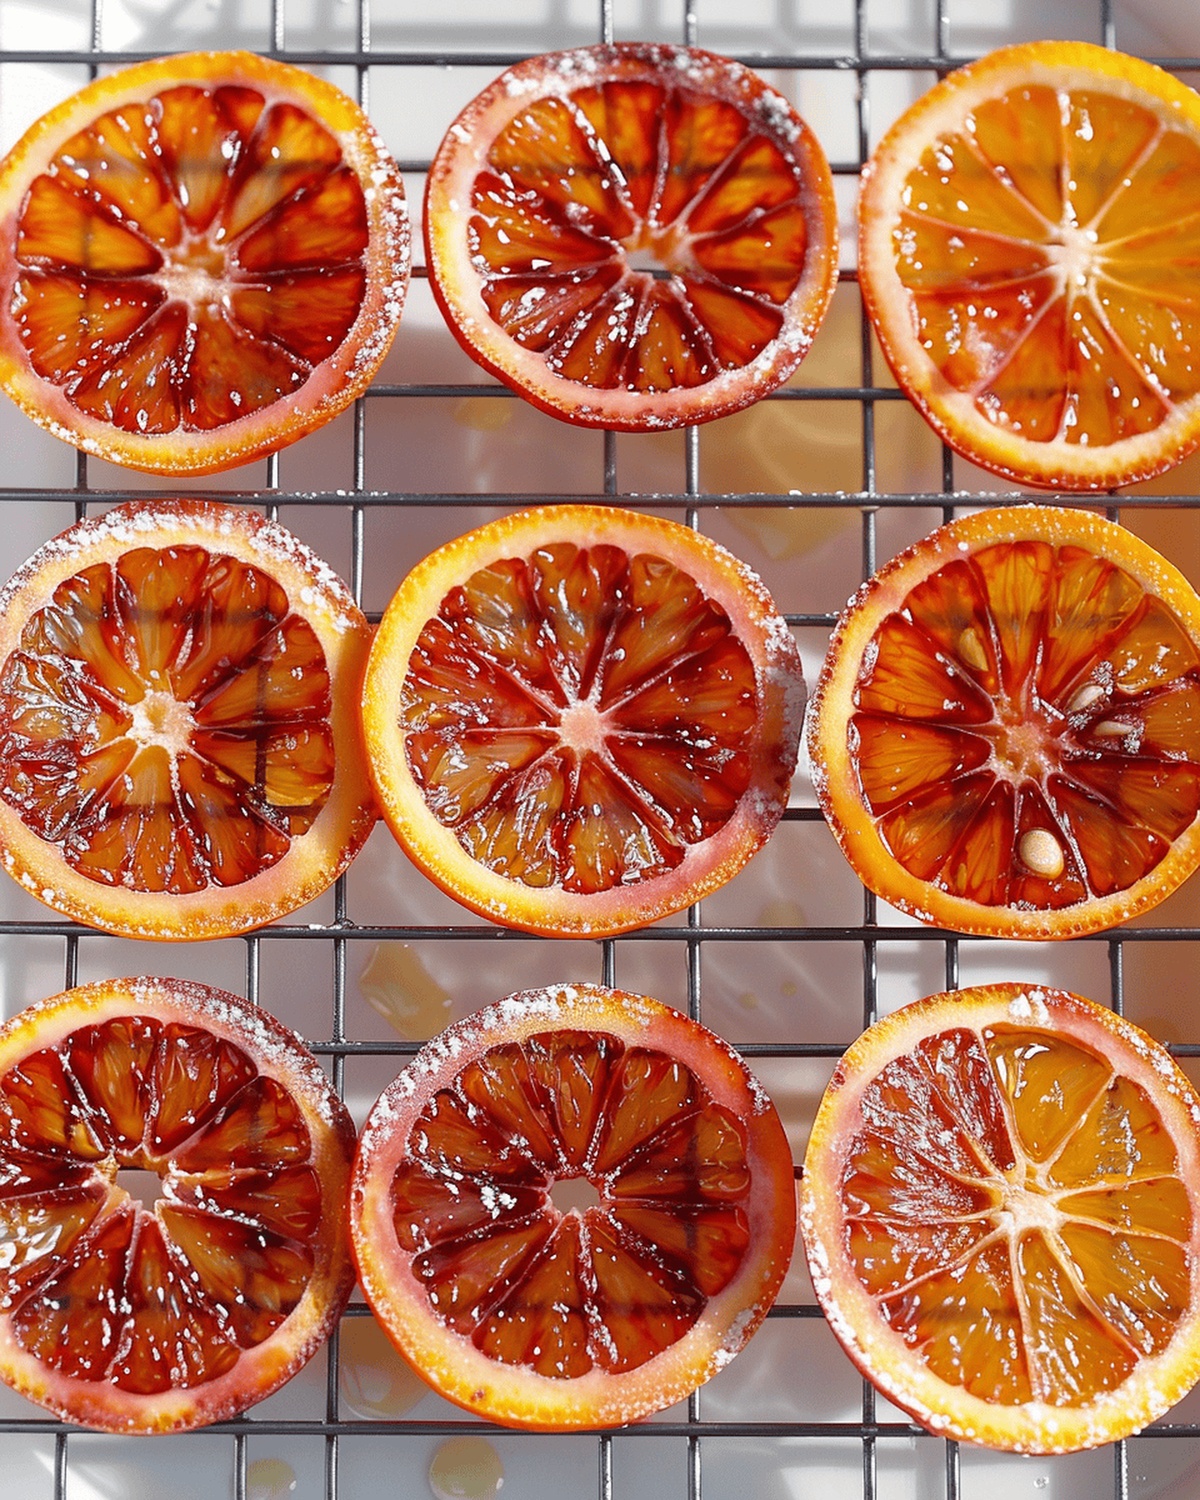
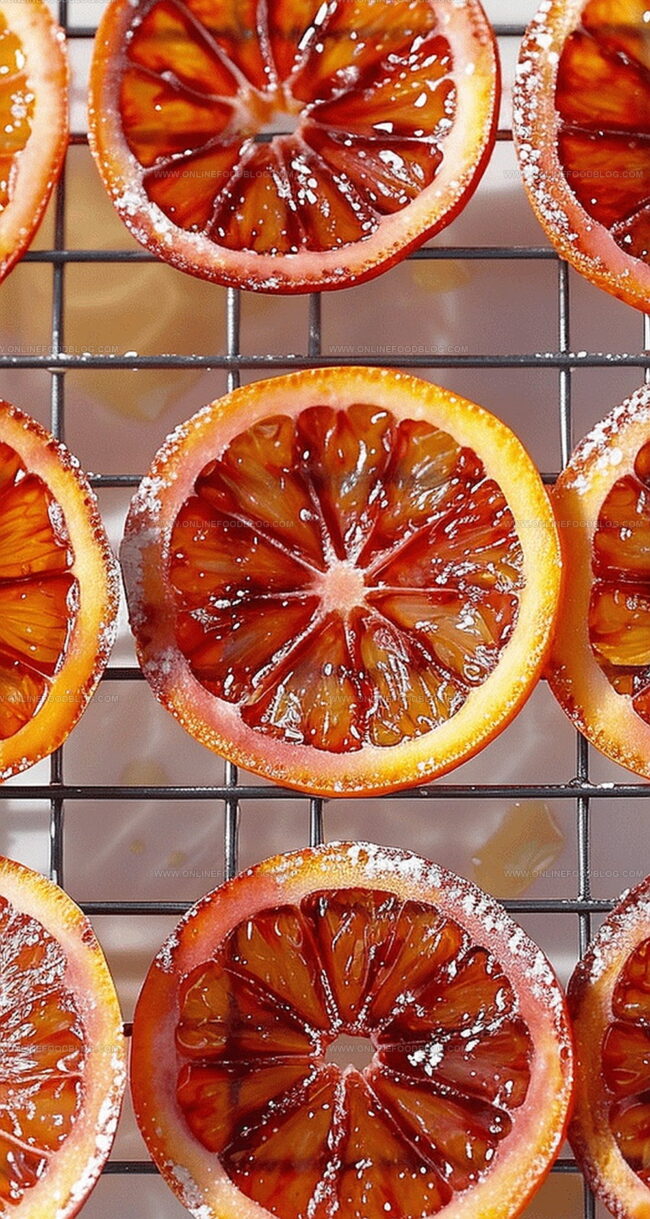
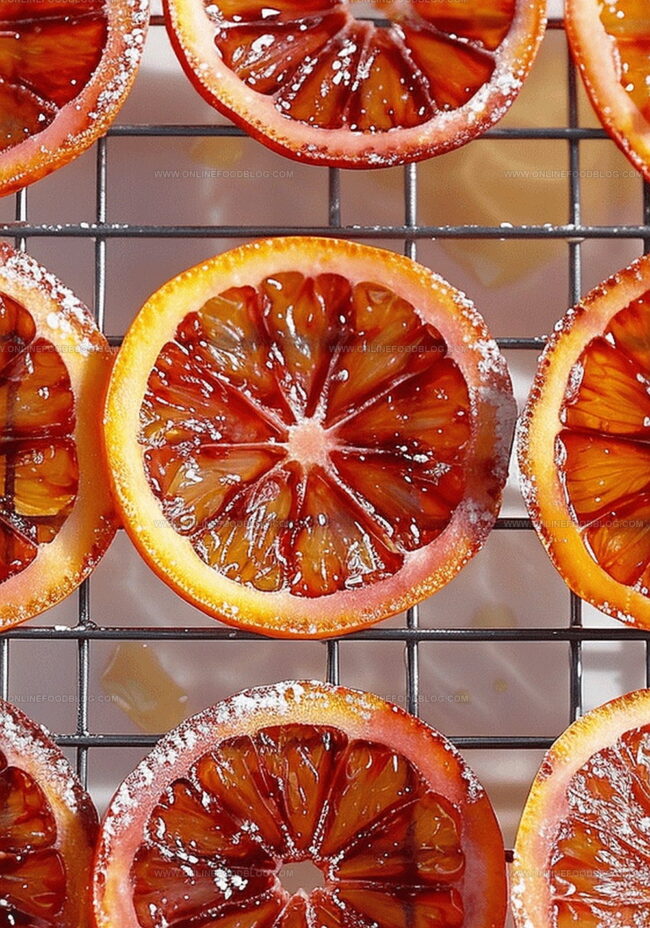
Transfer candied slices to rack, allowing excess syrup to drip away. Let air dry overnight or use low oven temperature to speed up process.
Pack dried candied orange slices between parchment layers. Keep in cool, dry place for maximum preservation and delightful texture.
Tips for Citrus Candying
Serve Candied Blood Oranges Creatively
Store Candied Blood Oranges Properly
Print
Vibrant Homemade Candied Blood Orange Slices
- Total Time: 1 hour 15 minutes
- Yield: 5 1x
Description
Classic Sicilian candied blood orange slices showcase Mediterranean citrus preservation techniques with intense, sweet-tart flavor profiles. Delicate orange rounds invite curious cooks to explore traditional Italian confectionery craft.
Ingredients
- 2 blood oranges (small, or 1 large)
- 2 cups (400 g / 14.11 oz) granulated sugar
- 2 cups (480 ml / 16.2 fl oz) filtered water
- 1 tbsp (15 ml / 0.5 fl oz) corn syrup (optional)
- 3 tbsps (45 ml / 1.5 fl oz) filtered water
- ¼ tsp powdered citric acid
Instructions
- Preparation: Cleanse blood oranges under hot water, eliminating waxy surface with gentle scrubbing. Trim orange ends to create stable cutting base.
- Slicing: Utilize sharp knife to cut uniform 1/4-inch translucent rounds, meticulously removing seeds during process.
- Syrup Creation: In medium saucepan, combine sugar and water, heating over medium-high flame until reaching rolling boil. Reduce temperature to gentle simmer.
- Candying Process: Submerge orange slices in simmering syrup, ensuring complete coverage. Gently flip segments every 10-15 minutes for consistent caramelization.
- Temperature Management: Monitor syrup closely as it approaches 225°-230°F. Watch for subtle bubbling and foaming, continuing cooking until slices turn translucent and syrup reaches 240°-245°F (approximately 50-60 minutes).
- Cooling and Draining: Remove from heat, allowing foam to settle. Transfer candied slices to lightly greased cooling rack using fork, permitting excess syrup to drip away.
- Syrup Finishing: Dissolve citric acid in water, incorporate into remaining hot syrup, and transfer to heat-resistant containers.
- Final Preservation: Allow orange slices to air dry overnight at room temperature. Store between parchment paper layers, optionally dusting with granulated sugar to prevent excessive stickiness.
Notes
- Precision Matters: Use a sharp knife and consistent 1/4-inch slicing for uniform candied orange rounds that cook evenly.
- Temperature Control: Watch syrup closely between 225°-245°F to achieve perfect translucent texture without burning.
- Drying Technique: Air-dry overnight or use low-temperature oven method to create crisp, non-sticky candied slices.
- Storage Secret: Layer parchment paper between slices and dust with granulated sugar to maintain optimal texture and prevent clumping.
- Prep Time: 15 minutes
- Cook Time: 60 minutes
- Category: Desserts, Snacks
- Method: Simmering
- Cuisine: American
Nutrition
- Serving Size: 5
- Calories: 248
- Sugar: 79 g
- Sodium: 1 mg
- Fat: 0 g
- Saturated Fat: 0 g
- Unsaturated Fat: 0 g
- Trans Fat: 0 g
- Carbohydrates: 80 g
- Fiber: 2 g
- Protein: 1 g
- Cholesterol: 0 mg
Mia Reynolds
Food Writer & Home Cooking Specialist
Expertise
Easy Home Baking, Recipe Writing and Storytelling, Local and Seasonal Ingredients, Baking for Beginners
Education
New England Culinary Institute (NECI), Montpelier, Vermont
Community College of Vermont, Winooski, Vermont
Mia Reynolds fell in love with baking as a teenager experimenting in her family kitchen. Her passion took her to New England Culinary Institute, where she learned practical pastry techniques, and later to Community College of Vermont to deepen her understanding of food management.
Mia combines clear, simple baking instructions with heartwarming stories, making home baking approachable for everyone.