
Refreshing Cherry Lime Popsicles Recipe: Sweet Summer Coolers
Summer’s heat melts away with these delightful cherry lime popsicles that burst with vibrant, tangy flavors.
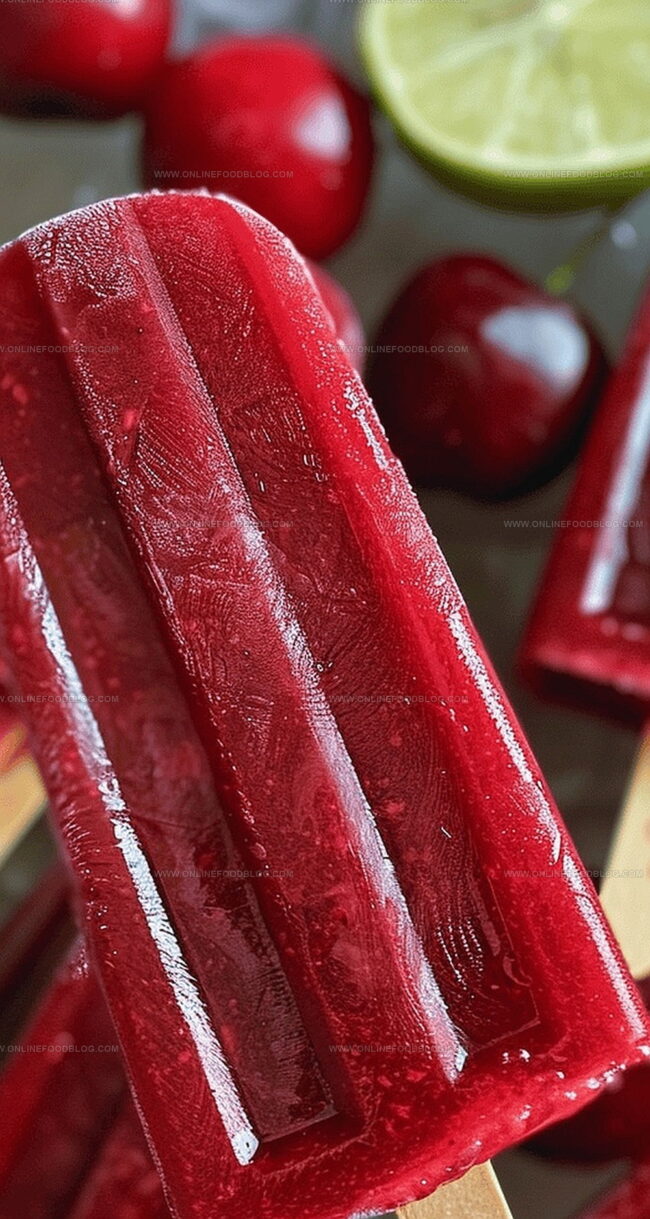
The refreshing combination of sweet cherries and zesty lime creates a cool, irresistible treat.
Ripe, juicy cherries blend perfectly with bright citrus notes, offering a delicious escape from sweltering days.
Each popsicle promises a vibrant splash of fruity goodness that instantly cools and delights.
Simple ingredients and minimal preparation make these frozen treats a breeze to whip up.
Grab your popsicle molds and get ready to indulge in a mouthwatering dessert that screams summer fun.
You’ll fall in love with these easy, colorful popsicles that are sure to become your new go-to frozen delight.
Quick Recipe Overview
Ingredients for Cherry Lime Popsicles
For Fruity Base:For Sweetening and Smoothing:For Finishing Touch:Popsicle Tools to Freeze These Summer Treats
Steps to Make Cherry Lime Popsicles from Scratch
Toss all the goodies into your trusty blender and whirl them into a silky-smooth symphony of flavor. Let the machine work its magic until everything is perfectly combined and velvety.
Carefully pour the vibrant mixture into popsicle molds, gently sliding in the sticks. If they’re feeling a bit wonky after a few hours, just give them a quick adjustment to keep them centered.
Tuck the molds into the freezer and let them chill overnight. The waiting is the hardest part, but trust me, it’s totally worth it.
When you’re ready to enjoy, run the mold under warm water for a few seconds. The popsicles will slip out like a dream, ready to cool you down and brighten your day.
Flavor Variations & Freezing Tips
How to Present Cherry Lime Pops in Fun Ways
How to Store and Enjoy Popsicles Later
Print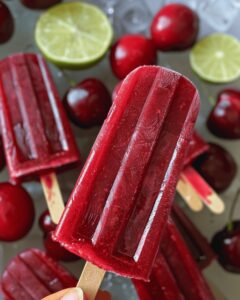
Vibrant Cherry Lime Popsicles
- Total Time: 15 minutes
- Yield: 5 1x
Description
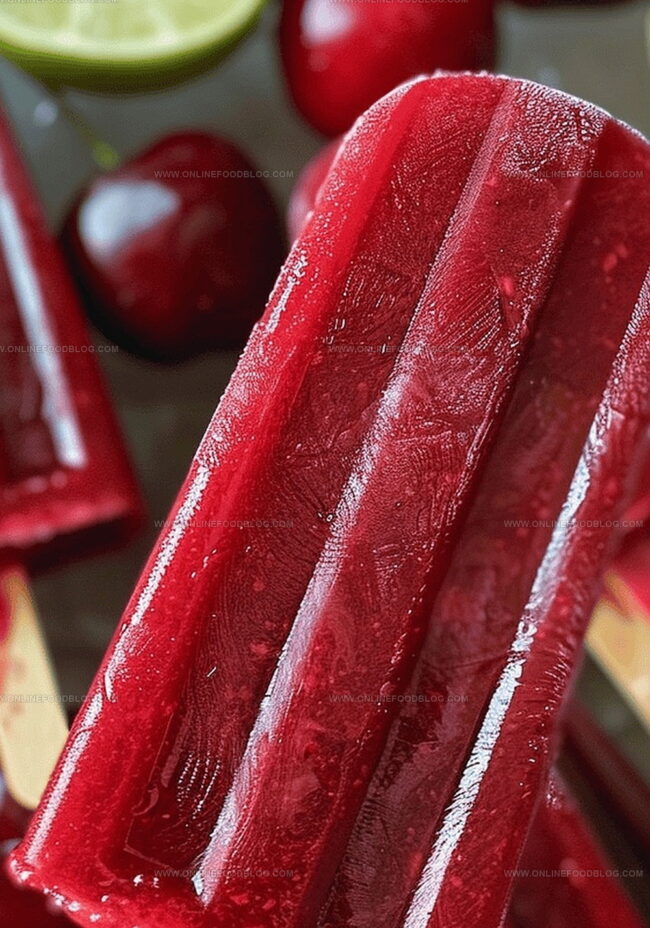
Homemade cherry lime popsicles offer a refreshing summer treat with tangy lime and sweet cherries. Cool ingredients blend into a simple, delightful dessert that brings pure enjoyment when you need a quick, chilled snack.
Ingredients
- 2 cups cherries (pitted)
- ½ cup lime juice (fresh)
- ½ cup yogurt (nondairy, preferably Forager)
- ¼ cup maple syrup
- Zest from all limes
Instructions
- Blending: Pulverize cherries, lime juice, sugar, and water in a high-powered blender until achieving a smooth, homogeneous crimson liquid with no fruit remnants.
- Molding: Transfer the liquid into popsicle molds, maintaining a quarter-inch space at the top to accommodate freezing expansion, then meticulously insert wooden sticks centered in each mold.
- Freezing: Strategically position molds in the freezer, ensuring stick alignment, and allow initial freezing for 2-3 hours to stabilize the structure.
- Setting: Continue freezing for an additional 4-5 hours or overnight, enabling complete solidification and optimal textural development.
- Releasing: Briefly immerse mold exteriors under tepid water for 10-15 seconds to facilitate effortless popsicle extraction without compromising their pristine form.
- Serving: Delicately extract the cherry-lime frozen delicacies and arrange on a chilled serving plate, presenting a vibrant, refreshing summer treat.
Notes
- Freeze Strategically: Check popsicle sticks every 2-3 hours to prevent uneven positioning and ensure a perfectly centered frozen treat.
- Blend Thoroughly: Process ingredients until no fruit chunks remain, creating a smooth, velvety liquid for a professional-looking popsicle.
- Release with Care: Use warm water technique (10-15 seconds) to gently remove popsicles without breaking their delicate structure.
- Patience Pays Off: Allow 6-8 hours or overnight freezing for the ideal texture and maximum flavor concentration.
- Prep Time: 15 minutes
- Cook Time: 0 minutes
- Category: Snacks, Desserts, Drinks
- Method: Blending
- Cuisine: American
Nutrition
- Serving Size: 5
- Calories: 80
- Sugar: 12g
- Sodium: 5mg
- Fat: 1g
- Saturated Fat: 0g
- Unsaturated Fat: 1g
- Trans Fat: 0g
- Carbohydrates: 19g
- Fiber: 1g
- Protein: 1g
- Cholesterol: 0mg
Mia Reynolds
Food Writer & Home Cooking Specialist
Expertise
Easy Home Baking, Recipe Writing and Storytelling, Local and Seasonal Ingredients, Baking for Beginners
Education
New England Culinary Institute (NECI), Montpelier, Vermont
Community College of Vermont, Winooski, Vermont
Mia Reynolds fell in love with baking as a teenager experimenting in her family kitchen. Her passion took her to New England Culinary Institute, where she learned practical pastry techniques, and later to Community College of Vermont to deepen her understanding of food management.
Mia combines clear, simple baking instructions with heartwarming stories, making home baking approachable for everyone.