Dreamy Homemade Classic Strawberry Ice Cream Recipe
Summer’s golden rays call for a delightful strawberry ice cream recipe that dances with sweet, creamy perfection.
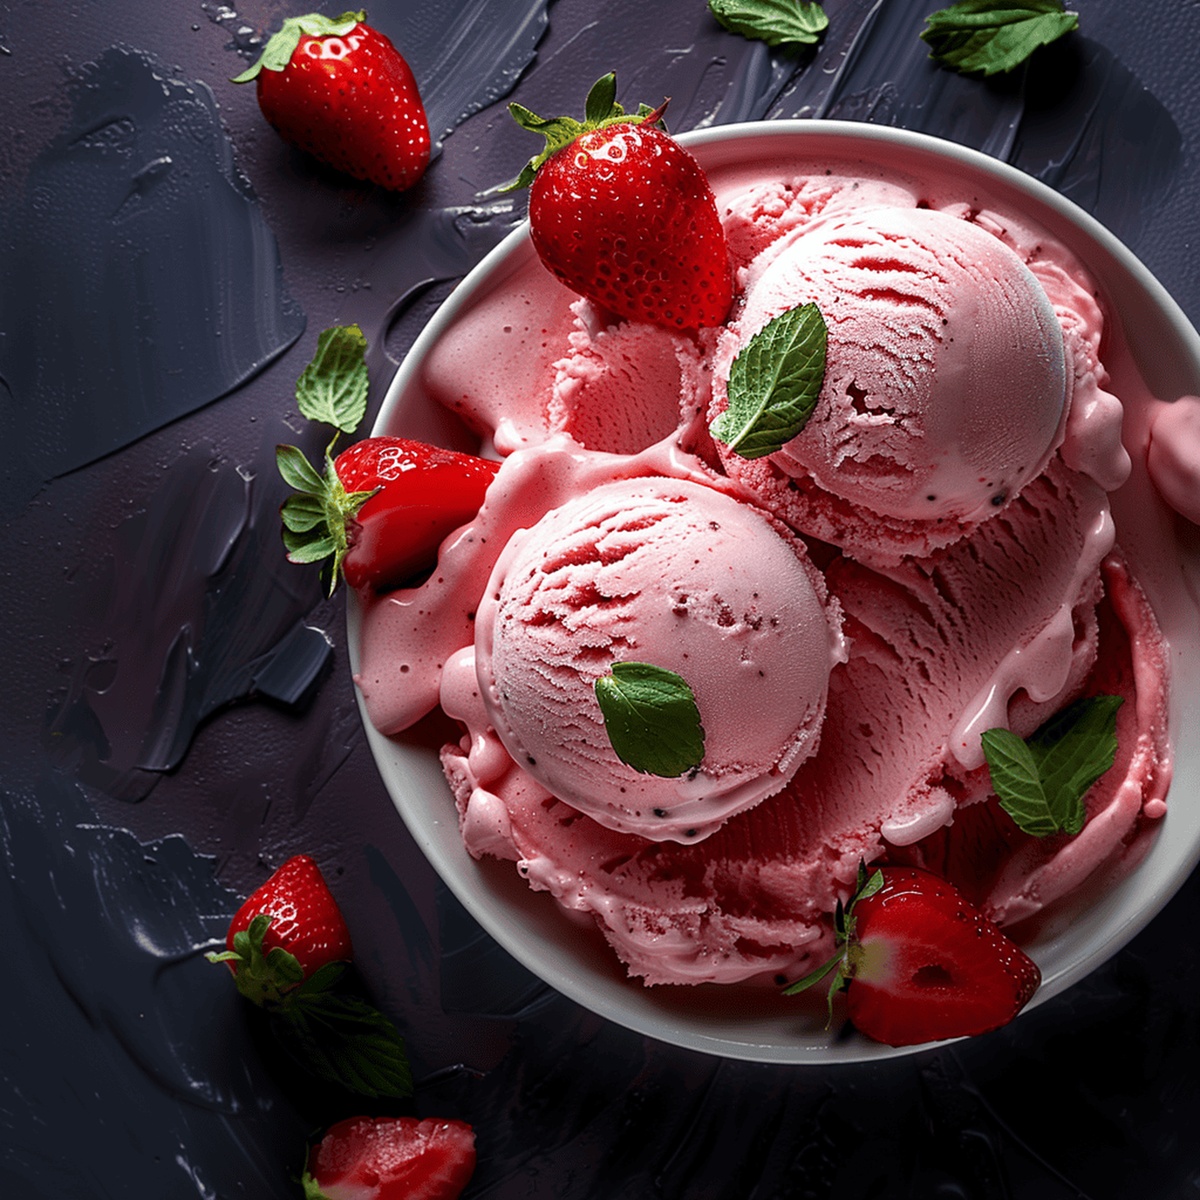
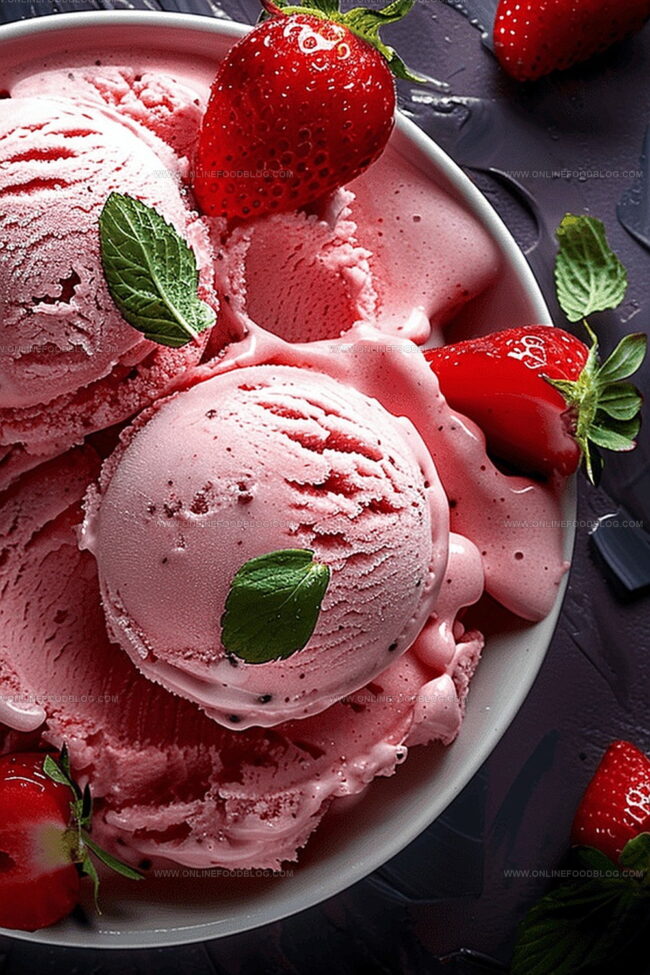
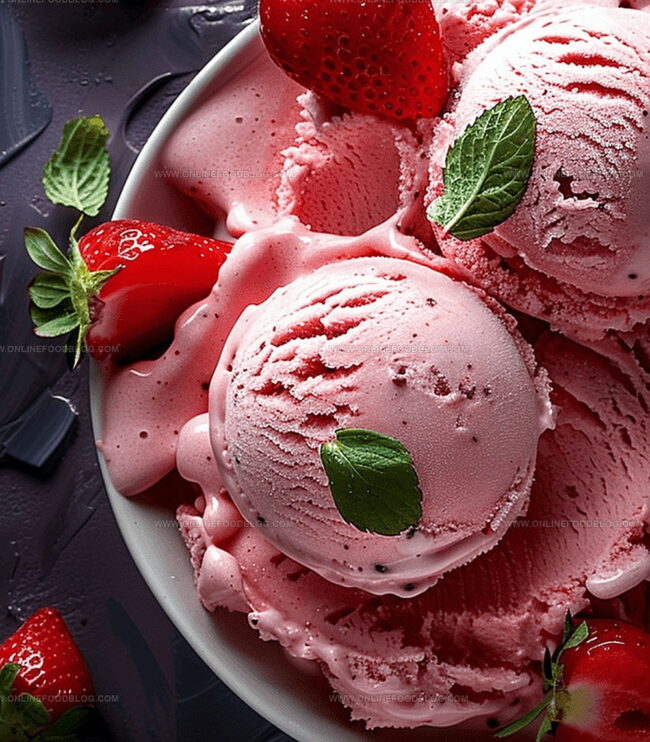
Fresh, ripe strawberries blend seamlessly into this classic strawberry ice cream, creating a dessert that captures pure seasonal joy.
Each spoonful whispers memories of sun-drenched berry patches and leisurely afternoons.
The vibrant red hue promises an explosion of natural strawberry flavor that melts smoothly on your tongue.
Homemade ice cream always tastes more decadent than store-bought versions, with rich, fresh ingredients making all the difference.
Simple techniques and common kitchen tools turn ordinary ingredients into an extraordinary dessert.
You’ll fall in love with this irresistible frozen treat that brings pure happiness to every bite.
Quick Recipe Overview
Classic Strawberry Ice Cream – What You’ll Need
For Fruit Base:For Dairy Elements:For Freezing and Serving:Tools for Churning Classic Strawberry Ice Cream
Making Classic Strawberry Ice Cream Step-by-Step
Slice fresh strawberries and let them sit with sugar to release natural sweetness. Crush berries into a smooth or chunky texture based on personal preference.
Blend cream, milk, and vanilla into a silky mixture, combining with strawberry blend until perfectly incorporated.
Refrigerate the mixture until thoroughly chilled, allowing flavors to meld and develop rich depth.
Pour chilled mixture into ice cream maker and transform into creamy, soft texture through gentle spinning.
Transfer churned cream into sealed container, protecting surface with wrap to maintain smooth consistency. Allow to solidify in freezer until perfectly scoopable.
Scoop into favorite bowl or crisp cone, ready to enjoy summer’s sweetest treat.
Strawberry Ice Cream Flavor Add-Ins & Tricks
Scoop and Serve Classic Strawberry Ice Cream
Keeping Classic Strawberry Ice Cream Fresh
Print
Velvety Strawberry Ice Cream Recipe
- Total Time: 1 hour 10 minutes
- Yield: 5 1x
Description
Sweet summer memories come alive with classic strawberry ice cream, blending fresh berries and creamy dairy into a delightful dessert. Homemade flavors invite cool comfort, welcoming you to savor each luscious spoonful.
Ingredients
- 2 cups (473 ml / 16 fl oz) heavy cream
- 1 cup (237 ml / 8 fl oz) whole milk
- 1 pound (454 g / 16 oz) fresh strawberries, hulled and sliced
- ¾ cup (150 g / 5.3 oz) granulated sugar
- 1 tbsp (15 ml / 0.5 fl oz) lemon juice
- 1 tsp (5 ml / 0.17 fl oz) vanilla extract
Instructions
- Strawberry Preparation: Macerate ripe strawberries with granulated sugar and lemon juice for 30 minutes, allowing natural juices to intensify and sweeten the fruit.
- Fruit Processing: Crush strawberries using a potato masher or food processor to create either a chunky or smooth texture.
- Cream Base Creation: Whisk heavy cream, whole milk, and vanilla extract together until completely blended, creating a smooth and rich foundation.
- Flavor Fusion: Incorporate the macerated strawberry mixture into the cream base, ensuring an even distribution of fruit throughout the liquid.
- Chilling Phase: Refrigerate the combined mixture for 2-3 hours or overnight, enabling flavors to harmonize and develop a deep, complex profile.
- Churning Process: Transfer the chilled mixture to an ice cream maker and churn for 20-25 minutes until achieving a soft, creamy consistency.
- Freezing and Setting: Pour the churned ice cream into a freezer-safe container, smooth the surface, and cover with plastic wrap to prevent ice crystal formation. Freeze for 4-6 hours until the ice cream reaches a perfect scoopable texture.
- Serving Suggestion: Present the ice cream in chilled bowls or crisp waffle cones, optionally garnishing with fresh strawberry slices for an elegant finishing touch.
Notes
- Fruit Maceration Magic: Let strawberries sit with sugar and lemon juice to unlock deeper, more intense sweet-tart flavors that elevate the entire ice cream experience.
- Texture Control Tip: Choose between chunky or smooth strawberry consistency by adjusting mashing technique, allowing personalized preference in every batch.
- Chill for Perfection: Refrigerating the mixture overnight helps ingredients harmonize, creating a more robust and balanced flavor profile.
- Crystal-Free Serving: Press plastic wrap directly onto ice cream surface before freezing to prevent unwanted ice crystals and maintain smooth, creamy texture.
- Prep Time: 45 minutes
- Cook Time: 25 minutes
- Category: Desserts, Snacks, Drinks
- Method: Blending
- Cuisine: American
Nutrition
- Serving Size: 5
- Calories: 334
- Sugar: 24 g
- Sodium: 38 mg
- Fat: 26 g
- Saturated Fat: 16 g
- Unsaturated Fat: 10 g
- Trans Fat: 0 g
- Carbohydrates: 30 g
- Fiber: 1 g
- Protein: 3 g
- Cholesterol: 90 mg
Mia Reynolds
Food Writer & Home Cooking Specialist
Expertise
Easy Home Baking, Recipe Writing and Storytelling, Local and Seasonal Ingredients, Baking for Beginners
Education
New England Culinary Institute (NECI), Montpelier, Vermont
Community College of Vermont, Winooski, Vermont
Mia Reynolds fell in love with baking as a teenager experimenting in her family kitchen. Her passion took her to New England Culinary Institute, where she learned practical pastry techniques, and later to Community College of Vermont to deepen her understanding of food management.
Mia combines clear, simple baking instructions with heartwarming stories, making home baking approachable for everyone.