Heavenly Red Velvet Crinkle Cookies Recipe You’ll Adore
Soft, pillowy red velvet crinkle cookies dance with decadent chocolate undertones that melt in your mouth.
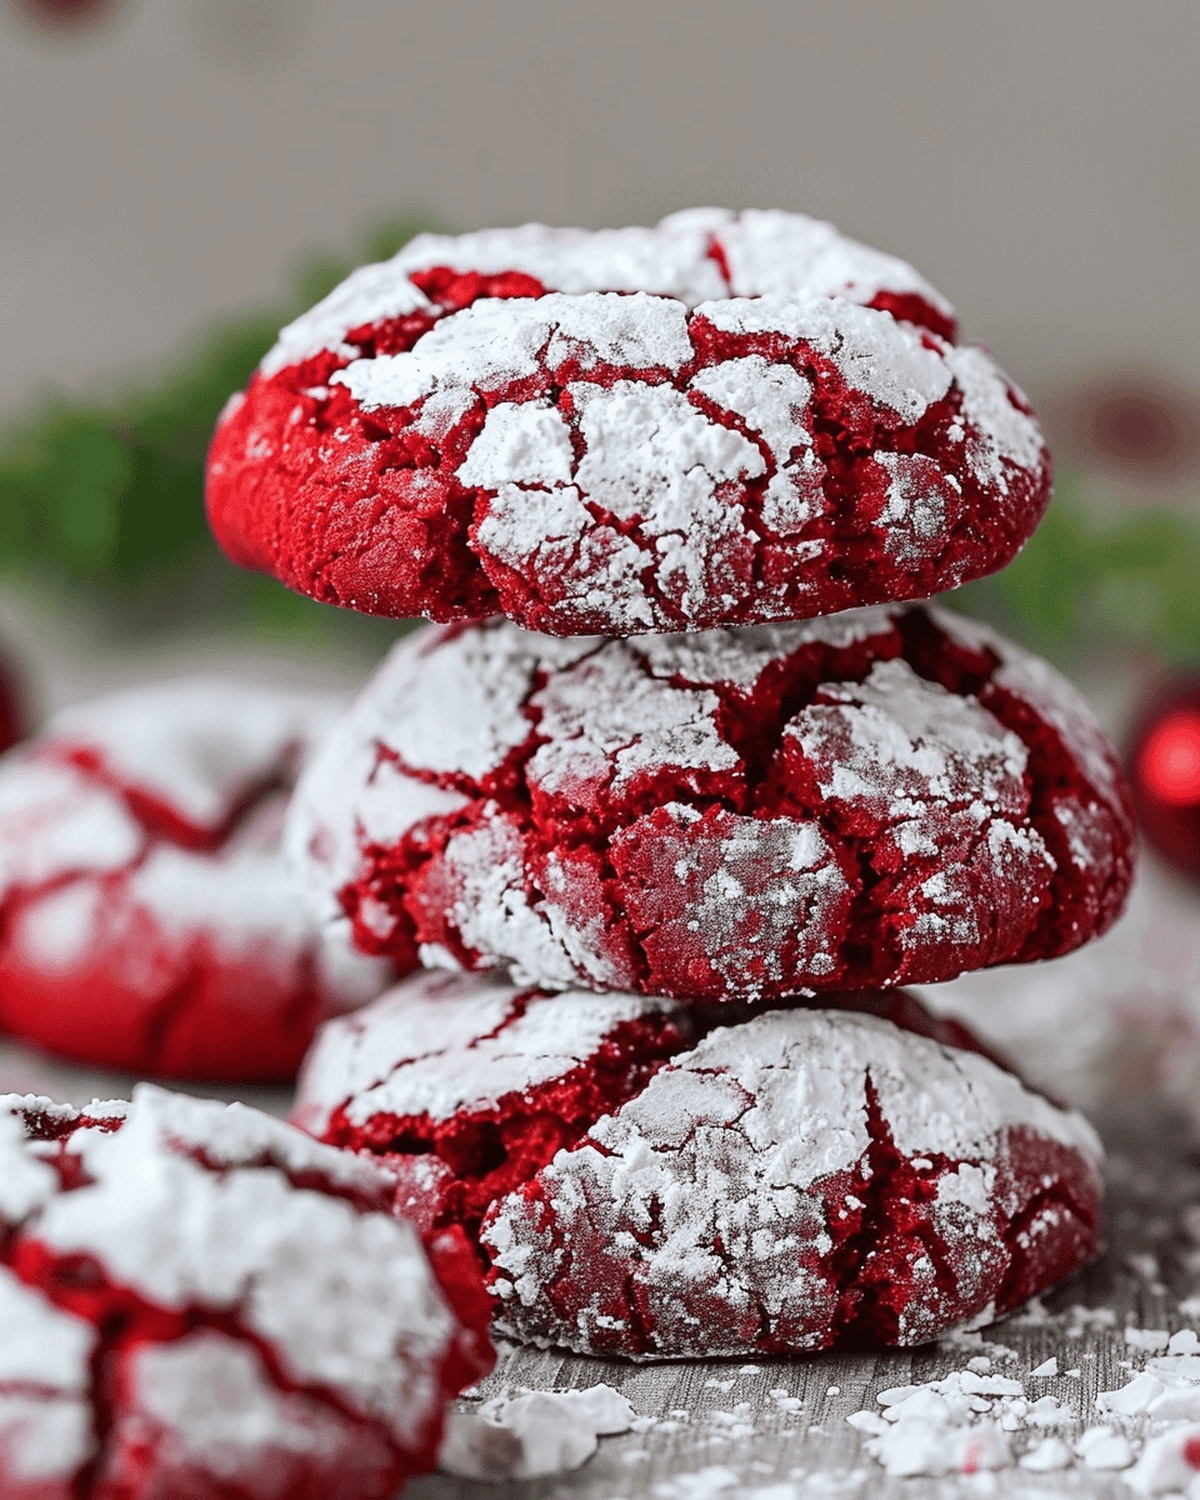
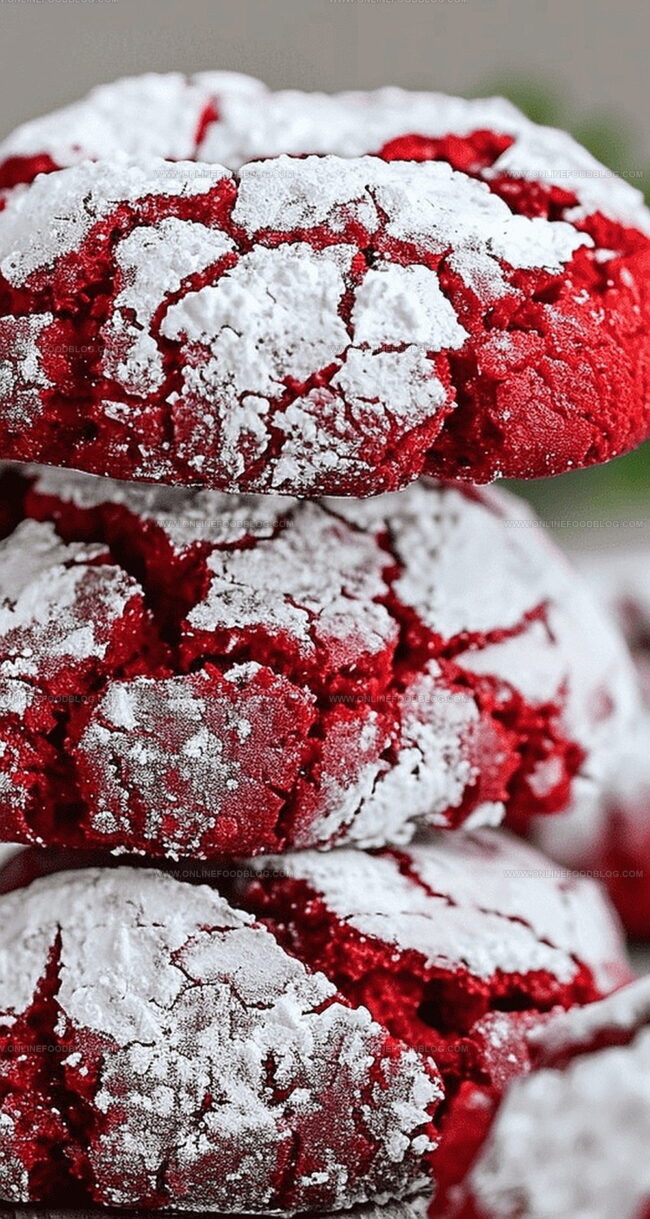
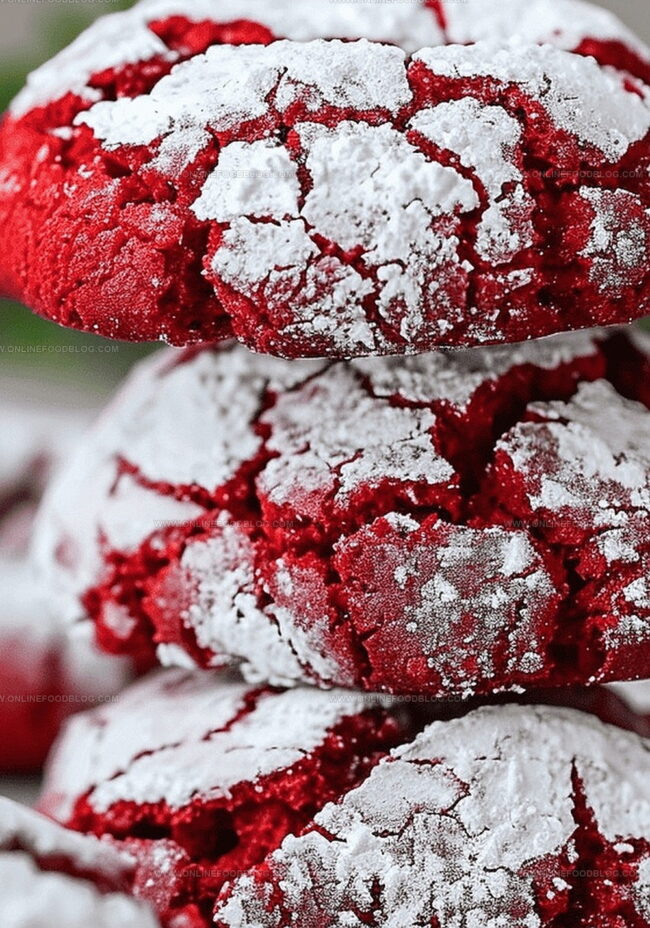
These stunning treats boast a velvety crimson interior beneath a stunning powdered sugar coating.
Rich cocoa powder gives these cookies their signature deep red hue and intense flavor profile.
The delicate crinkle surface creates an irresistible visual appeal that beckons dessert lovers.
Each cookie promises a perfect balance between crisp edges and tender, luxurious centers.
Dusted with a snowfall of confectioner’s sugar, these cookies look as spectacular as they taste.
Bake a batch and watch everyone swoon over these show-stopping sweet delights.
Quick Recipe Overview
Red Velvet Crinkle Cookies Ingredient List
For Dry Ingredients:For Wet Ingredients:For Coating and Finishing:Tools to Make These Crinkle Cookies
Baking Method for Red Velvet Crinkle Cookies
Red Velvet Crinkle Cookies
Mix cocoa, flour, baking soda, baking powder, and salt in a bowl to create a smooth powder blend that will give the cookies their signature texture.
Cream softened butter with granulated sugar using a mixer until the combination becomes light and fluffy, creating a rich base for the cookies.
Add eggs one at a time, then blend in milk, vanilla, and red food coloring to create a vibrant crimson dough with deep flavor undertones.
Combine wet and dry ingredients carefully, then refrigerate the dough for about 90 minutes until it becomes firm and easy to handle.
Roll chilled dough into small spheres, generously coating each ball with powdered sugar to create the classic crinkle cookie appearance.
Place sugar-coated dough balls on a lined baking sheet, then bake in a preheated oven until edges are slightly crisp and centers remain soft.
Allow cookies to rest on the baking sheet briefly, then transfer to a cooling rack and store in an airtight container to maintain their delightful texture.
Helpful Hints for Better Crinkles
How to Serve Red Velvet Cookies
Cookie Storage Instructions
Print
Velvety Red Velvet Crinkle Cookies
- Total Time: 1hr 59min
- Yield: 22 1x
Description
Delectable red velvet crinkle cookies blend rich cocoa and velvety texture for a sensational dessert experience. Powdered sugar-dusted edges and deep crimson color make these cookies irresistible when you want something special.
Ingredients
- 1 ⅓ cups (267 g) granulated sugar
- 3 large eggs
- ¾ cup (170 g) unsalted butter, softened
- 1 ½ tsps vanilla extract
- 1 tbsp milk
- 5 tsps red food coloring
- 3 cups (360 g) all-purpose flour
- ¼ cup (25 g) unsweetened cocoa powder
- 2 tsps baking powder
- ¼ tsp baking soda
- ¾ tsp salt
- 1 cup (120 g) powdered sugar
Instructions
- Preparation: Whisk together flour, cocoa powder, baking soda, baking powder, and salt in a mixing bowl, ensuring even distribution of dry ingredients.
- Dough Creation: Cream butter and granulated sugar with an electric mixer until light and fluffy. Blend in eggs one at a time, then incorporate milk, vanilla extract, and red food coloring to achieve a vibrant crimson mixture.
- Mixing and Chilling: Gently fold dry ingredients into wet mixture at low speed, avoiding overmixing. Wrap dough and refrigerate for 90 minutes to allow ingredients to meld and dough to firm up.
- Coating and Shaping: Preheat oven to 350°F. Prepare powdered sugar in a shallow dish. Form chilled dough into uniform spheres using lightly greased hands, then generously roll each ball in powdered sugar for complete coverage.
- Baking and Cooling: Arrange coated dough balls on a lined baking sheet, gently pressing to slightly flatten. Bake for 13-14 minutes until edges set and surfaces develop a characteristic crackled appearance. Let cookies rest on baking sheet for 5 minutes, then transfer to a wire rack to cool completely.
- Storage: Once cooled, store cookies in a sealed container to maintain their soft texture and freshness.
Notes
- Chill Dough Effectively: Refrigerate for full 90 minutes to develop rich flavor and prevent spreading during baking.
- Prevent Sticky Hands: Lightly grease hands with cooking spray when forming dough balls to ensure smooth, easy shaping.
- Sugar Coating Technique: Roll cookies generously in powdered sugar for classic crinkle look, ensuring thick, even white coverage.
- Cooling is Crucial: Let cookies rest on baking sheet for exactly 5 minutes to set structure before transferring, maintaining delicate texture.
- Prep Time: 15min
- Cook Time: 14min
- Category: Desserts, Snacks
- Method: Baking
- Cuisine: American
Nutrition
- Serving Size: 22
- Calories: 180
- Sugar: 12 g
- Sodium: 120 mg
- Fat: 8 g
- Saturated Fat: 5 g
- Unsaturated Fat: 3 g
- Trans Fat: 0 g
- Carbohydrates: 25 g
- Fiber: 1 g
- Protein: 2 g
- Cholesterol: 40 mg
Mia Reynolds
Food Writer & Home Cooking Specialist
Expertise
Easy Home Baking, Recipe Writing and Storytelling, Local and Seasonal Ingredients, Baking for Beginners
Education
New England Culinary Institute (NECI), Montpelier, Vermont
Community College of Vermont, Winooski, Vermont
Mia Reynolds fell in love with baking as a teenager experimenting in her family kitchen. Her passion took her to New England Culinary Institute, where she learned practical pastry techniques, and later to Community College of Vermont to deepen her understanding of food management.
Mia combines clear, simple baking instructions with heartwarming stories, making home baking approachable for everyone.