Dreamy Silky Coffee Mousse Recipe: Cloud-Like Indulgence
Dive into a decadent world where smooth coffee mousse meets pure indulgence.
This silky coffee mousse recipe promises a luxurious dessert that melts effortlessly on your tongue.
Rich espresso notes dance through a cloud-like texture, creating an irresistible treat for coffee lovers.
Each spoonful delivers a velvety experience that balances intense coffee flavor with delicate creaminess.
Whipping up this dessert requires minimal ingredients but delivers maximum satisfaction.
The magic happens when simple components merge into an elegant dessert that looks like it came from a professional pastry kitchen.
Grab your whisk and get ready to impress with this extraordinary coffee-infused delight.
Quick Recipe Overview
Ingredients That Make Silky Coffee Mousse Work
For Creamy Base:For Flavor Enhancers:For Richness and Depth:Tools You’ll Need to Whip Silky Coffee Mousse
Mixing and Setting Instructions for Coffee Mousse
Grab your mixer and transform heavy cream into a cloud-like texture with stiff, billowy peaks that stand tall and proud.
In a separate bowl, blend warm milk with rich coffee, powdered sweetness, and melted chocolate until the mixture becomes smooth and glossy.
Carefully marry the whipped cream into the coffee-chocolate base, using soft folding motions to keep the airy texture intact.
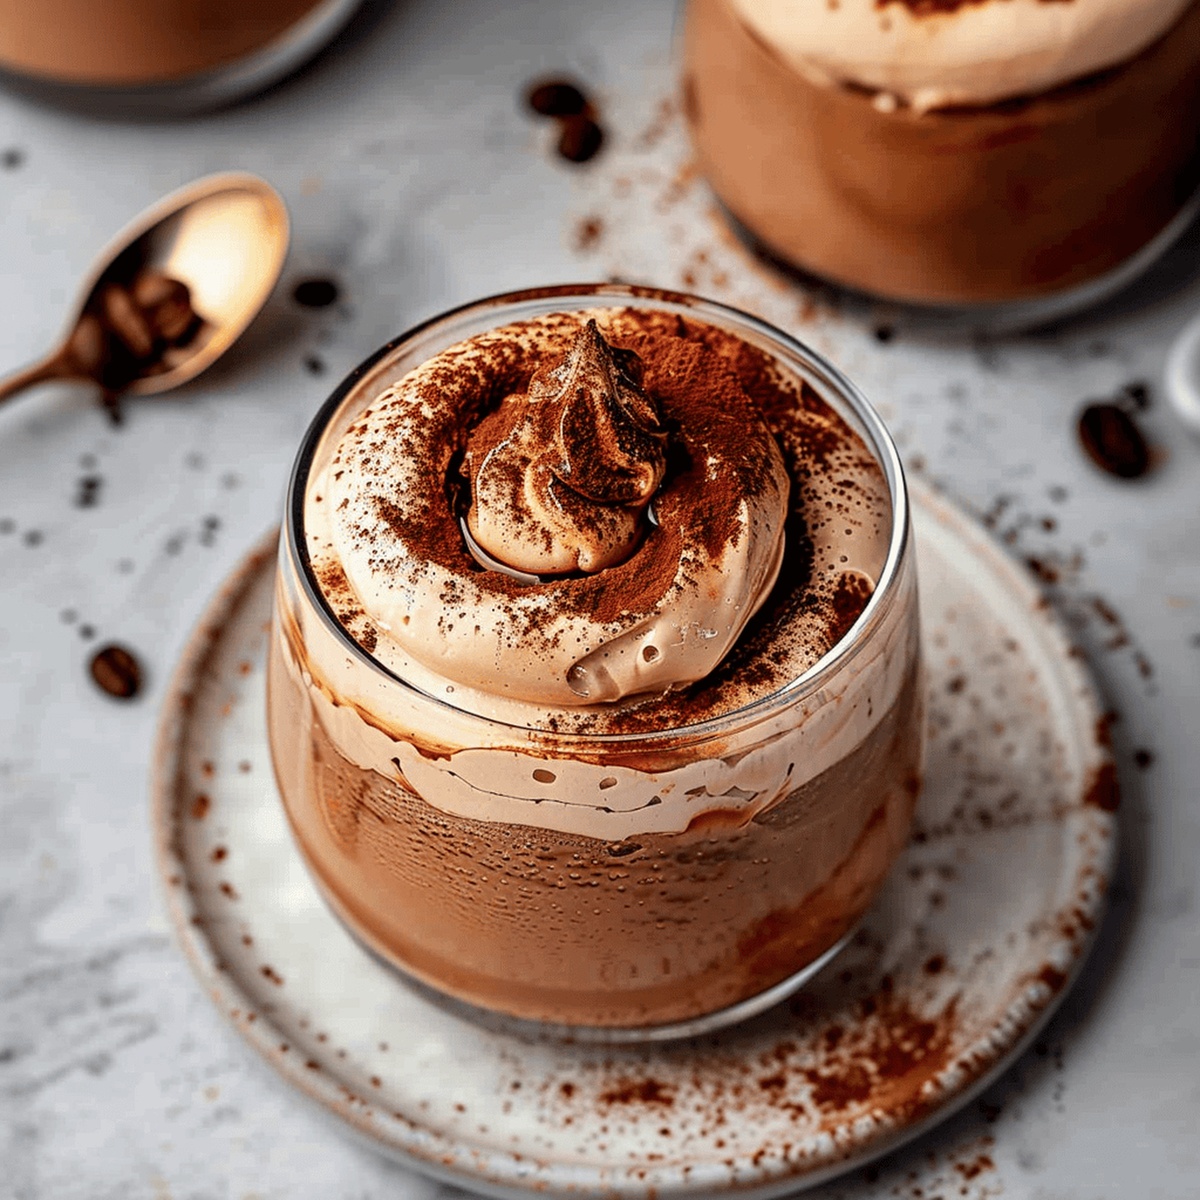
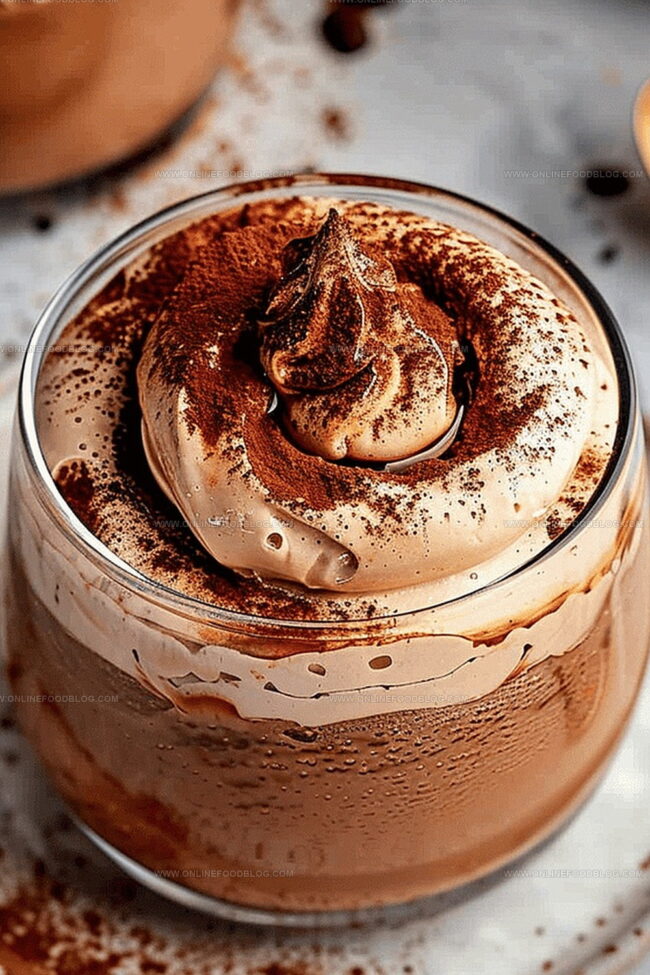
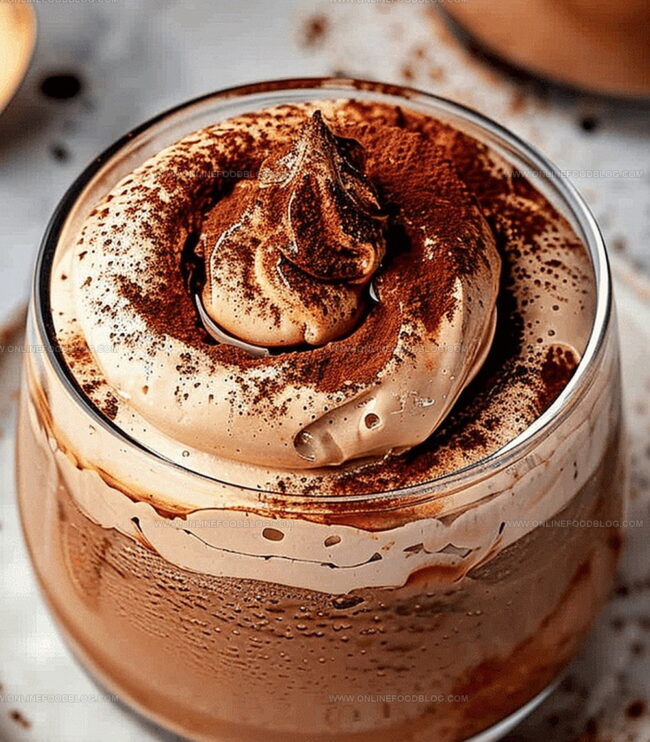
Pour the silky mixture into elegant glasses or charming dessert bowls, then tuck them into the refrigerator for a minimum of two hours. The mousse will transform into a luxurious, cool treat that melts on your tongue with deep coffee and chocolate notes.
Flavor Twists for the Best Silky Coffee Mousse
Serving Silky Coffee Mousse with Flair
Storage Guide for Creamy Coffee Mousse
Print
Velvety Coffee Mousse Recipe
- Total Time: 30 minutes
- Yield: 5 1x
Description
French coffee mousse blends rich espresso with delicate cream for an elegant dessert. Creamy layers promise smooth indulgence that delights coffee enthusiasts wanting a sophisticated sweet experience.
Ingredients
- 1 cup heavy cream
- 3 large eggs
- 8 oz (226 g) dark chocolate
- 4 oz (113 g) espresso or strong coffee
- 2 tbsps coffee liqueur
- 2 tbsps granulated sugar
- ¼ tsp vanilla extract
- 1/8 tsp salt
Instructions
- Chill Preparation: Refrigerate a mixing bowl and whisk to create the ideal environment for whipping cream efficiently.
- Cream Whipping: Vigorously beat heavy cream until glossy, firm peaks emerge that maintain their structure when the whisk is lifted.
- Sugar Integration: Dissolve confectioners sugar into lukewarm milk, creating a smooth, homogeneous liquid base with gentle stirring.
- Coffee Incorporation: Infuse the milk mixture with concentrated coffee, ensuring thorough and even liquid distribution.
- Chocolate Transformation: Gently melt dark chocolate using a double boiler or microwave, stirring until achieving a uniform, glossy liquid consistency.
- Flavor Fusion: Merge the melted chocolate with the coffee-milk blend, whisking delicately to create a seamless, silky texture.
- Cream Folding: Delicately incorporate the whipped cream into the chocolate-coffee mixture using circular motions to preserve the mousse’s airy volume.
- Presentation: Distribute the mousse evenly into elegant serving glasses or decorative ceramic bowls, creating a visually appealing dessert.
- Chilling and Setting: Refrigerate for a minimum of two hours until the mousse develops a firm yet creamy consistency, allowing flavors to meld and texture to stabilize.
- Final Flourish: Optionally dust with cocoa powder or sprinkle chocolate shavings just before serving to enhance visual appeal and add a sophisticated touch.
Notes
- Chill Equipment First: Refrigerate mixing bowl and whisk 15-20 minutes before starting to ensure perfect cream whipping and maximum volume.
- Chocolate Melting Technique: Use low, steady heat when melting chocolate to prevent burning, stirring constantly for smooth, glossy consistency.
- Folding Method Matters: Use gentle, under-and-over circular motions when incorporating whipped cream to preserve delicate air bubbles and maintain mousse’s light texture.
- Patience in Chilling: Allow minimum two-hour refrigeration for mousse to set properly, which develops deeper flavor and creates silky, stable dessert structure.
- Prep Time: 20 minutes
- Cook Time: 10 minutes
- Category: Desserts, Drinks
- Method: Blending
- Cuisine: Italian
Nutrition
- Serving Size: 5
- Calories: 367
- Sugar: 8 g
- Sodium: 80 mg
- Fat: 29 g
- Saturated Fat: 17 g
- Unsaturated Fat: 12 g
- Trans Fat: 0 g
- Carbohydrates: 24 g
- Fiber: 2 g
- Protein: 4 g
- Cholesterol: 102 mg
Mia Reynolds
Food Writer & Home Cooking Specialist
Expertise
Easy Home Baking, Recipe Writing and Storytelling, Local and Seasonal Ingredients, Baking for Beginners
Education
New England Culinary Institute (NECI), Montpelier, Vermont
Community College of Vermont, Winooski, Vermont
Mia Reynolds fell in love with baking as a teenager experimenting in her family kitchen. Her passion took her to New England Culinary Institute, where she learned practical pastry techniques, and later to Community College of Vermont to deepen her understanding of food management.
Mia combines clear, simple baking instructions with heartwarming stories, making home baking approachable for everyone.