Scrumptious Chocolate Thumbprint Cookies Recipe to Sweeten Days
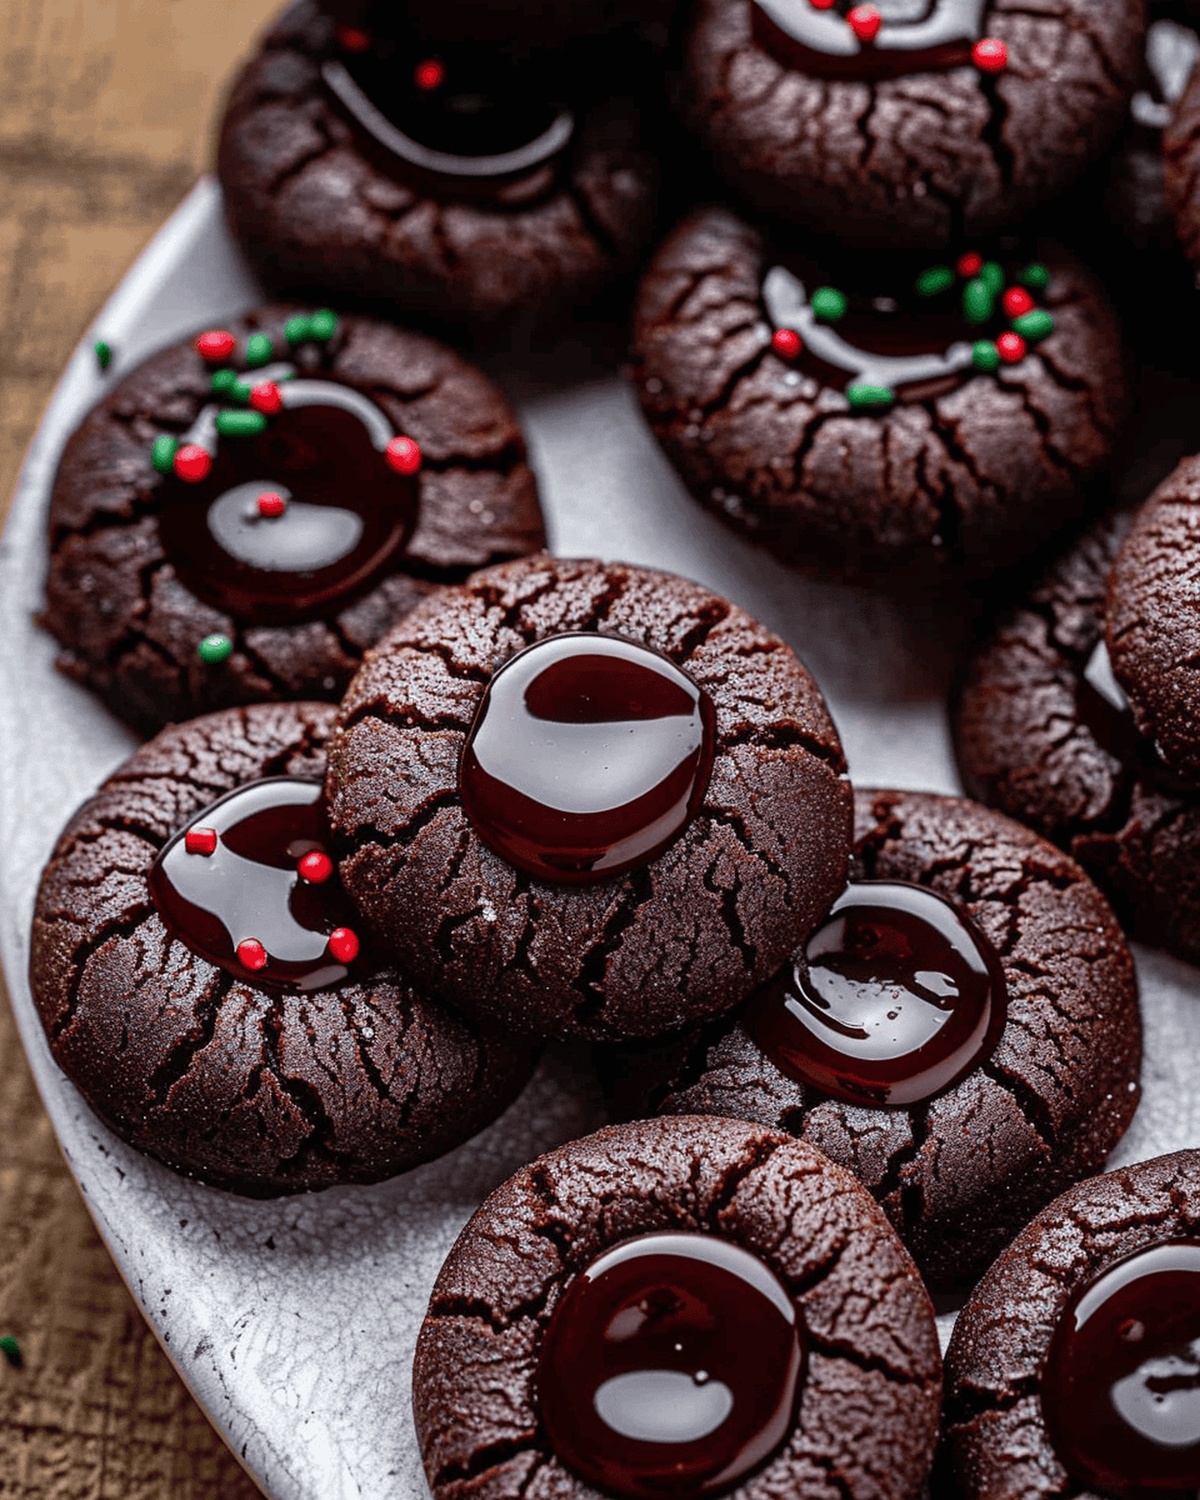
Soft, buttery cookies meet a decadent chocolate center in this mouthwatering chocolate thumbprint cookies recipe that promises pure indulgence.
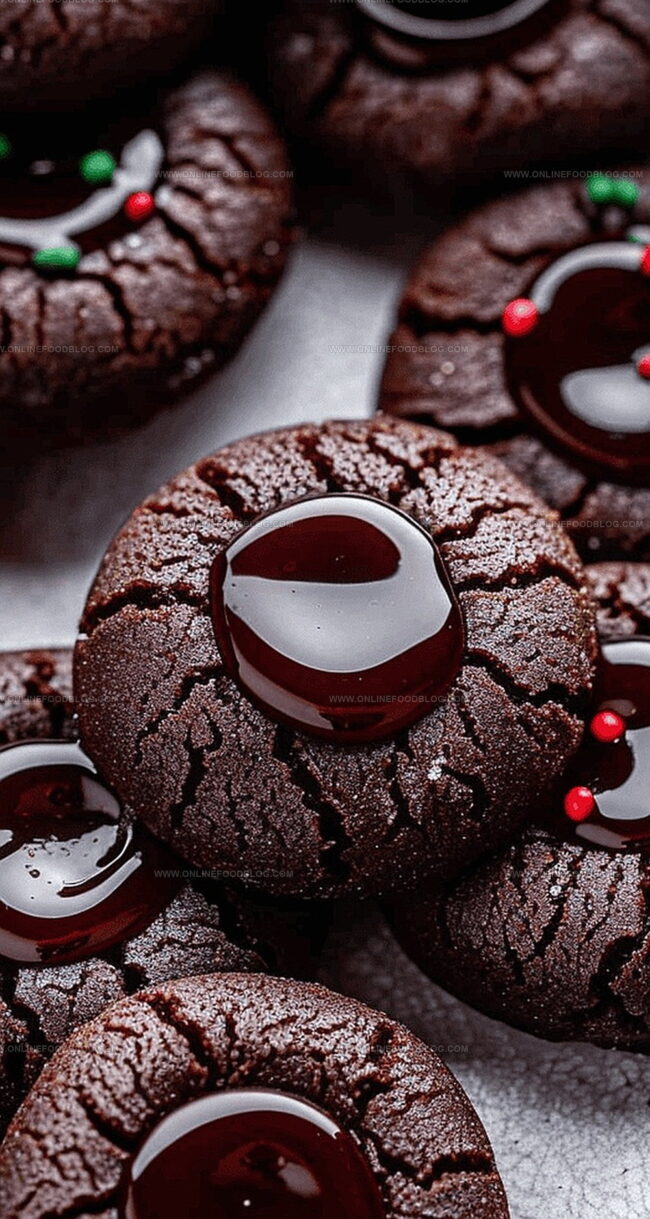
These delightful treats melt in your mouth with a perfect balance of rich, crumbly texture and smooth chocolate filling.
Each bite brings a delicate dance of sweetness and warmth that transports you to a cozy kitchen.
The simple yet elegant design makes these cookies a stunning addition to any dessert spread.
Rolled in delicate sugar and pressed with a gentle thumb, these cookies are surprisingly easy to create.
Professional bakers and home cooks alike will adore this straightforward recipe that turns simple ingredients into something truly spectacular.
Get ready to wow everyone with these irresistible chocolate thumbprint cookies that are sure to become a cherished favorite.
Quick Recipe Overview
Ingredient Checklist for Chocolate Thumbprint Cookies
For Dry Ingredients:For Wet and Binding Ingredients:For Filling and Decoration:Tools for Pressing and Baking Thumbprint Cookies
How to Prepare Chocolate Thumbprint Cookies
Create a rich chocolate cookie base by mixing dry and wet ingredients until smooth and perfectly blended.
Form small round balls and create gentle indentations in the center, preparing them for a delightful chocolate surprise.
Refrigerate the shaped cookies to enhance their texture and flavor, allowing them to firm up and develop a deeper taste profile.
Carefully bake the cookies until they reach a perfect balance of crisp edges and soft centers, transforming the dough into delectable treats.
Craft a silky smooth chocolate filling by combining melted chocolate and warm cream, creating a luxurious center for each cookie.
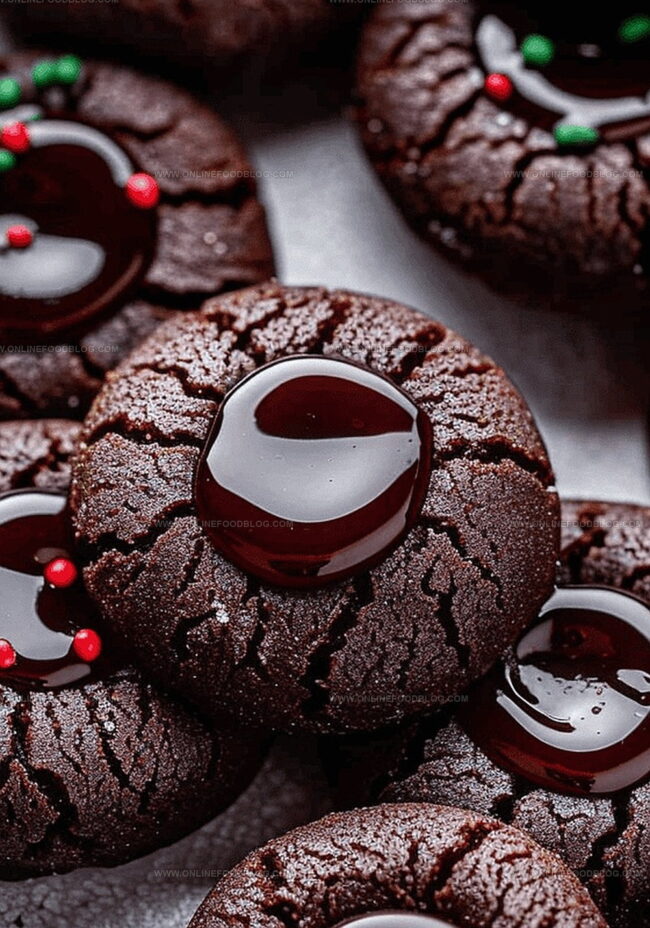
Fill the cooled cookie wells with decadent ganache, adding a sprinkle of decorative nonpareils for a touch of whimsy and extra delight.
Keep these irresistible chocolate treats in an airtight container, ensuring they remain fresh and tempting for several days of enjoyment.
Swapping Fillings in Thumbprint Cookies
Presenting Chocolate Thumbprints on Dessert Trays
Best Storage for Thumbprint Cookies
Print
Velvety Chocolate Thumbprint Cookies Recipe
- Total Time: 1 hour 30 minutes
- Yield: 22 1x
Description
Holiday baking reaches new heights with these chocolate thumbprint cookies, nestled with rich ganache centers. Festive German-inspired treats invite chocolate lovers to savor delicate, buttery cookies perfect for sharing with family and friends.
Ingredients
- ¾ cup (168 g) unsalted butter, softened
- ¾ cup (165 g) light brown sugar, packed
- ¼ cup (50 g) granulated white sugar
- 2 egg yolks, at room temperature
- 1 ½ tsps vanilla bean paste or extract
- 1 ½ cups (188 g) all-purpose flour
- ½ cup (40 g) Dutch process cocoa powder
- ½ tsp salt
- ½ tsp baking powder
- 1 cup (200 g) semi-sweet chocolate chips
- ½ cup (120 ml) heavy whipping cream
- Nonpareils for sprinkling on top (optional)
Instructions
- Preparation: Line two baking sheets with parchment paper, creating a smooth surface for cookie placement.
- Dry Mixture: Whisk flour, cocoa powder, salt, and baking powder in a medium bowl until thoroughly combined.
- Wet Base: Cream butter with brown and white sugars using an electric mixer until light and fluffy, then blend in egg yolks and vanilla extract until pale and smooth.
- Dough Formation: Gently fold dry ingredients into wet mixture, mixing until just combined. Shape dough into 34 uniform balls, creating a small indent in each center using a ¼ teaspoon measuring spoon.
- Chilling Phase: Refrigerate dough balls for one hour to intensify flavor and prevent excessive spreading during baking.
- Baking Process: Preheat oven to 350°F. Arrange chilled dough balls on prepared sheets, spacing 1½ inches apart. Bake for 9-11 minutes, watching carefully to achieve perfect texture.
- Reshaping: Immediately after removing from oven, use a circular cookie cutter to refine cookie shape while still warm. Rest on baking sheet for five minutes, then transfer to a wire rack for complete cooling.
- Ganache Creation: Melt chocolate chips by pouring hot cream over them, stirring until achieving a smooth, glossy consistency.
- Finishing Touches: Fill each cookie’s center with ganache, using approximately one teaspoon per cookie. Optional: Sprinkle nonpareils for added texture and visual appeal.
- Final Setting: Refrigerate completed cookies for 10-15 minutes to solidify ganache. Store in an airtight container, maintaining freshness for up to three days.
Notes
- Chill for Perfection: Refrigerate dough for at least one hour to prevent spreading and concentrate rich chocolate flavors.
- Indent Carefully: Use a ¼ teaspoon measuring spoon to create a precise, uniform well in each cookie for even ganache filling.
- Reshape Immediately: While cookies are warm, use a circular cookie cutter to restore their perfect round shape and prevent cracking.
- Ganache Setting Tip: Briefly refrigerate cookies after filling to help the chocolate set quickly and maintain a smooth, glossy appearance.
- Prep Time: 20 minutes(plus 1 hour chilling time)
- Cook Time: 10 minutes
- Category: Desserts, Snacks
- Method: Baking
- Cuisine: American
Nutrition
- Serving Size: 22
- Calories: 195
- Sugar: 13 g
- Sodium: 65 mg
- Fat: 12 g
- Saturated Fat: 7 g
- Unsaturated Fat: 4 g
- Trans Fat: 0 g
- Carbohydrates: 21 g
- Fiber: 1 g
- Protein: 2 g
- Cholesterol: 30 mg
Mia Reynolds
Food Writer & Home Cooking Specialist
Expertise
Easy Home Baking, Recipe Writing and Storytelling, Local and Seasonal Ingredients, Baking for Beginners
Education
New England Culinary Institute (NECI), Montpelier, Vermont
Community College of Vermont, Winooski, Vermont
Mia Reynolds fell in love with baking as a teenager experimenting in her family kitchen. Her passion took her to New England Culinary Institute, where she learned practical pastry techniques, and later to Community College of Vermont to deepen her understanding of food management.
Mia combines clear, simple baking instructions with heartwarming stories, making home baking approachable for everyone.