Smooth & Dreamy No-Churn Chocolate Ice Cream Recipe
Summers sizzle with the promise of sweet, creamy delights, and this no-churn chocolate ice cream delivers pure indulgence in every spoonful.
Decadent chocolate swirls through a silky base that requires zero churning or complicated techniques.
Rich, velvety, and impossibly smooth, this recipe turns simple ingredients into a luxurious dessert that beats any store-bought option.
The magic happens with just a few pantry staples and minimal effort.
Whip, fold, and freeze for a dessert that’ll make taste buds dance with chocolate bliss.
Every luscious bite promises cool comfort and irresistible flavor that’ll have everyone asking for seconds.
Grab your ingredients and get ready to become the dessert hero of the summer.
Quick Recipe Overview

No-Churn Chocolate Ice Cream Ingredient Notes
For The Creamy Base:For Intense Chocolate Flavor:For Flavor Balancing:Tools That Make Chocolate Churning Unnecessary
Easy Steps for a Rich, Creamy Chocolate Ice Cream
Grab your electric mixer and transform heavy cream into a cloud-like texture with stiff, billowy peaks that hold their shape perfectly.
Gently blend sweetened condensed milk with rich chocolate sauce, velvety cocoa powder, aromatic vanilla, and a whisper of salt to create a luxurious chocolate base.
Carefully combine the whipped cream with the chocolate mixture, using soft folding motions to maintain the airy texture and prevent deflating the mixture.
Transfer the silky smooth chocolate mixture into a freezer-friendly container, creating a canvas for your delectable frozen dessert.
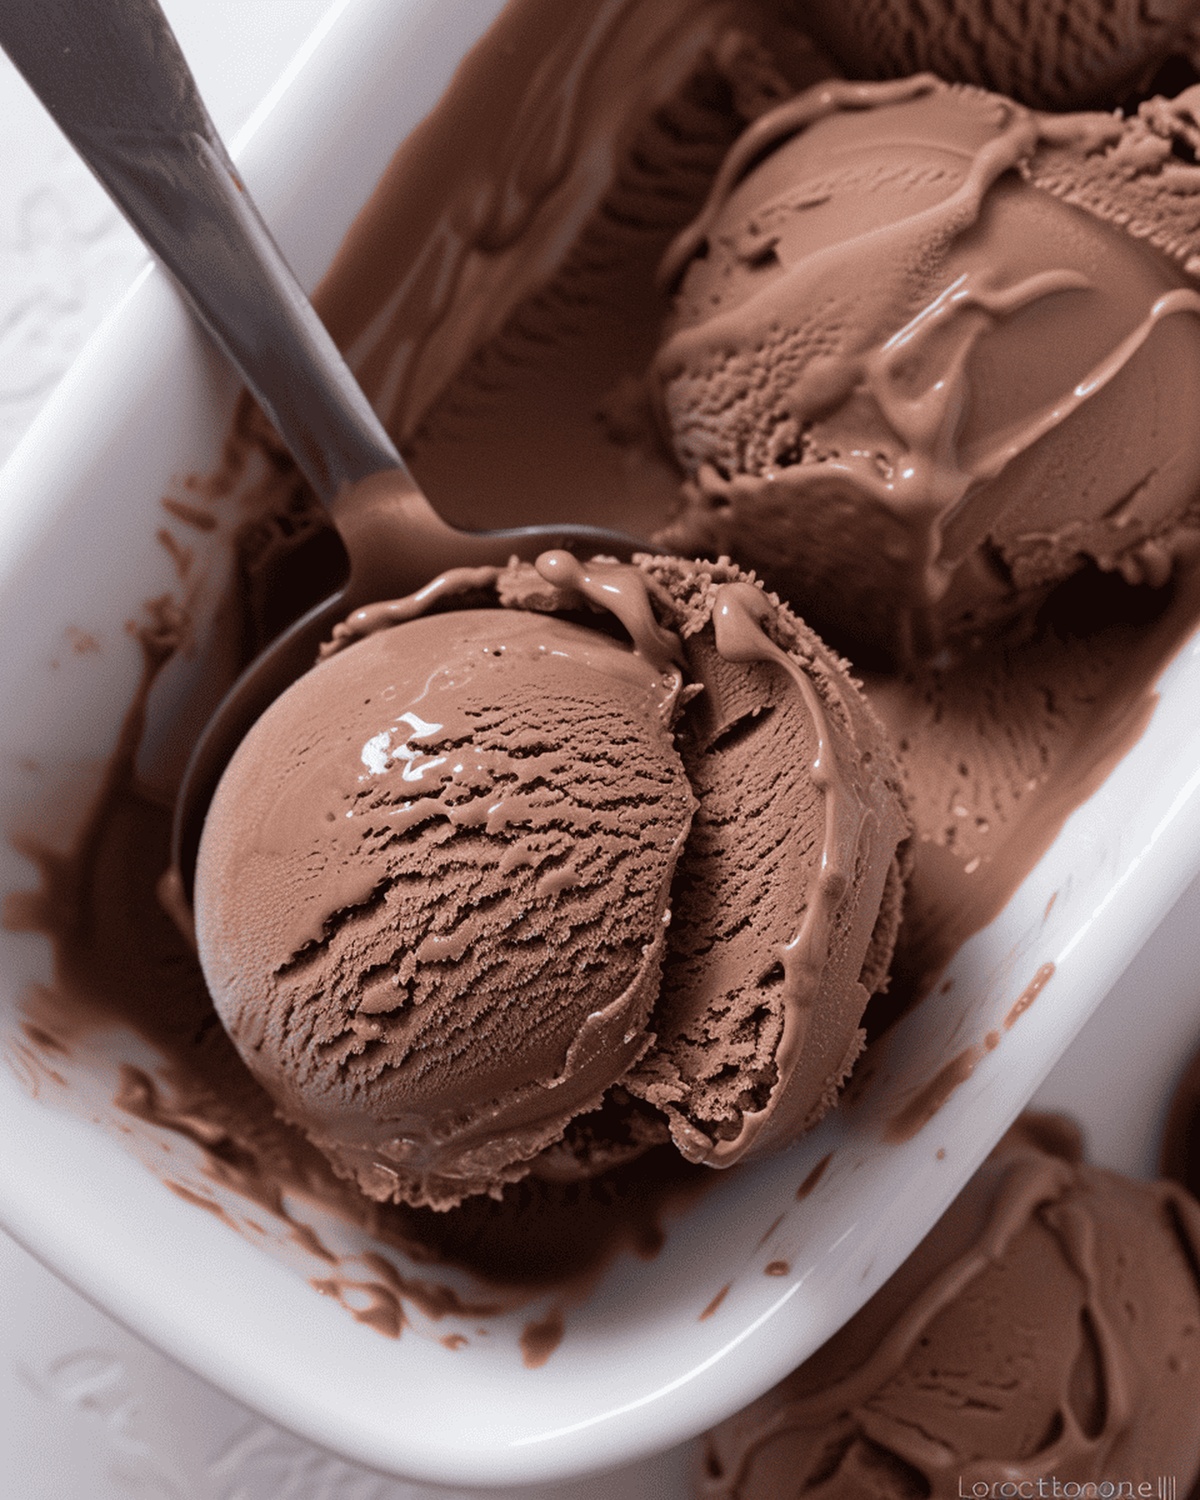
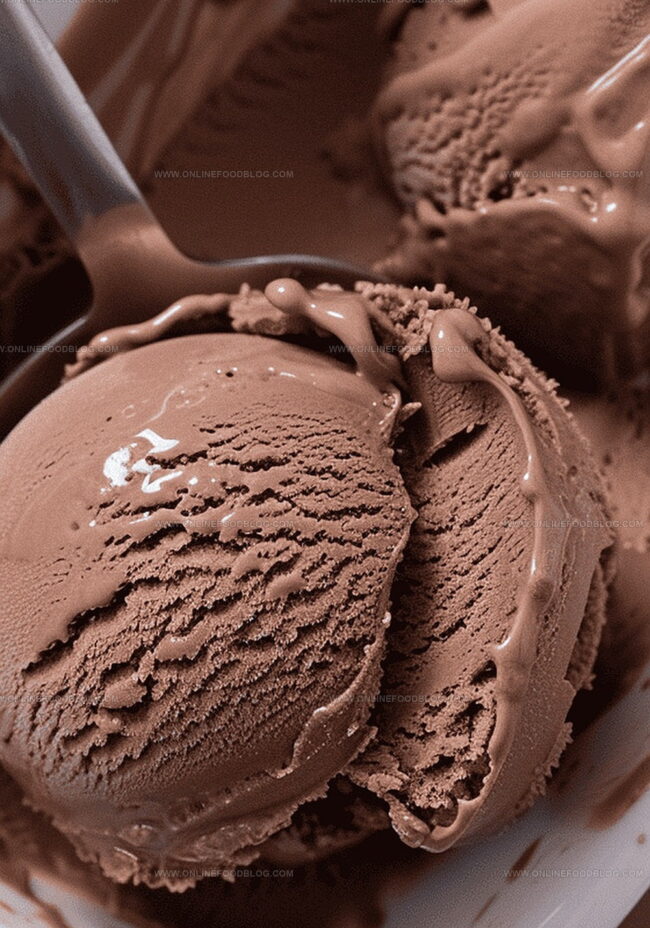
After freezing, let the ice cream rest at room temperature for a short while, allowing it to soften into a creamy, spoonable delight that melts effortlessly on your tongue.
Flavor Twists & Toppings for This Dessert
Chocolate Ice Cream Serving Suggestions
Frozen Storage Guidelines for Creaminess
Print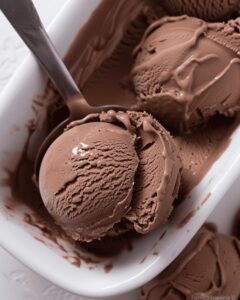
Velvety Chocolate Ice Cream Recipe
- Total Time: 11 minutes
- Yield: 5 1x
Description
Rich and creamy no-churn chocolate ice cream emerges as a delightful dessert without complicated techniques. Chocolate lovers can easily craft this indulgent treat, enjoying a smooth, luxurious scoop that satisfies sweet cravings.
Ingredients
- 2 cups (480 ml) heavy whipping cream
- 1 14-oz (300 ml) can sweetened condensed milk
- ¼ cup (60 ml) chocolate fudge sauce
- 2 tbsps cocoa powder
- 1 tbsp vanilla extract
- 1 pinch salt (optional)
Instructions
- Cream Preparation: Whip heavy cream in a large mixing bowl using an electric mixer at medium speed until stiff, glossy peaks form, creating a luxurious base for the ice cream.
- Flavor Fusion: Incorporate sweetened condensed milk, chocolate sauce, cocoa powder, vanilla extract, and kosher salt into the whipped cream, gently folding with a silicone spatula to maintain the cream’s airy texture and create a smooth, uniform mixture.
- Freezing Process: Pour the chocolate cream mixture into a 9-inch loaf pan or 2-quart ceramic dish, smoothing the surface evenly, then transfer to the freezer for 4-6 hours or overnight to allow complete solidification and flavor development.
- Serving Technique: Remove the ice cream from the freezer and let it rest at room temperature for 15-20 minutes, allowing it to soften and achieve a perfect, creamy consistency before scooping and indulging in the rich chocolate dessert.
Notes
- Whip Cream Technique: Achieve glossy, stiff peaks by using an electric mixer at medium speed, which ensures the perfect foundation for a smooth, creamy no-churn ice cream.
- Mixing Matters: Gently fold ingredients to maintain the whipped cream’s airy texture, avoiding overmixing that could deflate the mixture and compromise the ice cream’s light consistency.
- Freezing Finesse: Allow 4-6 hours or preferably overnight freezing to develop rich flavors and create a perfectly smooth, scoopable texture.
- Serving Tip: Let the ice cream sit at room temperature for 15-20 minutes before serving to soften and enhance its creamy, indulgent mouthfeel.
- Prep Time: 5 minutes
- Cook Time: 6 hours
- Category: Desserts, Snacks
- Method: Blending
- Cuisine: American
Nutrition
- Serving Size: 5
- Calories: 420
- Sugar: 29 g
- Sodium: 70 mg
- Fat: 30 g
- Saturated Fat: 18 g
- Unsaturated Fat: 12 g
- Trans Fat: 0 g
- Carbohydrates: 35 g
- Fiber: 1 g
- Protein: 4 g
- Cholesterol: 100 mg
Mia Reynolds
Food Writer & Home Cooking Specialist
Expertise
Easy Home Baking, Recipe Writing and Storytelling, Local and Seasonal Ingredients, Baking for Beginners
Education
New England Culinary Institute (NECI), Montpelier, Vermont
Community College of Vermont, Winooski, Vermont
Mia Reynolds fell in love with baking as a teenager experimenting in her family kitchen. Her passion took her to New England Culinary Institute, where she learned practical pastry techniques, and later to Community College of Vermont to deepen her understanding of food management.
Mia combines clear, simple baking instructions with heartwarming stories, making home baking approachable for everyone.