Luscious Brownie Ice Cream Sandwiches Recipe for Sweet Joy
Sweet summer days call for delightful, homemade brownie ice cream sandwiches that melt in your mouth.
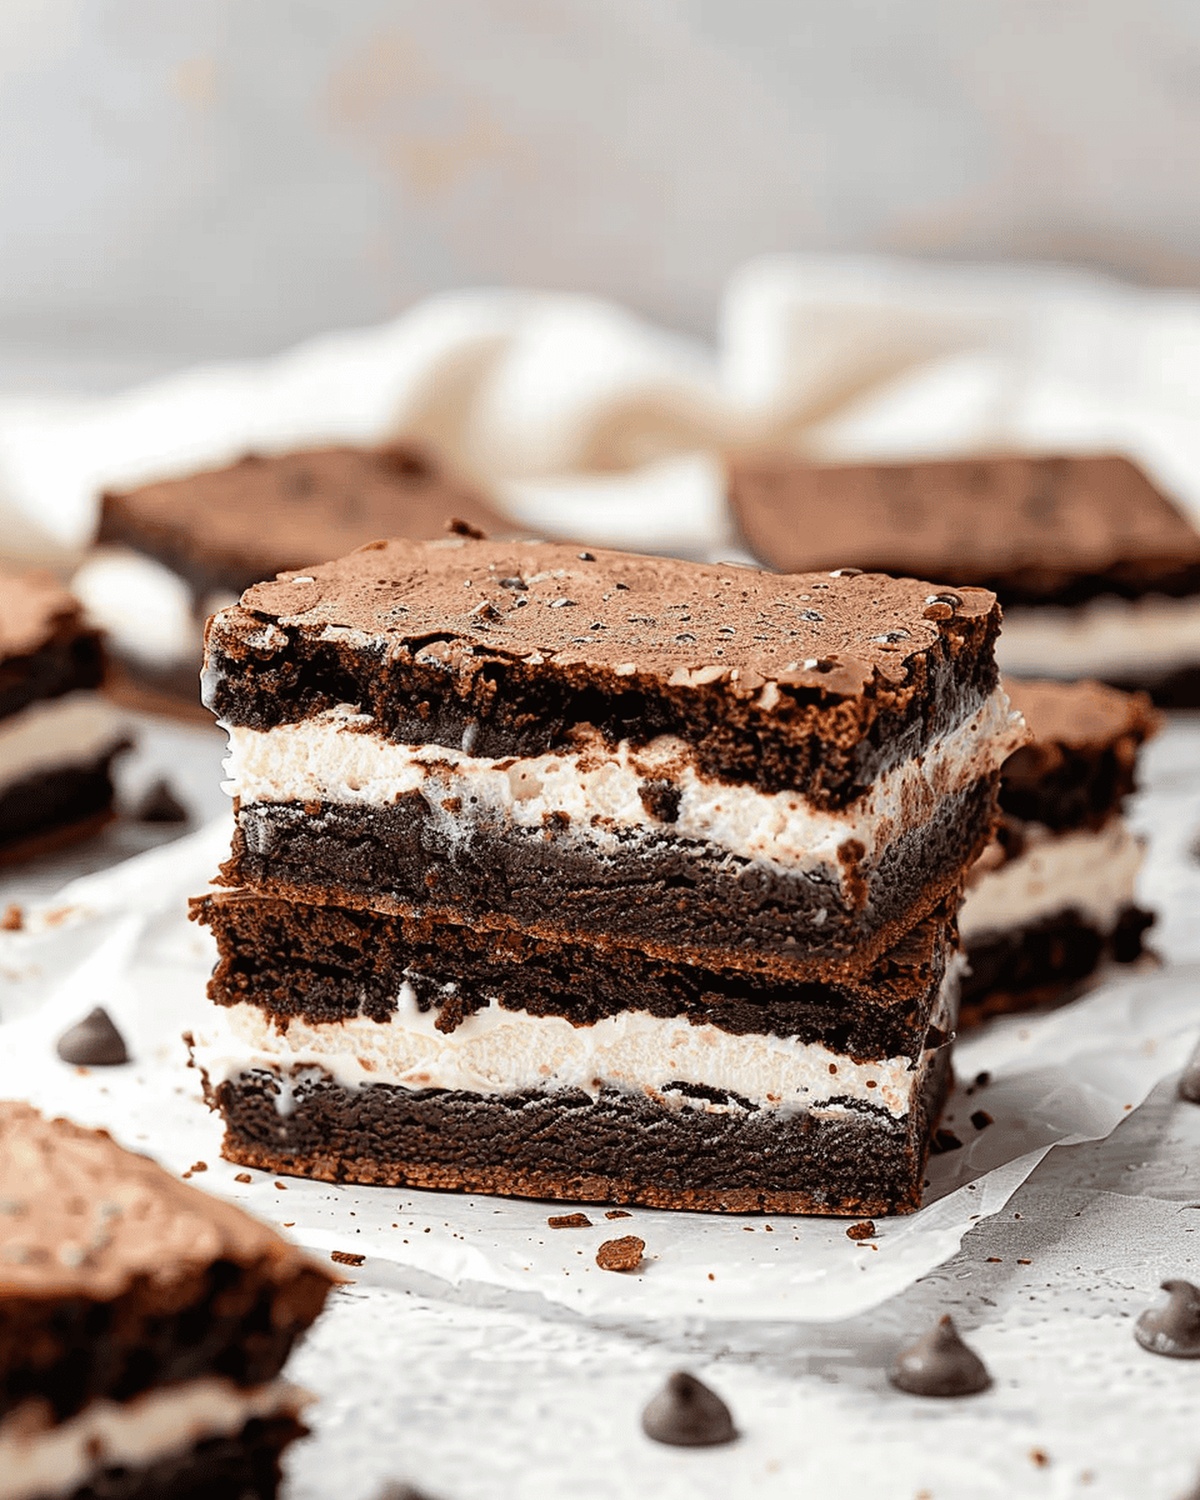
These decadent treats combine rich, fudgy brownies with creamy, smooth ice cream for an irresistible dessert.
The perfect balance of chocolate and cool sweetness makes this recipe a standout among classic summer sweets.
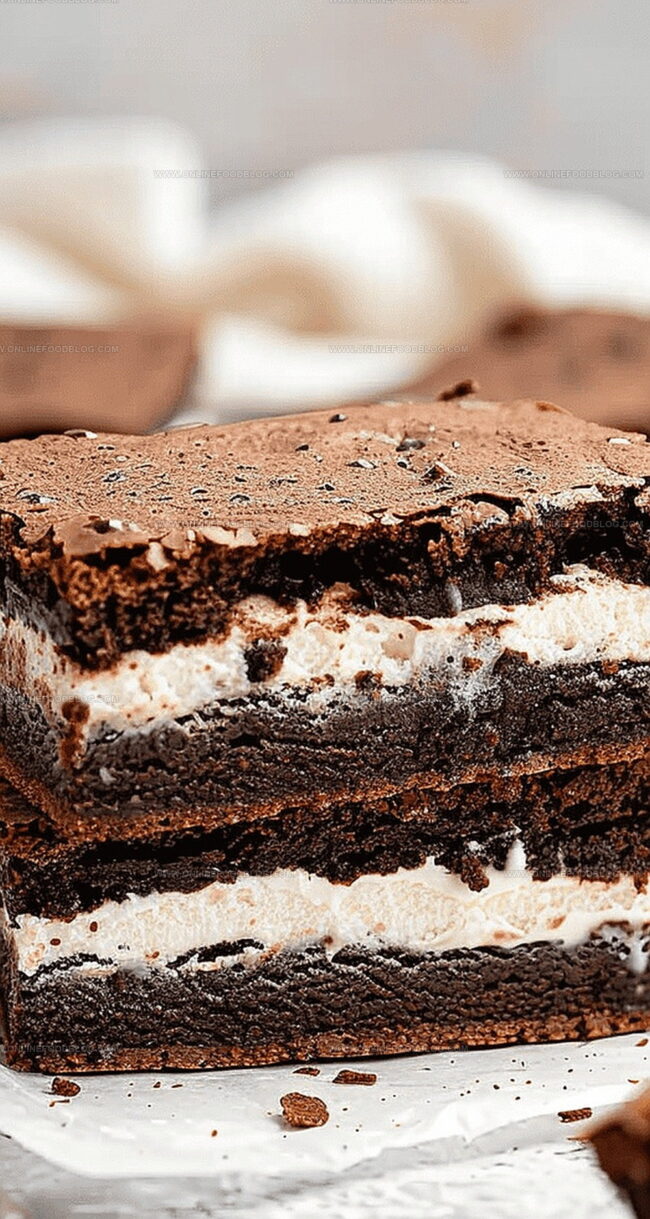
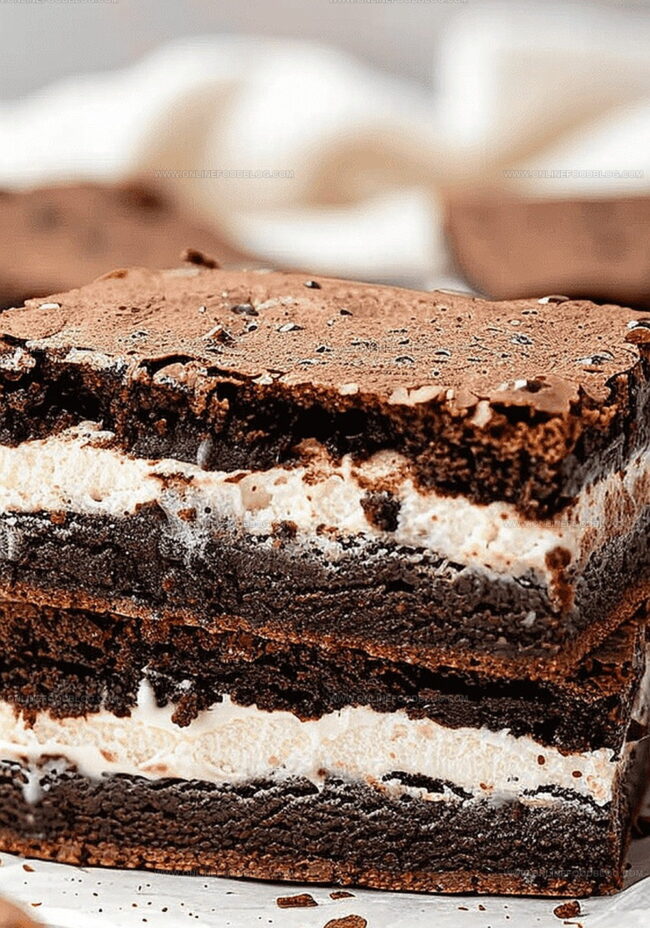
Layers of intense brownie texture sandwich silky vanilla or chocolate ice cream, creating a handheld delight.
Dense, chewy brownies provide the ideal vessel for your favorite ice cream flavor.
Each bite promises a luxurious blend of textures and temperatures that will make your taste buds dance.
Dive into this simple yet spectacular dessert that transforms an ordinary afternoon into a memorable indulgence.
Quick Recipe Overview
Brownie Ice Cream Sandwiches: Ingredient List
For Sweet Base:For Fat and Moisture:For Dry Ingredients and Flavor:For Filling:What You’ll Need for Brownie Sandwich Assembly
Instructions to Build Brownie Ice Cream Sandwiches
Brownie Ice Cream Adventure
Warm your oven to a cozy 350°F. Grab two 8×8-inch pans and coat them with a light butter shield. Tuck parchment paper inside, letting extra paper hang over the edges like little handles.
Blend melted butter with sweet sugars using an electric mixer. Whip in eggs one by one, creating a smooth, rich mixture that promises delectable texture. Stir in vegetable oil and vanilla for extra depth of flavor.
Whisk flour, cocoa, and salt in a separate bowl. Gently fold these powdery components into the wet mixture, mixing until just combined. Avoid overmixing to keep the batter tender.
Pour batter evenly into prepared pans. Bake for 30-40 minutes until a toothpick comes out nearly clean. Let brownies rest and cool completely on a wire rack.
Soften ice cream for a few minutes. Spread a generous layer of creamy goodness over one brownie base. Top with the second brownie layer, creating a decadent sandwich.
Wrap the creation in foil and let it hibernate in the freezer for at least 6 hours. Overnight works best for maximum flavor melding.
Remove from freezer and let sit briefly. Slice into perfect squares and indulge in your homemade frozen treat. Savor each chocolatey, creamy bite!
Flavor Additions for Ice Cream or Brownie Base
Best Presentation for Brownie Ice Cream Sandwiches
Storage Advice for Frozen Brownie Sandwiches
Print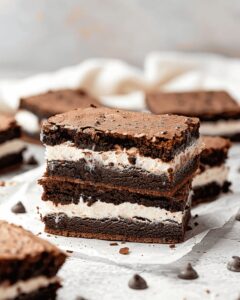
Velvety Brownie Ice Cream Sandwiches
- Total Time: 7 hours
- Yield: 22 1x
Description
Indulgent chocolate brownie ice cream sandwiches merge rich fudgy layers with creamy vanilla. Cool summer desserts invite sweet celebrations between friends and family.
Ingredients
- 1.5 quarts (1.4 liters) favorite ice cream flavor
- 1 ½ cups (340 grams) unsalted butter, melted
- 6 large eggs, room temperature
- 2 ¼ cups (450 grams) granulated sugar
- 1 ½ cups (300 grams) light brown sugar, packed
- 2 ¼ cups (280 grams) all-purpose flour
- 1 ½ cups (150 grams) cocoa powder
- 3 tablespoons (45 milliliters) vegetable oil
- 2 tablespoons (30 milliliters) pure vanilla extract
- 1 ½ teaspoons salt
Instructions
- Prepping Station: Position two 8×8-inch baking pans and preheat oven to 350°F, ensuring surfaces are thoroughly greased.
- Brownie Base Creation: Whisk melted butter with sugars until achieving a glossy, smooth consistency, then integrate eggs one at a time for a luxurious texture.
- Wet Ingredient Fusion: Blend vegetable oil and vanilla extract into the sugar mixture, creating a uniform, silky foundation for the brownies.
- Dry Ingredient Integration: Gently fold sifted flour, cocoa powder, and salt into the wet ingredients, maintaining a delicate touch to prevent overmixing.
- Baking Process: Spread batter evenly across prepared pans and bake for 30-40 minutes, checking doneness with a toothpick that should emerge with minimal residue.
- Cooling and Layering: Allow brownies to cool completely, then position one half back in the pan and spread softened ice cream across the surface.
- Sandwich Assembly: Carefully place the second brownie half atop the ice cream, creating a unified dessert structure.
- Freezing and Setting: Wrap the assembled treat securely and freeze for a minimum of 6 hours to allow flavors to meld and set.
- Serving Preparation: Remove from freezer, let temper for 5-10 minutes, then slice into 8 elegant squares, revealing a decadent homemade dessert ready to be savored.
Notes
- Prevent Overmixing: Gently fold dry ingredients to maintain a tender, fudgy brownie texture without developing tough gluten strands.
- Temperature Control: Let brownies cool completely before adding ice cream to prevent melting and ensure clean, crisp layers.
- Freezing Technique: Wrap tightly in foil or plastic wrap to prevent freezer burn and preserve the dessert’s rich flavor profile.
- Serving Tip: Allow sandwiches to soften slightly at room temperature for 5-10 minutes, creating the perfect creamy-chewy consistency.
- Prep Time: 20 minutes (plus 6 hours freezing time)
- Cook Time: 30-40 minutes
- Category: Desserts, Snacks
- Method: Baking
- Cuisine: American
Nutrition
- Serving Size: 22
- Calories: 384
- Sugar: 24 g
- Sodium: 110 mg
- Fat: 18 g
- Saturated Fat: 10 g
- Unsaturated Fat: 8 g
- Trans Fat: 0 g
- Carbohydrates: 54 g
- Fiber: 2 g
- Protein: 5 g
- Cholesterol: 85 mg
Mia Reynolds
Food Writer & Home Cooking Specialist
Expertise
Easy Home Baking, Recipe Writing and Storytelling, Local and Seasonal Ingredients, Baking for Beginners
Education
New England Culinary Institute (NECI), Montpelier, Vermont
Community College of Vermont, Winooski, Vermont
Mia Reynolds fell in love with baking as a teenager experimenting in her family kitchen. Her passion took her to New England Culinary Institute, where she learned practical pastry techniques, and later to Community College of Vermont to deepen her understanding of food management.
Mia combines clear, simple baking instructions with heartwarming stories, making home baking approachable for everyone.