
Luscious Bourbon Delight Bars Recipe: A Sweet Escape
Sweet, gooey, and packed with rich bourbon delight bars that melt in your mouth, these decadent treats will transport you straight to dessert heaven.
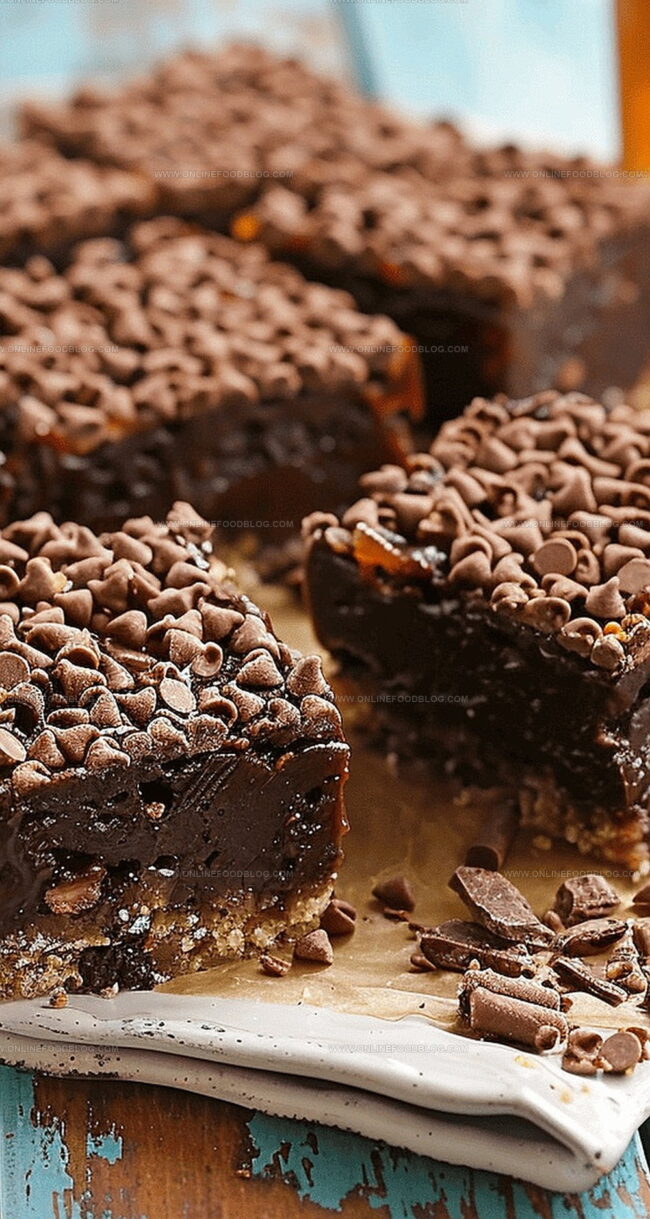
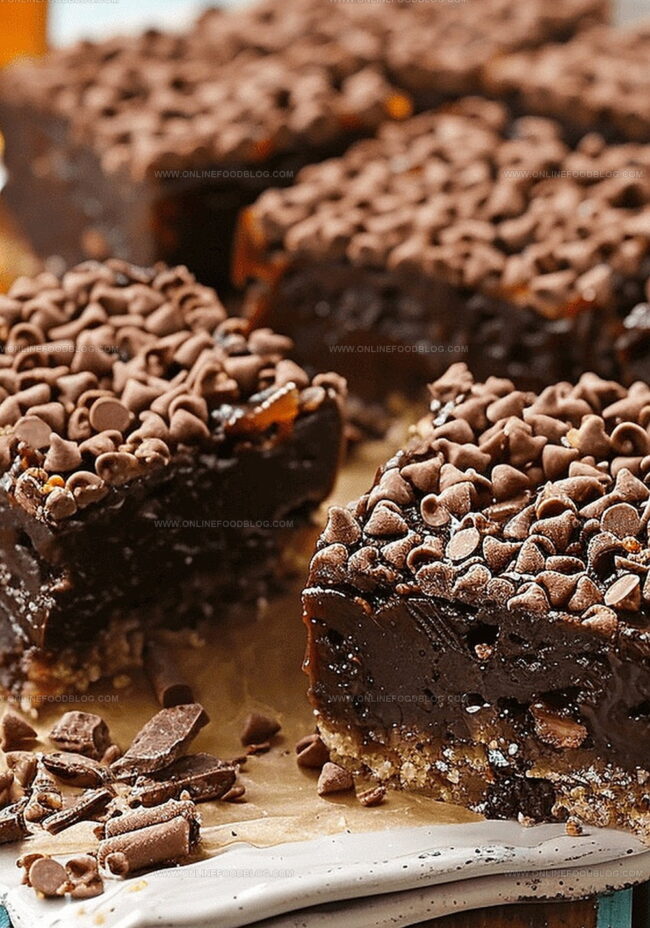
Layers of buttery graham cracker crust provide the perfect foundation for a creamy filling infused with smooth bourbon notes.
Chocolate drizzles and caramel swirls add luxurious depth to each irresistible bite.
Each bar offers a perfect balance of sweetness and subtle whiskey warmth that leaves you wanting more.
The recipe combines classic dessert elements with a sophisticated adult twist that impresses at every gathering.
Minimal ingredients and simple steps mean you can whip up these indulgent bars in no time.
Get ready to savor a dessert that’s both comforting and elegantly unique.
Quick Recipe Overview
Bourbon Bars: Ingredient List
For Base Ingredients:For Crumb and Texture Ingredients:For Topping Ingredients:What You’ll Use to Make Bourbon Bars
Simple Steps for Baking Bourbon Bars
Bourbon Delight Bars
Melt chocolate smoothly using low heat, stirring carefully to prevent burning. Create a silky mixture by blending sugar and corn syrup until perfectly combined.
Add bourbon and mix gently, ensuring a harmonious blend of rich flavors. Incorporate wafer crumbs and ground nuts for delightful texture and depth.
Select an 8-by-8-inch baking pan and line with parchment paper. Press the mixture firmly and evenly, creating a compact layer using a flat-bottomed tool.
Refrigerate the bars for at least 2 hours, allowing flavors to develop and meld together. Longer resting time enhances the overall taste experience.
Melt chocolate with butter and corn syrup until glossy and smooth. Pour over chilled bars, spreading evenly for a professional finish.
Sprinkle with chocolate shavings, chopped nuts, or coconut, gently pressing to secure toppings. Chill briefly to set the chocolate layer.
Cut into elegant bars and serve at cool room temperature. Store in an airtight container in the refrigerator for up to 5 days or freeze for later enjoyment.
Ways to Add a Twist to Bourbon Bars
How to Plate Bourbon Bars
Bourbon Bars Storage & Planning Tips
Print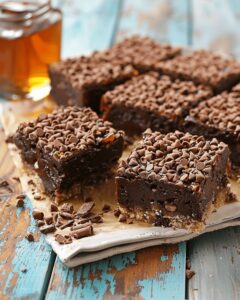
Velvety Bourbon Delight Bars
- Total Time: 25 minutes
- Yield: 13 1x
Description
Rich bourbon delight bars showcase classic Southern comfort with layers of caramel, pecans, and smooth whiskey-infused cream. Creamy dessert bars offer perfect balance between sweet indulgence and sophisticated flavor profile for passionate bakers.
Ingredients
- 6 oz (170 g) dark or semisweet chocolate chips or chopped chocolate
- 1 tbsp (15 mL) butter
- 2 tsp (10 mL) corn syrup
- Chocolate sprinkles
Instructions
- Chocolate Base Creation: Melt chocolate using a double boiler or microwave, stirring carefully to prevent scorching. Blend in sugar and corn syrup until a smooth paste forms, then gently incorporate bourbon for flavor depth.
- Crumb Integration: Fold wafer crumbs and ground nuts into the chocolate mixture, ensuring even distribution of ingredients throughout the base.
- Pan Preparation: Line an 8-by-8-inch baking pan with parchment paper or foil. Pour the chocolate mixture into the pan, using a tart tamper or flat-bottomed glass to compress and level the surface firmly.
- Chilling Process: Refrigerate the pan for a minimum of 2 hours, or ideally overnight, to allow complete setting and flavor development.
- Topping Application: Melt chocolate with butter and corn syrup over low heat to create a silky smooth layer. Remove the chilled base from the refrigerator and carefully pour the melted topping chocolate over the surface.
- Finishing Touches: Spread the topping evenly and garnish with chocolate sprinkles, chopped nuts, or shredded coconut, gently pressing to secure the decorations. Return to the refrigerator briefly to set the topping completely.
- Serving and Storage: Slice into bars using a sharp knife, wiping the blade between cuts for clean edges. Serve at cool room temperature for optimal texture. Store in an airtight container in the refrigerator for up to 5 days, or freeze for extended preservation.
Notes
- Prevent Chocolate Burning: Use low, gentle heat when melting chocolate and stir constantly to avoid scorching or seizing.
- Bourbon Integration Tip: Add bourbon gradually and mix thoroughly to ensure even flavor distribution throughout the chocolate base.
- Compression Technique: Use a tart tamper or flat-bottomed glass to firmly compact the mixture, creating a dense and uniform base layer.
- Chilling for Perfection: Allow bars to rest overnight in the refrigerator for maximum flavor development and optimal texture.
- Prep Time: 15 minutes
- Cook Time: 10 minutes
- Category: Desserts, Snacks
- Method: None
- Cuisine: American
Nutrition
- Serving Size: 13
- Calories: 150
- Sugar: 10 g
- Sodium: 20 mg
- Fat: 8 g
- Saturated Fat: 5 g
- Unsaturated Fat: 3 g
- Trans Fat: 0 g
- Carbohydrates: 18 g
- Fiber: 1 g
- Protein: 2 g
- Cholesterol: 5 mg
Mia Reynolds
Food Writer & Home Cooking Specialist
Expertise
Easy Home Baking, Recipe Writing and Storytelling, Local and Seasonal Ingredients, Baking for Beginners
Education
New England Culinary Institute (NECI), Montpelier, Vermont
Community College of Vermont, Winooski, Vermont
Mia Reynolds fell in love with baking as a teenager experimenting in her family kitchen. Her passion took her to New England Culinary Institute, where she learned practical pastry techniques, and later to Community College of Vermont to deepen her understanding of food management.
Mia combines clear, simple baking instructions with heartwarming stories, making home baking approachable for everyone.