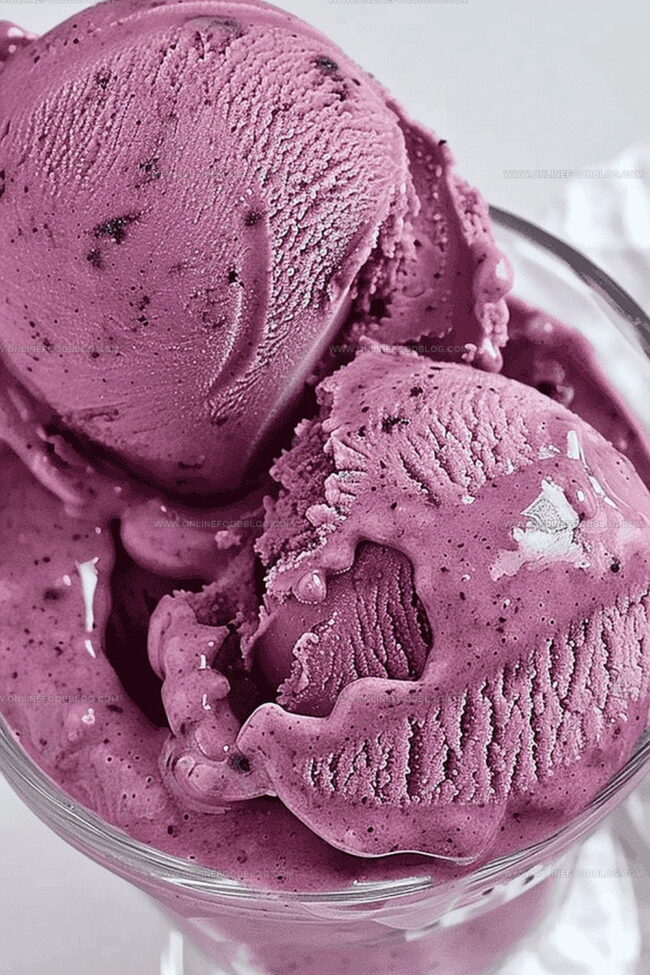
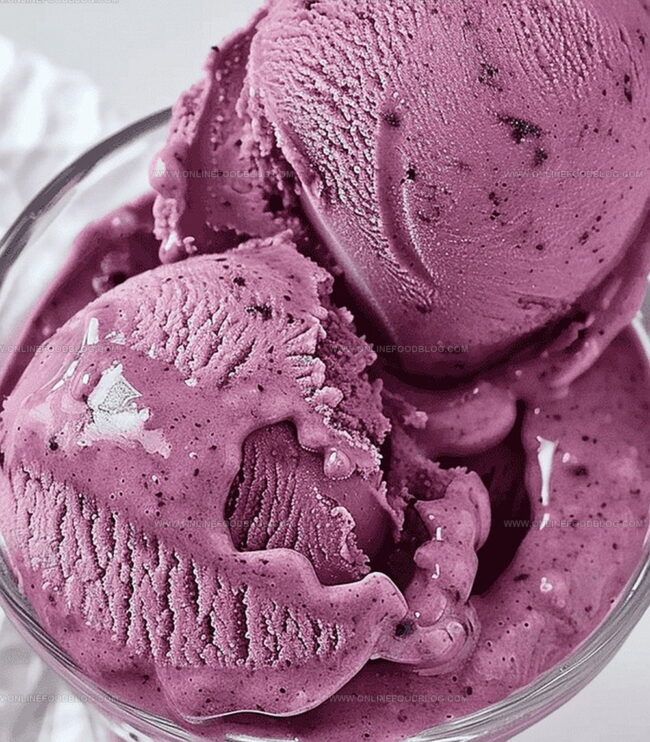
Summer’s sweet symphony finds its perfect melody in this homemade blueberry bliss ice cream that captures the essence of sun-kissed berries.
Local farmers’ markets burst with ripe, juicy blueberries waiting to be transformed into a creamy delight.
Each spoonful promises a luxurious escape from ordinary desserts, blending rich cream with vibrant berry flavor.
The recipe balances natural sweetness and smooth texture, creating a refreshing treat that dances on your palate.
Cool, indulgent, and surprisingly simple to make, this ice cream turns ordinary moments into delectable memories.
Grab your ingredients and get ready to savor a scoop of pure blueberry bliss that will have everyone asking for seconds.
Quick Recipe Overview
Prep Time: 10 minutes
Cook Time: 25 minutes
Total Time: 35 minutes
Calories: 210 kcal
Servings: 3
What Goes Into Blueberry Ice Cream
For Base and Liquid Ingredients:
Milk: Provides creamy foundation and helps balance the texture, choose whole milk for richer consistency.
Heavy Cream: Enhances smoothness and contributes to luxurious mouthfeel, select high-quality cream for best results.
Blueberry Pie Filling: Delivers intense fruity flavor and natural sweetness, opt for premium brand with real fruit chunks.
For Sweetening Component:
Sugar: Adjusts overall sweetness and improves freezing properties, add incrementally to match personal taste preference.
For Optional Texture Enhancement:
Immersion Blender: Helps create ultra-smooth mixture by breaking down ingredients completely, ensures uniform blending without lumps.
Tools That Make Blueberry Ice Cream a Breeze
Ninja Creami: Essential machine for creating creamy ice cream with perfect texture.
Pint Container: Special container that fits inside the Ninja Creami for mixing and freezing ingredients.
Immersion Blender: Optional tool for creating a smoother mixture before freezing.
Measuring Spoon: Helps add precise amounts of milk during re-spinning.
Spatula: Useful for stirring ingredients and scraping mixture evenly in the container.
Lid: Keeps mixture sealed and protected during freezing process.
How to Prepare Blueberry Ice Cream from Scratch
Flavor Foundation Prep Grab a Ninja Creami pint container and mix your blueberry pie filling with creamy dairy ingredients until everything blends into a smooth, promising base.
Sweet Symphony Adjust the sweetness to your taste, knowing the flavor will slightly mellow after freezing.
Freezer Slumber Let the mixture rest flat in the freezer for a full day, allowing the ingredients to mingle and develop rich flavors.
Creami Magic Moment Remove the container from the freezer and carefully place it into the Ninja Creami machine, positioning everything precisely.
Transformation Trigger Press the Ice Cream button and watch your mixture transform into a dreamy, scoopable dessert.
Texture Perfection If the result looks a bit crumbly, simply use the Re-spin function. A splash of milk can help achieve that silky smooth consistency you’re craving.
Flavor Ideas & Tweaks for Blueberry Ice Cream
Replace blueberry pie filling with raspberry, cherry, or strawberry preserves for a vibrant flavor twist and colorful presentation.
Fold in chopped toasted almonds, white chocolate chips, or graham cracker crumbles during the final spin for delightful crunch and added interest.
Experiment with coconut milk or almond milk for a lighter, non-dairy version that still maintains creamy consistency and rich taste.
Stir in a splash of vanilla extract, almond extract, or a pinch of cinnamon to elevate the underlying flavor profile and create depth in your ice cream.
Prepare multiple base mixtures in advance and store in freezer containers, allowing quick ice cream creation whenever sweet cravings strike.
Serving Up Blueberry Ice Cream with Style
Serve Alongside Complementary Treats: Pair the blueberry bliss ice cream with warm pound cake, crisp shortbread cookies, or toasted almond biscotti for added texture and flavor contrast.
Garnish with Fresh Flair: Sprinkle chopped fresh mint leaves, toasted coconut flakes, or crushed graham crackers on top to enhance visual appeal and provide delightful crunch.
Create Beautiful Presentation: Scoop the ice cream into chilled glasses or vintage dessert bowls, and drizzle with a light honey or lavender syrup for an elegant touch that elevates the dessert experience.
Craft Cool Dessert Combos: Layer the blueberry ice cream with vanilla whipped cream in a parfait glass, or create a deconstructed sundae with crumbled shortbread and a light blueberry compote on the side.
How to Store Blueberry Ice Cream Smoothly
Freeze with Finesse: Store your blueberry bliss ice cream in an airtight container to prevent freezer burn and maintain its creamy texture for up to 2 weeks.
Portion and Protect: Use small individual containers or wrap scoops in plastic wrap to keep each serving fresh and easy to grab when craving a sweet treat.
Thaw Smartly: Remove the ice cream from the freezer 5-10 minutes before serving to achieve the perfect scoopable consistency without melting completely.
Flavor Boosting Tip: Sprinkle fresh blueberries or a drizzle of honey just before serving to enhance the dessert’s taste and add a delightful visual appeal.
Homemade blueberry bliss ice cream delivers creamy indulgence with fresh summer berries. Rich, smooth dessert rewards passionate cooks seeking delightful frozen treats you can savor with pure pleasure.
Ingredients
Scale
1 ¼ cups (296 ml) blueberry pie filling
½ cup (118 ml) milk
¼ cup (59 ml) heavy cream
2 tablespoons (30 ml) sugar (optional)
Instructions
Preparation: Combine blueberry pie filling, whole milk, and heavy cream in a Ninja Creami pint container using an immersion blender to create a silky, uniform mixture.
Flavor Calibration: Taste and fine-tune sweetness, acknowledging that freezing will slightly mute the overall flavor intensity.
Freezing Protocol: Seal the container and position horizontally in the freezer for a full 24-hour crystallization period.
Machine Setup: Remove the frozen mixture, transfer to the Ninja Creami’s outer bowl, securing it firmly within the appliance’s locking mechanism.
Processing Cycle: Activate the Ice Cream setting, allowing the machine to transform the frozen base into a smooth, creamy dessert.
Texture Refinement: Assess the initial result. If the mixture appears granular, utilize the Re-spin function to enhance smoothness and consistency.
Final Adjustment: For persistently uneven texture, introduce small amounts of whole milk and re-spin until achieving a luxuriously velvety ice cream with optimal scoopability.
Notes
Flavor Balancing: Taste and adjust sweetness before freezing, understanding that flavors will mellow during the freezing process.
Freeze Timing: Allow a full 24-hour freezing period to ensure complete solidification and optimal ice cream preparation.
Texture Troubleshooting: If the initial spin results in a crumbly mixture, use the Re-spin function and gradually add milk to achieve a smooth, creamy consistency.
Equipment Precision: Ensure exact container placement in the Ninja Creami and securely lock the bowl to guarantee proper processing.
Degree: Certificate in Food and Beverage Management
Focus: Essential knowledge of recipe development, ingredient sourcing, and food business basics.
Mia Reynolds fell in love with baking as a teenager experimenting in her family kitchen. Her passion took her to New England Culinary Institute, where she learned practical pastry techniques, and later to Community College of Vermont to deepen her understanding of food management.
Mia combines clear, simple baking instructions with heartwarming stories, making home baking approachable for everyone.


Mia Reynolds
Food Writer & Home Cooking Specialist
Expertise
Easy Home Baking, Recipe Writing and Storytelling, Local and Seasonal Ingredients, Baking for Beginners
Education
New England Culinary Institute (NECI), Montpelier, Vermont
Community College of Vermont, Winooski, Vermont
Mia Reynolds fell in love with baking as a teenager experimenting in her family kitchen. Her passion took her to New England Culinary Institute, where she learned practical pastry techniques, and later to Community College of Vermont to deepen her understanding of food management.
Mia combines clear, simple baking instructions with heartwarming stories, making home baking approachable for everyone.