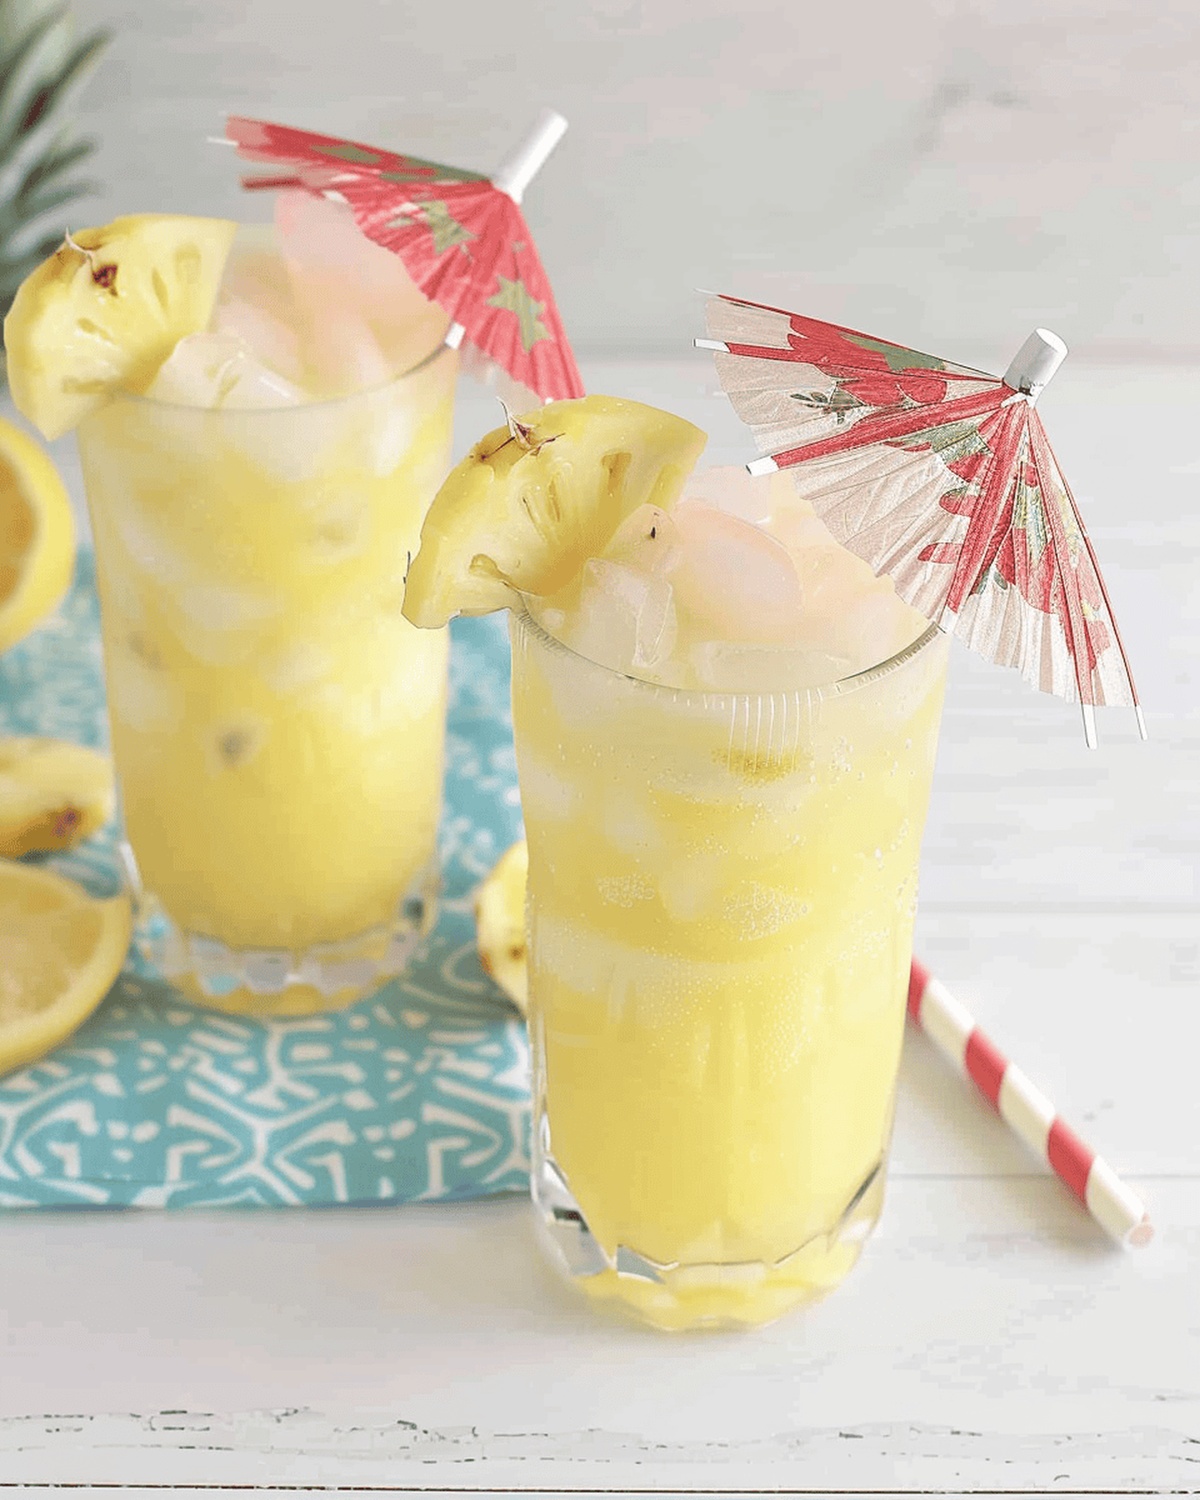
Icy Pineapple Lemonade Recipe: A Refreshing Summer Sipper
Summer heat demands a refreshing sip of frozen pineapple lemonade that sparks instant joy.
Tangy lemons dance with sweet tropical pineapple in this cool, vibrant drink.
Blending these bright flavors creates a smooth, icy sensation that instantly chills you down.
Each slushy gulp bursts with sunny citrus and luscious pineapple notes.
The drink combines simplicity with pure, crisp refreshment that feels like a mini vacation in a glass.
Toss in some fresh mint leaves for an extra layer of coolness and aroma.
Dive into this simple recipe and turn an ordinary afternoon into a delightful tropical escape.
Quick Recipe Overview
Frozen Pineapple Lemonade: Ingredient Breakdown
For Blending Base:For Optional Garnish:For Extra Enhancement:Tools to Blend the Perfect Frozen Pineapple Lemonade
How to Mix, Freeze, and Pour Pineapple Lemonade
Grab your trusty blender and toss in chilled pineapple chunks straight from the freezer, along with refreshing lemonade and some ice cubes. This combination promises a zesty, cool drink that’ll make your taste buds dance.
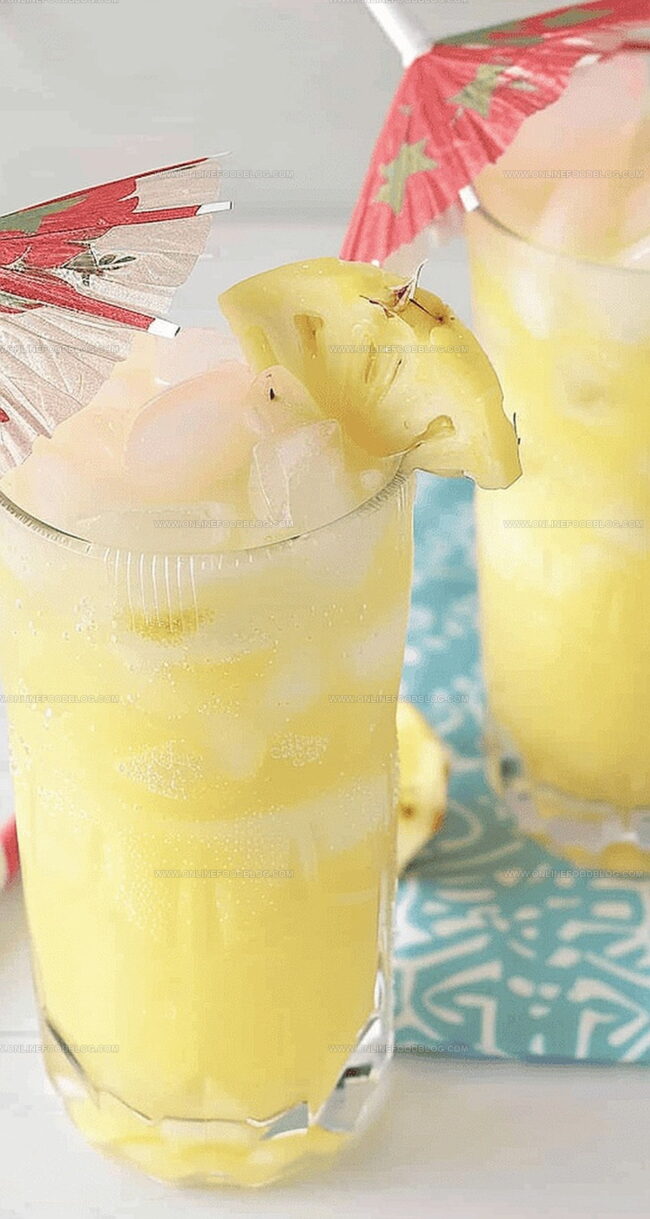
Fire up the blender and pulse everything together until the mixture becomes silky and uniform. Watch as the vibrant yellow and white swirl creates a tempting summer treat that looks as good as it tastes.
Carefully pour the frosty concoction into glasses, letting the smooth liquid cascade gently. Each serving will capture the essence of a tropical paradise, ready to beat the heat and bring instant refreshment.
Flavor Enhancements and Garnish Tips
Serving Frozen Pineapple Lemonade at Any Event
Freezer Tips for Pineapple Lemonade Storage
Print
Tropical Pineapple Lemonade Recipe
- Total Time: 5 min
- Yield: 5 1x
Description
Cool summer treats like this frozen pineapple lemonade offer refreshing relief on hot days. Caribbean-inspired flavors blend tangy citrus with sweet tropical notes, inviting you to savor each slushy sip.
Ingredients
- 2 cups (473 ml) lemonade
- 1 16-oz (454 g) package frozen pineapple
- 4 cups (946 ml) ice
Instructions
- Blending Preparation: Chill blender with ice cubes to create a frosty base for the tropical beverage.
- Flavor Integration: Combine frozen pineapple chunks and fresh lemonade in the blender, ensuring a perfect balance of sweet and tangy flavors.
- Texture Transformation: Pulse ingredients thoroughly until achieving a smooth, slushy consistency with no remaining ice fragments.
- Finishing Touch: Gently swirl the mixture to guarantee uniform flavor distribution and pour into chilled serving glasses.
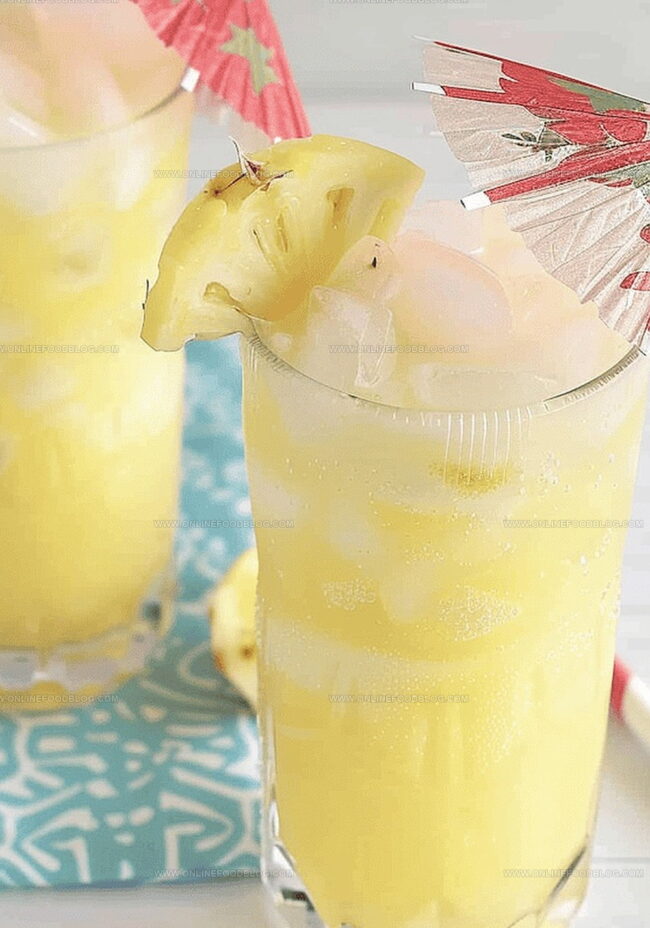
- Presentation: Optionally adorn with a delicate pineapple wedge or mint leaf to elevate the drink’s visual and aromatic appeal.
Notes
- Chill Your Ingredients: Use pre-frozen pineapple chunks and cold ice cubes for the most refreshing, smooth texture without diluting the drink’s intense flavor.
- Blend in Pulses: Short, quick blender pulses prevent over-processing and maintain the perfect slushy consistency, avoiding a watery result.
- Balance Sweetness: Adjust lemonade quantity based on pineapple’s natural sweetness to create a perfectly balanced tropical drink that isn’t too tart or sugary.
- Serve Immediately: Consume right after blending to enjoy the drink at its peak frostiness and prevent separation of ingredients.
- Prep Time: 5 min
- Cook Time: 0 minutes
- Category: Drinks, Snacks
- Method: Blending
- Cuisine: American
Nutrition
- Serving Size: 5
- Calories: 80
- Sugar: 16 g
- Sodium: 5 mg
- Fat: 0 g
- Saturated Fat: 0 g
- Unsaturated Fat: 0 g
- Trans Fat: 0 g
- Carbohydrates: 21 g
- Fiber: 1 g
- Protein: 1 g
- Cholesterol: 0 mg
Mia Reynolds
Food Writer & Home Cooking Specialist
Expertise
Easy Home Baking, Recipe Writing and Storytelling, Local and Seasonal Ingredients, Baking for Beginners
Education
New England Culinary Institute (NECI), Montpelier, Vermont
Community College of Vermont, Winooski, Vermont
Mia Reynolds fell in love with baking as a teenager experimenting in her family kitchen. Her passion took her to New England Culinary Institute, where she learned practical pastry techniques, and later to Community College of Vermont to deepen her understanding of food management.
Mia combines clear, simple baking instructions with heartwarming stories, making home baking approachable for everyone.