
Zesty Garlic Dill Refrigerator Pickles Recipe: Tangy Crunch
Tangy and crisp, these spicy garlic dill refrigerator pickles pack a serious punch of flavor that’ll make your taste buds dance.
Crunchy cucumber slices infused with bold garlic and zesty dill create a mouthwatering condiment that’s ridiculously easy to make.
No complicated canning process required – just a few simple ingredients and minimal effort stand between you and pickle perfection.
Fresh dill and fiery garlic mingle with vinegar and spices to deliver a knockout pickle that’s leagues beyond store-bought versions.
The magic happens right in your refrigerator, turning ordinary cucumbers into an addictive snack that’ll disappear faster than you can slice them.
Perfect for sandwiches, burgers, or straight-out-of-the-jar munching, these pickles are about to become your new obsession.
Quick Recipe Overview
Ingredients for Garlic Dill Refrigerator Pickles
For Pickling Base:For Vegetable and Aromatic Components:For Spice Blend:Equipment Guide for Garlic Dill Pickles
Instructions for Making Spicy Dill Pickles
Clean glass containers thoroughly with scalding water to ensure sterility and prevent bacterial growth.
Slice fresh cucumbers into elegant wedges or delicate rounds, selecting your preferred pickle shape.
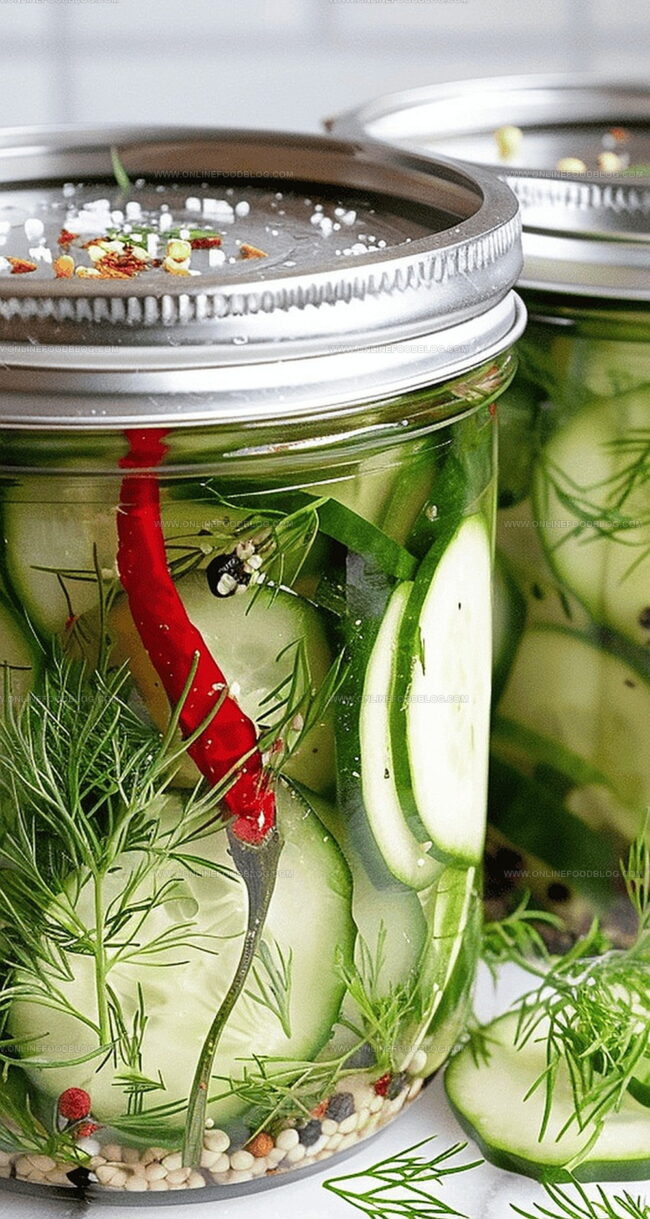
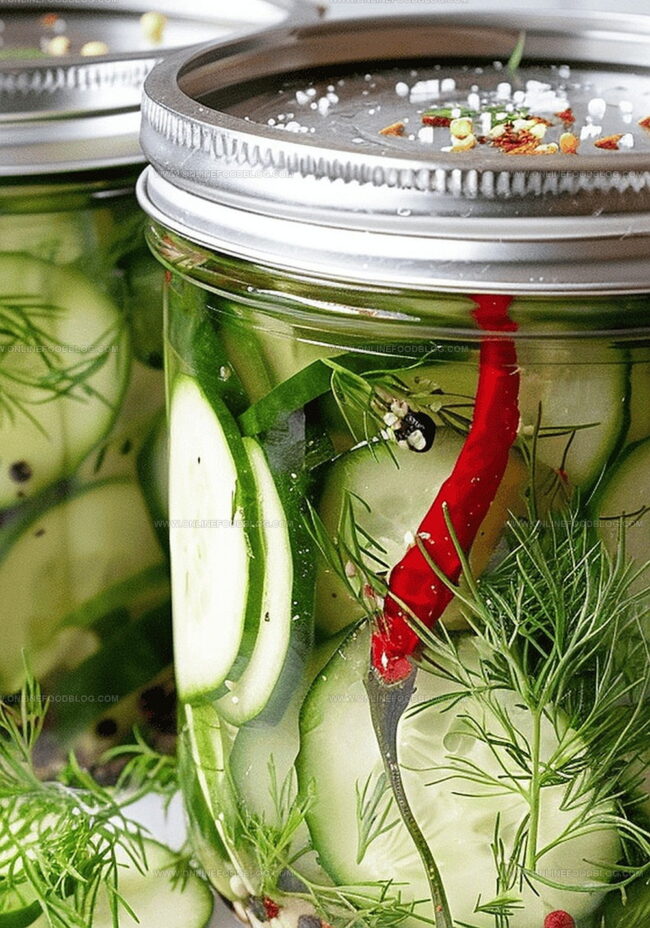
Create a vibrant pickle landscape by nestling cucumbers between fragrant dill, fiery chilies, and aromatic garlic cloves.
Sprinkle a harmonious blend of peppercorns, mustard seeds, and coriander seeds across the top of each jar for complex flavor profiles.
Craft a magical liquid by gently heating vinegar, water, salt, and sugar until the crystals dissolve, creating a tangy pickling elixir.
Lovingly pour the warm brine over the cucumber medley, ensuring every morsel is completely submerged in the flavorful liquid.
Seal jars tightly and tuck into the refrigerator, allowing the pickles to develop their bold personality for 24-48 hours. Savor these crisp delights within two weeks of preparation.
Pickling Tips for Garlic & Dill
Serve the Refrigerator Pickles Smartly
Store Garlic Dill Pickles Safely
Print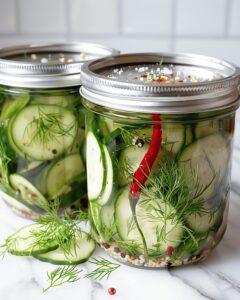
Tangy Garlic Dill Refrigerator Pickles
- Total Time: 25 minutes
- Yield: 5 1x
Description
Homemade garlic dill refrigerator pickles deliver crisp, tangy flavor with minimal kitchen effort. Quick ingredients and simple techniques help you craft delicious pickles that enhance sandwiches, salads, and snack plates.
Ingredients
- 1 lb (452 g) pickling cucumbers, blossom ends removed and cut into spears or chips
- 4 large garlic cloves, smashed
- 1 handful (4-6 sprigs) fresh dill
- 4 Thai chiles, stems removed
- 1 cup (255 g) white vinegar
- 1 cup (240 g) filtered water
- 1 tbsp (18 g) kosher salt
- 1 tsp black peppercorns
- 1 tsp yellow mustard seed
- 1 tsp coriander seed
- 2 tsps (8 g) granulated sugar
Instructions
- Sanitization: Thoroughly cleanse glass containers and lids with scalding water to prevent bacterial contamination.
- Cucumber Preparation: Slice cucumbers into slender spears or crisp circular medallions based on desired presentation.
- Jar Layering: Arrange cucumber pieces in sanitized jars, strategically placing dill fronds, chili peppers, and garlic cloves to create a dynamic flavor landscape.
- Seasoning Infusion: Sprinkle peppercorns, mustard seeds, and coriander seeds across the jar layers to introduce a complex, zesty dimension.
- Pickling Solution: Merge vinegar, water, salt, and sugar in a cooking vessel, gently heating until ingredients dissolve and the mixture reaches a delicate simmer.
- Liquid Immersion: Pour warm vinegar solution over cucumber arrangement, ensuring complete vegetable submersion and maximum flavor absorption.
- Preservation: Seal jars tightly and refrigerate, allowing flavor profiles to harmonize for 24-48 hours before indulging in the tangy, spicy pickles.
- Storage and Consumption: Savor these vibrant refrigerator pickles within two weeks, maintaining their crisp texture and robust taste through consistent cold storage.
Notes
- Sterilize with Care: Use boiling water to thoroughly clean jars and lids, preventing harmful bacteria from spoiling your pickles.
- Cut with Precision: Choose between cucumber spears or medallions based on your serving style and presentation preferences.
- Layer for Maximum Flavor: Strategically place dill, chili peppers, and garlic between cucumber pieces to create a complex, zesty taste profile.
- Seal and Chill: Tightly close jars after pouring hot pickling liquid and refrigerate for at least 24 hours to allow flavors to fully develop and intensify.
- Prep Time: 20 minutes
- Cook Time: 5 minutes
- Category: Snacks, Appetizer
- Method: Simmering
- Cuisine: American
Nutrition
- Serving Size: 5
- Calories: 23
- Sugar: 0.4 g
- Sodium: 460 mg
- Fat: 0 g
- Saturated Fat: 0 g
- Unsaturated Fat: 0 g
- Trans Fat: 0 g
- Carbohydrates: 5.3 g
- Fiber: 1.2 g
- Protein: 0.9 g
- Cholesterol: 0 mg
Mia Reynolds
Food Writer & Home Cooking Specialist
Expertise
Easy Home Baking, Recipe Writing and Storytelling, Local and Seasonal Ingredients, Baking for Beginners
Education
New England Culinary Institute (NECI), Montpelier, Vermont
Community College of Vermont, Winooski, Vermont
Mia Reynolds fell in love with baking as a teenager experimenting in her family kitchen. Her passion took her to New England Culinary Institute, where she learned practical pastry techniques, and later to Community College of Vermont to deepen her understanding of food management.
Mia combines clear, simple baking instructions with heartwarming stories, making home baking approachable for everyone.