
Fluffy, Golden Homemade Honey Buns Recipe for Breakfast Joy
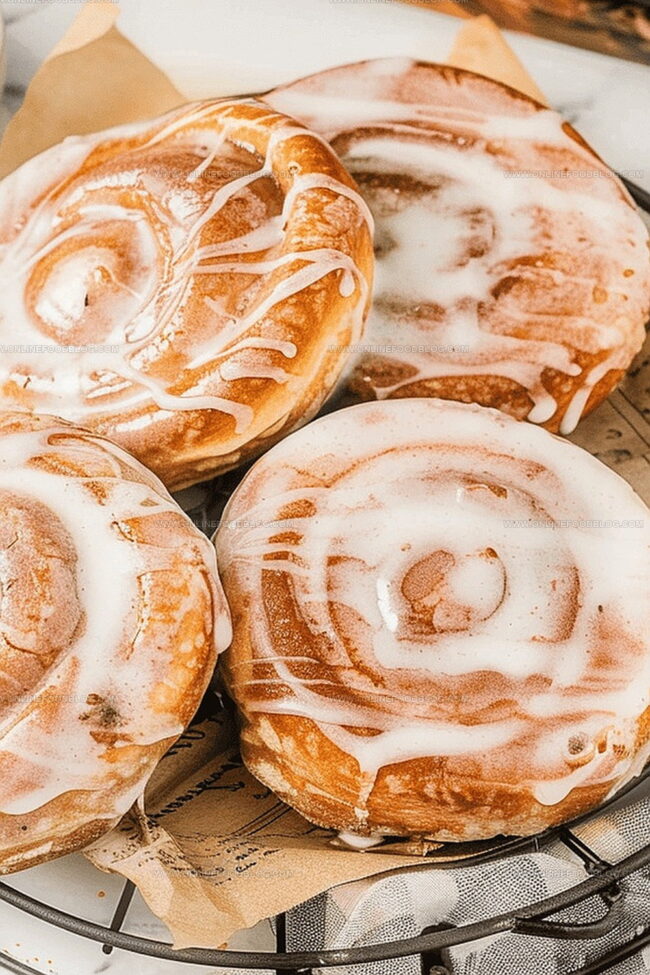
Sweet, pillowy, and irresistibly soft, these homemade honey buns will transport you to bakery bliss.
Baking enthusiasts adore this honey buns recipe for its tender crumb and delicate sweetness.
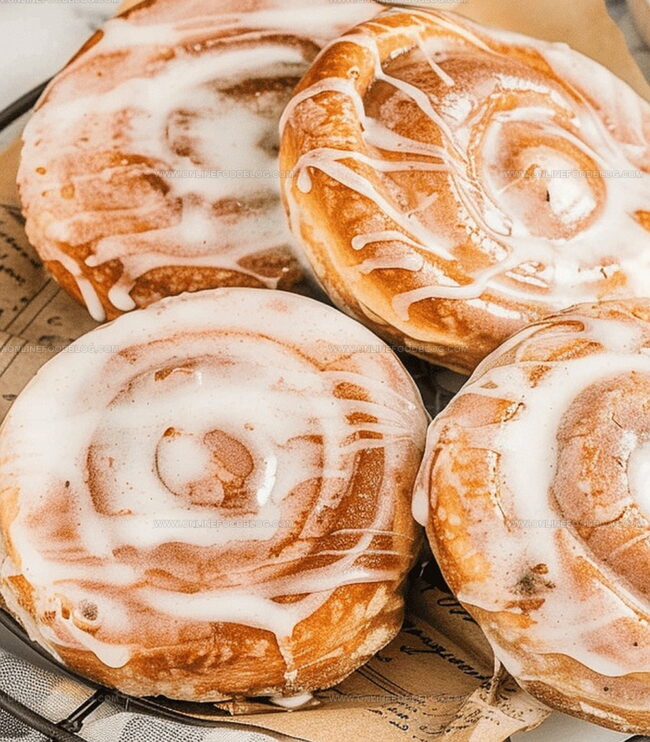
Golden brown edges peek through a delicate glaze that promises pure comfort in every bite.
Warm from the oven, these buns beckon with an aroma that fills your kitchen with warmth and nostalgia.
Each bite combines the rich depth of honey with a cloud-like texture that melts on your tongue.
Professional bakers and home cooks alike celebrate this simple yet extraordinary treat.
Let’s roll up our sleeves and create a batch of these delectable honey buns that will have everyone asking for seconds.
Quick Recipe Overview
Prep Time:
Ingredients in Homemade Honey Buns
For Dough Base:For Coating and Texture:For Glaze and Finishing:Tools to Make the Softest Honey Buns
Baking Instructions for Honey Buns
Mix water, sugar, and yeast in a mixer bowl. Allow the mixture to become bubbly and fragrant, creating the foundation for soft, pillowy dough.
Combine remaining ingredients and knead until the dough becomes smooth and elastic. The texture should be soft and slightly sticky, promising delightful treats.
Let the dough rest in a cozy spot, growing and developing rich flavors. The dough will expand and become puffy, signaling it’s ready for the next stage.
Roll out the dough and sprinkle with warm cinnamon sugar. Carefully shape into beautiful rolls, creating delicate swirls of sweet potential.
Allow the shaped rolls to become light and airy, preparing for their transformative cooking journey. The dough will become soft and pillowy.
Carefully drop the rolls into hot oil, watching them turn golden brown. Each bun will transform into a crispy, delectable treat with a beautiful exterior.
Whip up a silky honey glaze that will coat each bun in sweet, glistening goodness. The glaze adds a luxurious finish to the crispy pastries.
Dip each freshly fried bun into the honey glaze, creating a perfect sweet coating. Let them rest briefly to set their crispy, glossy exterior.
Flavoring Your Honey Buns
Ways to Serve Honey Buns Warm
Storage Tips for Freshness
Print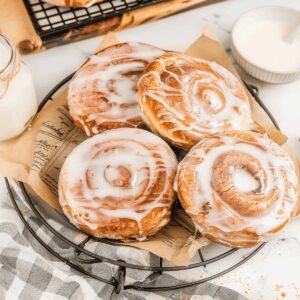
Sweet Honey Buns
- Total Time: 0 hours
- Yield: 13 1x
Description
Sweet homemade honey buns blend nostalgic bakery comfort with simple ingredients. Home cooks can craft these golden pastries quickly, creating warm memories for family gatherings.
Ingredients
- 4 ⅔ cups (1.17 L) powdered sugar
- 2 ½ tbsps (37.5 mL) honey
- 1 tbsp (15 mL) melted butter
- ½ tsp (2.5 mL) vanilla extract
- ¼ tsp (1.25 mL) salt
- Warm water (as needed)
Instructions
- Yeast Activation: Combine yeast with lukewarm water and a hint of sugar in a stand mixer. Allow the mixture to bloom and become frothy for about 5 minutes.
- Dough Formation: Attach the dough hook and introduce remaining sugar, flour, honey, shortening, egg yolks, vanilla, and salt. Knead until the dough transforms into a smooth, elastic consistency that stretches translucently.
- First Proofing: Transfer the dough to a greased bowl, ensuring complete coverage. Let it rest in a warm environment until volume doubles, approximately one hour.
- Flavor Preparation: Create a cinnamon sugar blend by thoroughly mixing ground cinnamon and granulated sugar in a separate container.
- Dough Shaping: Gently deflate the risen dough and roll it out on a floured surface into a rectangular shape. Distribute the cinnamon sugar evenly, pressing it lightly into the dough. Roll from the longest side to form a compact log, then slice diagonally into uniform sections.
- Second Proofing: Arrange the shaped pieces on a parchment-lined baking sheet, leaving adequate spacing. Allow them to develop a puffy texture for approximately 45 minutes.
- Frying Process: Heat oil to 365°F, maintaining a consistent temperature. Carefully lower honey buns into the hot oil, frying each side for about 90 seconds until achieving a rich golden-brown color.
- Glaze Creation: Whisk powdered sugar, honey, melted butter, vanilla, and salt. Gradually introduce warm water to develop a smooth, pourable glaze.
- Final Touches: Transfer fried honey buns to a wire rack and immediately immerse each in the prepared glaze, ensuring complete and even coverage for a crisp, sweet exterior.
Notes
- Yeast Activation Tip: Ensure water temperature is between 100-110°F for optimal yeast performance, preventing potential killing or sluggish activation.
- Dough Stretching Test: When kneading, perform a windowpane test by stretching a small piece of dough. Translucent, thin membrane indicates perfect gluten development.
- Oil Temperature Control: Use a candy thermometer to maintain precise 365°F oil temperature, preventing burnt exteriors or undercooked centers during frying.
- Glaze Consistency Hack: Add warm water incrementally to powdered sugar mixture, creating a smooth, drizzle-ready glaze that adheres perfectly to honey buns.
- Cook Time: 0 minutes
- Category: Breakfast, Snacks, Desserts
- Method: Frying
- Cuisine: American
Nutrition
- Serving Size: 13
- Calories: 200
- Sugar: 22 g
- Sodium: 20 mg
- Fat: 3 g
- Saturated Fat: 2 g
- Unsaturated Fat: 1 g
- Trans Fat: 0 g
- Carbohydrates: 38 g
- Fiber: 0 g
- Protein: 1 g
- Cholesterol: 10 mg
Mia Reynolds
Food Writer & Home Cooking Specialist
Expertise
Easy Home Baking, Recipe Writing and Storytelling, Local and Seasonal Ingredients, Baking for Beginners
Education
New England Culinary Institute (NECI), Montpelier, Vermont
Community College of Vermont, Winooski, Vermont
Mia Reynolds fell in love with baking as a teenager experimenting in her family kitchen. Her passion took her to New England Culinary Institute, where she learned practical pastry techniques, and later to Community College of Vermont to deepen her understanding of food management.
Mia combines clear, simple baking instructions with heartwarming stories, making home baking approachable for everyone.