
Sizzling Summer Charred Corn on the Cob Recipe for Cookouts
Sizzling summer days call for that perfect summer charred corn on the cob that captures the essence of outdoor grilling.
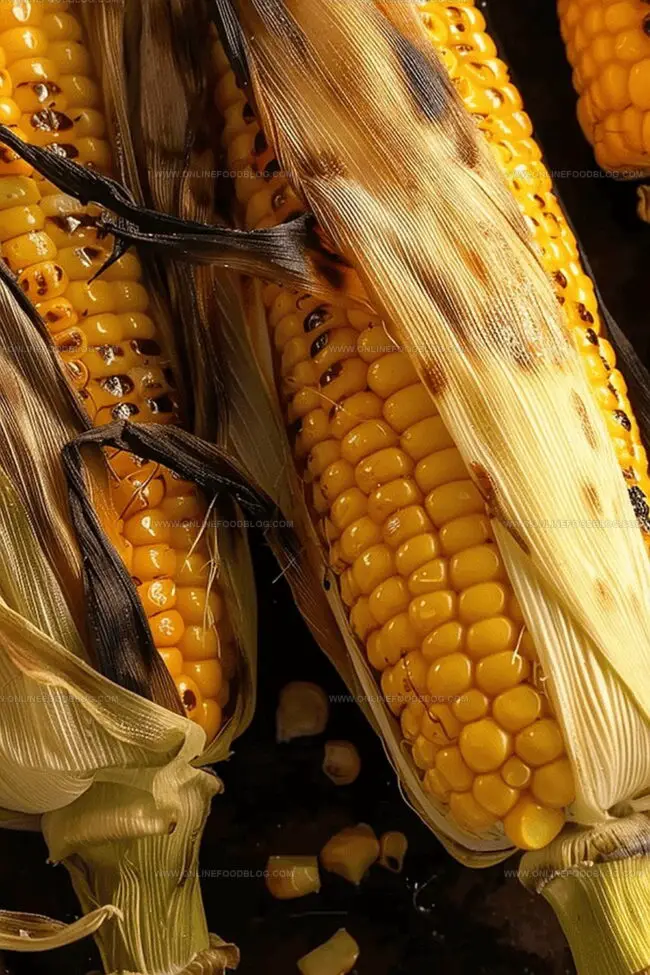
Flames dance around golden kernels, creating a smoky masterpiece that tantalizes taste buds.
the grill becomes your canvas, and each ear of corn transforms into a delectable work of art.
Seasoned with a blend of spices and a touch of butter, this corn promises to be more than just a side dish.
Sweet kernels caramelize, developing a rich, deep flavor that speaks to the heart of summer cookouts.
the char marks tell a story of heat, skill, and culinary passion.
Dive into this simple yet mouthwatering recipe that will make you the hero of any summer gathering.
Quick Recipe Overview
Ingredients to Make Summer Charred Corn on the Cob
For Corn Base:For Liquid Preparation:For Seasoning and Finishing:Gear for Grilling Perfect Charred Corn on the Cob
Cooking Instructions for Charred Summer Corn
Charred Corn Flavor Tips & Variations
How to Plate Charred Corn on the Cob
Storing Grilled Corn on the Cob Effectively
Print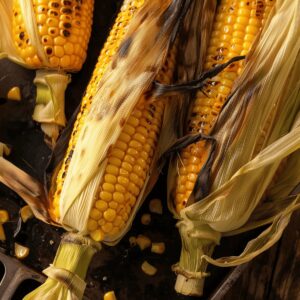
Smoky Summer Corn On The Cob Recipe
- Total Time: 21 minutes
- Yield: 7 1x
Description
Grilled summer charred corn on the cob celebrates seasonal sweetness with smoky Mexican-inspired flavors. Chili powder, lime, and cotija cheese elevate simple corn into a memorable street-style side dish you’ll crave.
Ingredients
- 6 ears sweet corn
- 2 cups (470 ml) water
- 4 tbsps (¼ cup or 60 ml) butter
- 1 tsp salt
- ½ tsp ground black pepper
- ½ tsp paprika
Instructions
- Husk Preparation: Gently peel back two layers of green husks from corn, leaving some natural covering intact to protect kernels during grilling.
- Moisture Immersion: Submerge corn completely in water for one hour, ensuring kernels remain hydrated and preventing rapid charring during cooking.
- Grill Setup: Heat outdoor grill to 450°F (232°C), creating optimal charring environment with direct heat zones.
- Grilling Technique: Position corn directly on hot grates, rotating every 5 minutes to ensure even caramelization and prevent burning, maintaining total grill time around 20 minutes.
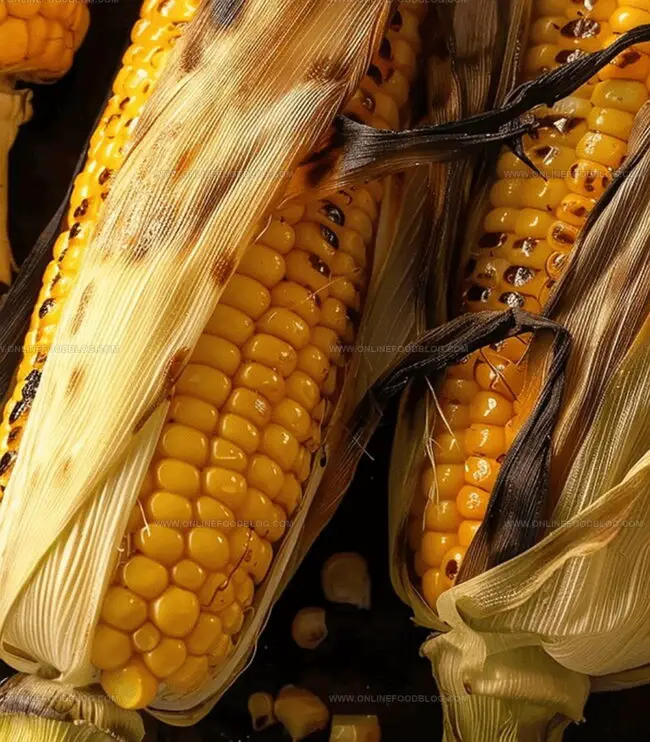
- Charring Completion: Remove corn when kernels display golden-brown exterior with slightly blackened edges, allowing brief cooling period for safe handling.
- Seasoning Finale: Carefully fold back grilled husks, revealing perfectly roasted kernels, then lavishly brush with melted butter and sprinkle with sea salt, cracked black pepper, or freshly chopped herbs for enhanced flavor profile.
Notes
- Soak for Success: Submerging corn in water for an hour prevents quick burning and ensures juicy, tender kernels during grilling.
- Heat Management: Maintain a consistent 450°F grill temperature to achieve perfect charred exterior without drying out the corn.
- Strategic Rotation: Turn corn every 5 minutes to create even, golden-brown char marks and prevent uneven cooking or burning.
- Flavor Enhancement: Remove husks carefully after grilling and immediately add butter and seasonings while corn is still warm for maximum taste absorption.
- Prep Time: 1 hour 10 minutes
- Cook Time: 20 minutes
- Category: Snacks, Side Dish
- Method: Grilling
- Cuisine: American
Nutrition
- Serving Size: 7
- Calories: 180
- Sugar: 5g
- Sodium: 200mg
- Fat: 8g
- Saturated Fat: 5g
- Unsaturated Fat: 3g
- Trans Fat: 0g
- Carbohydrates: 25g
- Fiber: 2g
- Protein: 4g
- Cholesterol: 15mg
Mia Reynolds
Food Writer & Home Cooking Specialist
Expertise
Easy Home Baking, Recipe Writing and Storytelling, Local and Seasonal Ingredients, Baking for Beginners
Education
New England Culinary Institute (NECI), Montpelier, Vermont
Community College of Vermont, Winooski, Vermont
Mia Reynolds fell in love with baking as a teenager experimenting in her family kitchen. Her passion took her to New England Culinary Institute, where she learned practical pastry techniques, and later to Community College of Vermont to deepen her understanding of food management.
Mia combines clear, simple baking instructions with heartwarming stories, making home baking approachable for everyone.