Juicy Sloppy Joe Grilled Burritos Recipe: A Family Favorite
Sloppy joe grilled burritos combine two beloved comfort foods into one mouthwatering culinary adventure.
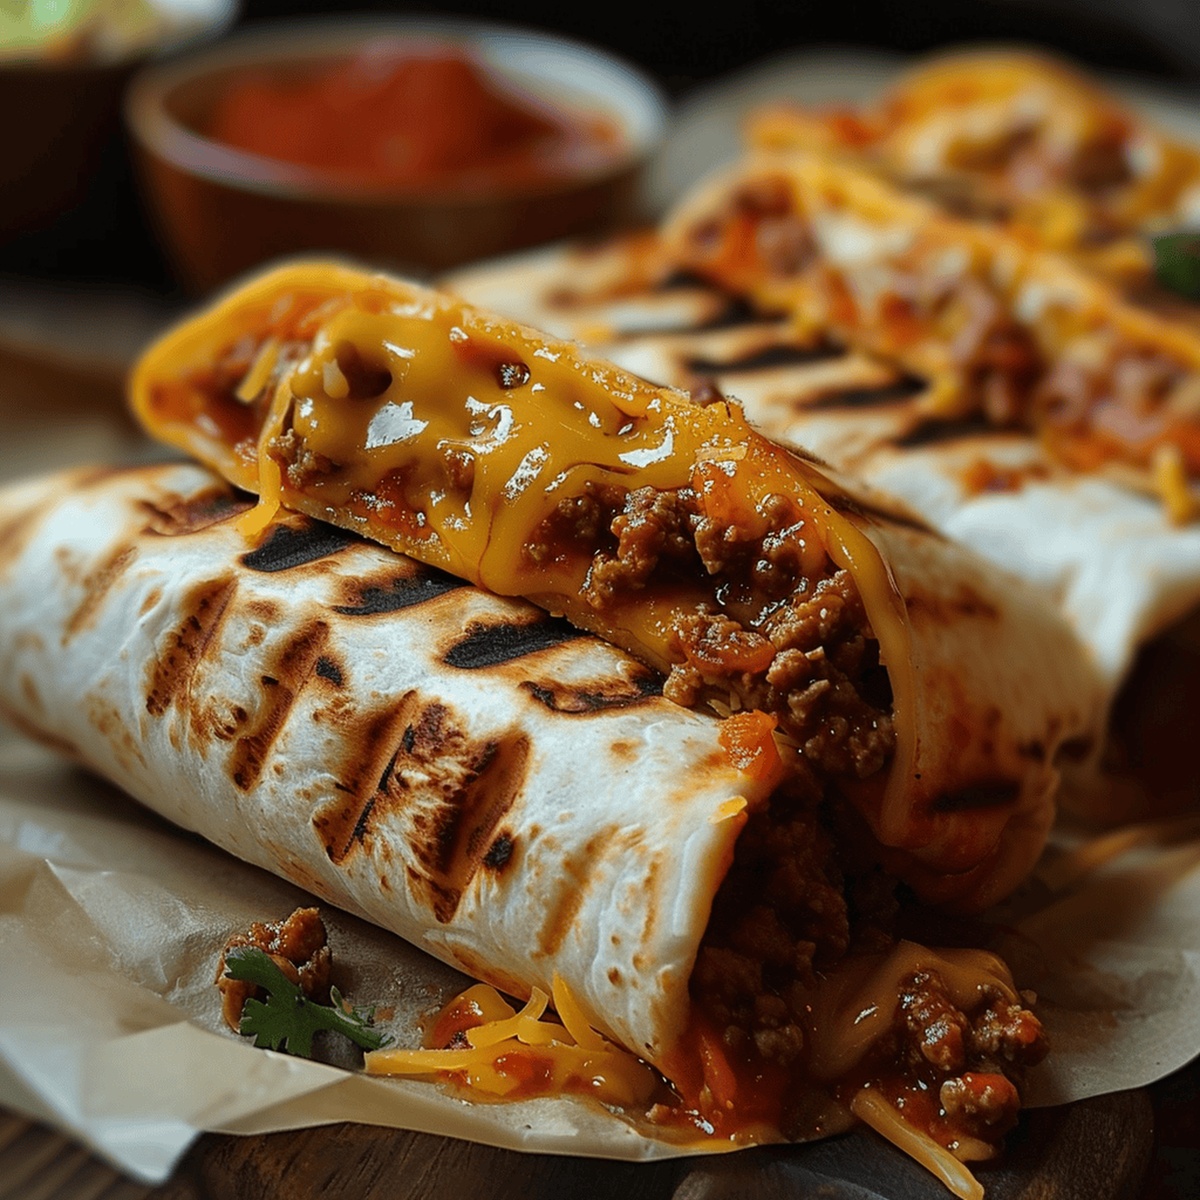
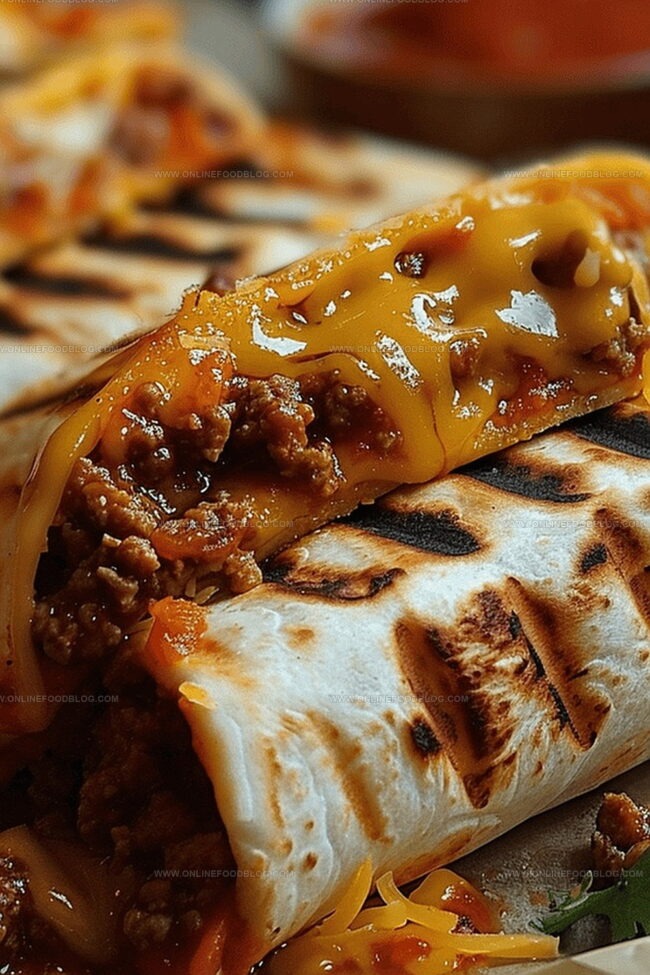
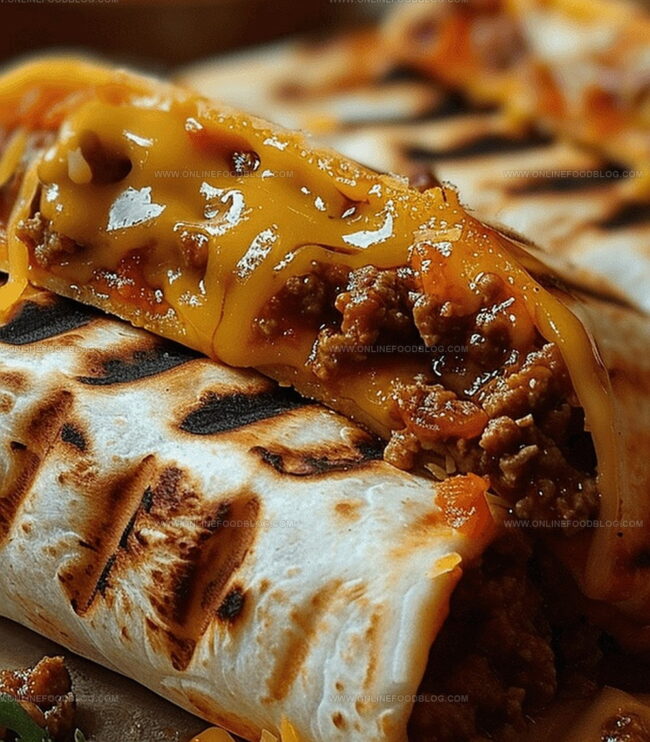
These hearty handheld delights convert classic sandwich flavors into a crispy, golden-brown wrap bursting with rich, savory goodness.
Messy yet magnificent, this recipe reimagines traditional ingredients through an unexpected fusion that tingles taste buds and challenges dinner expectations.
The robust filling promises a delightful blend of tangy, meaty sensations wrapped in a perfectly toasted tortilla.
Each bite delivers a satisfying crunch followed by a warm, zesty explosion of flavor that feels both familiar and innovative.
Melted cheese and caramelized edges elevate this dish from simple meal to crave-worthy creation.
Prepare to surprise your dinner companions with a clever twist on familiar favorites that will have everyone asking for seconds.
Why Sloppy Joe Grilled Burritos Are a Fun Twist
What Goes in Sloppy Joe Burritos
Meat Base:Sauce and Seasoning:Cheese and Wrapper:How to Make Grilled Sloppy Joe Burritos
Step 1: Prepare Sloppy Joe Filling
Drain excess fat from the pan.
Step 2: Create Flavor Sauce
In a small bowl, mix together:Stir until well combined.
Step 3: Combine Sauce With Beef
Pour sauce into the skillet with ground beef and mix thoroughly.
Step 4: Make Cheese Sauce
In a saucepan, melt together over low heat:Step 5: Assemble Burritos
Step 6: Fry Burritos
Step 7: Garnish And Serve
Sprinkle additional shredded Cheddar cheese on top of burritos.
Tips for Wrapping and Grilling Burritos
Store and Reheat Sloppy Joe Burritos Easily
Sides That Pair with Sloppy Joe Burritos
Burrito Variations That Add Even More Flavor
Print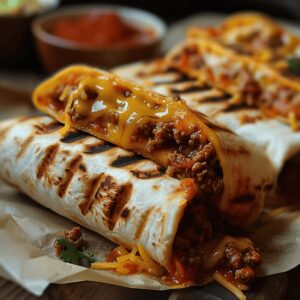
Sloppy Joe Grilled Burritos Recipe
- Total Time: 40 minutes
- Yield: 6 1x
Description
Sloppy Joe Grilled Burritos merge classic American comfort with Mexican-inspired street food flair. Hearty ground beef, zesty sauce, and melted cheese wrap together in a crispy tortilla, creating an irresistible handheld meal perfect for casual gatherings or quick dinner solutions.
Ingredients
Main Ingredients:
- 2 pounds (907 grams) lean ground beef
- 2 cups (226 grams) Cheddar cheese, shredded
- 1 cup (113 grams) Cheddar cheese, additional for sprinkling
Sauce and Seasoning Ingredients:
- ½ cup (120 milliliters) ketchup
- 3 tablespoons Worcestershire sauce
- 2 teaspoons light brown sugar
- 1 teaspoon onion powder
- Salt and pepper to taste
Vegetable and Dairy Ingredients:
- 2 tablespoons chopped onion
- 2 tablespoons red bell pepper, chopped
- 2 tablespoons green bell peppers, chopped
- ⅓ cup (80 milliliters) milk
- 1 tablespoon butter
Instructions
- In a large skillet, thoroughly cook ground beef over medium-high heat until no pink remains, breaking meat into small crumbles.
- Incorporate finely diced green bell peppers, red bell peppers, and onions into the beef. Season with salt and black pepper. Carefully drain excess fat from the pan.
- Create a flavor-enhancing sauce by whisking together ketchup, Worcestershire sauce, onion powder, and brown sugar in a separate mixing bowl.
- Pour the prepared sauce into the beef mixture, stirring continuously to ensure even coating and deep flavor integration.
- Prepare the cheese sauce by gently melting shredded cheddar cheese, whole milk, and unsalted butter in a small saucepan over low heat, stirring until smooth and creamy.
- Warm of cooking oil in a clean skillet over medium heat.
- Position large flour tortillas on a clean surface and generously spoon the sloppy joe mixture into the center of each tortilla.
- Drizzle a hearty portion of melted cheese sauce directly over the beef mixture.
- Carefully fold and roll each tortilla into a compact burrito, ensuring edges are tucked to prevent filling from escaping.
- Carefully place the assembled burritos into the heated skillet, cooking for 1 to 2 minutes per side until golden brown and crispy.
- Transfer the fried burritos to a paper towel-lined plate to absorb excess oil.
- Garnish with additional shredded cheddar cheese before serving hot.
Notes
- Customize the heat level by adjusting the amount of peppers or adding hot sauce for extra kick.
- Prep ingredients beforehand to streamline the cooking process and reduce kitchen stress.
- Use high-quality tortillas that are large and flexible to prevent tearing during rolling and frying.
- Drain ground beef thoroughly to prevent soggy burritos and reduce excess grease.
- Melt cheese sauce slowly to achieve smooth, creamy consistency without burning.
- Serve immediately after frying to enjoy crispy exterior and melted cheese at peak deliciousness.
- Prep Time: 20 minutes
- Cook Time: 20 minutes
- Category: Lunch, Dinner, Snacks
- Method: Frying
- Cuisine: American
Nutrition
- Serving Size: 6
- Calories: 450 kcal
- Sugar: 6 g
- Sodium: 650 mg
- Fat: 28 g
- Saturated Fat: 15 g
- Unsaturated Fat: 10 g
- Trans Fat: 0.5 g
- Carbohydrates: 20 g
- Fiber: 1 g
- Protein: 35 g
- Cholesterol: 120 mg
Lucas Bennett
Founder & Recipe Creator
Expertise
Simple Everyday Recipes, Sustainable Cooking Practices, Creative Meal Planning, Recipe Testing and Improvement
Education
Fox Valley Technical College, Appleton, Wisconsin
Lake Superior College, Duluth, Minnesota
Lucas Bennett’s cooking journey started in his parents’ kitchen, where he learned to prepare tasty, no-fuss meals from scratch. His culinary passion led him to Fox Valley Technical College, where he gained practical cooking skills.
He then expanded his focus on sustainability at Lake Superior College. Today, Lucas shares easy, approachable recipes designed to make cooking enjoyable and stress-free for everyone.