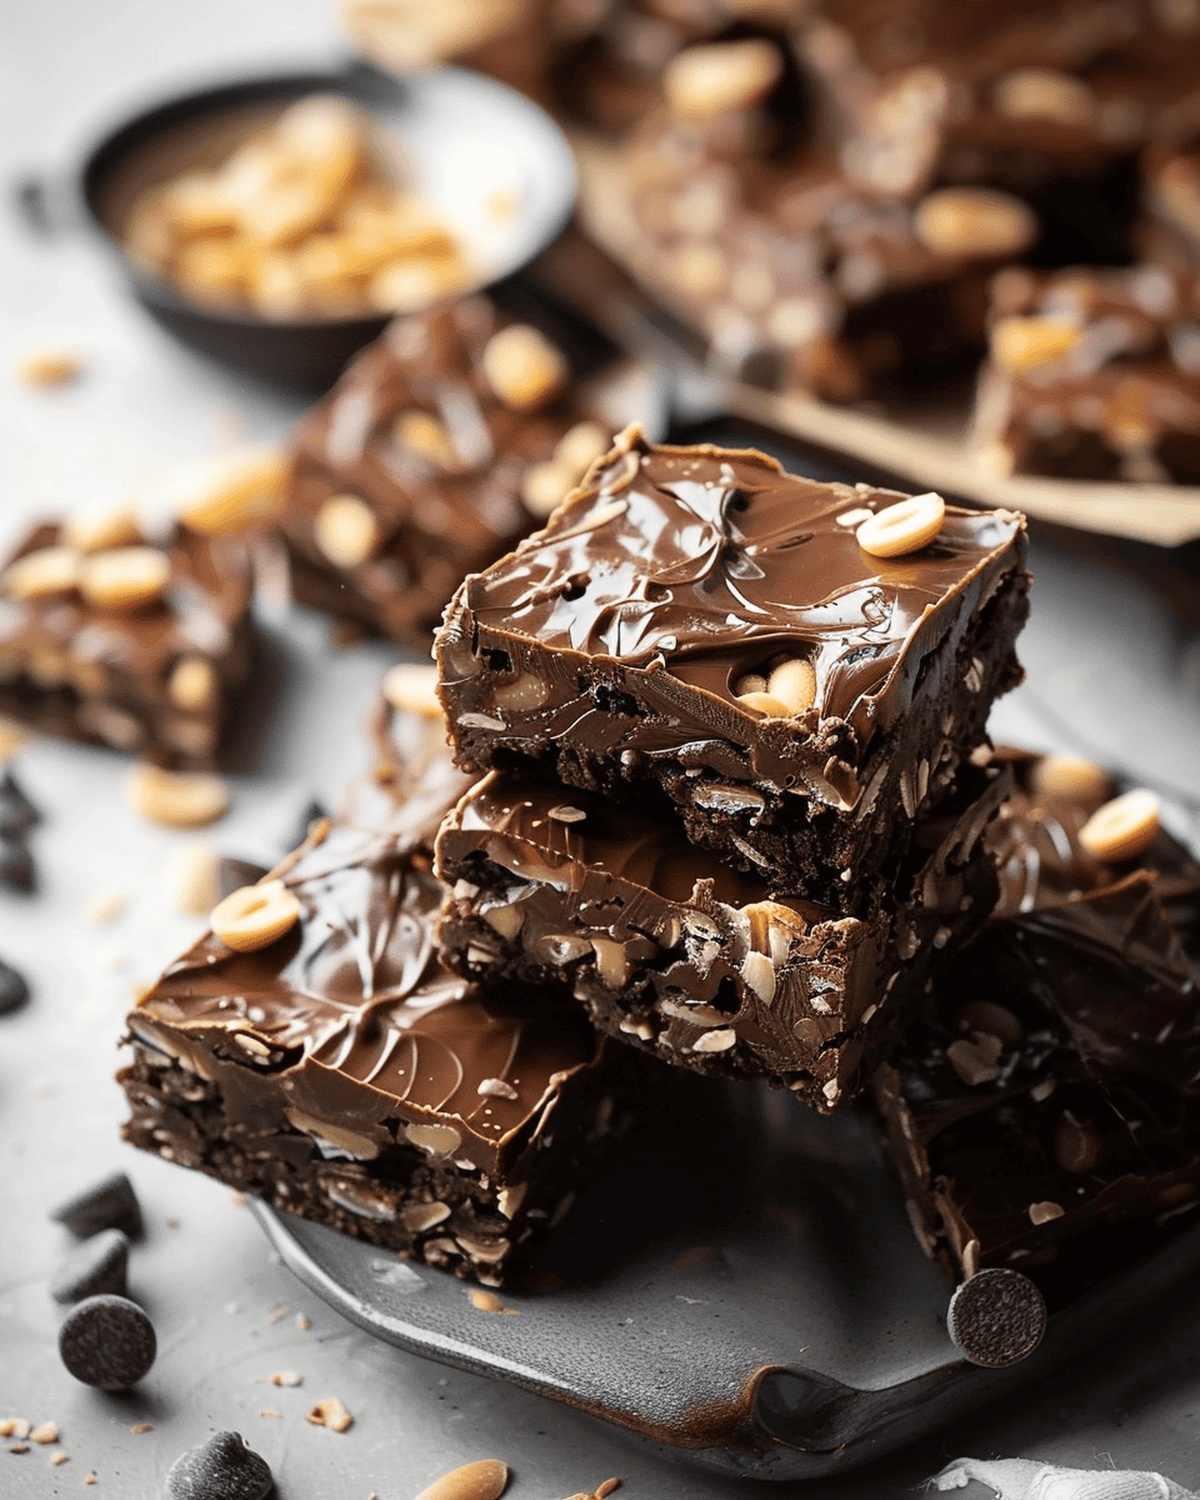
Heavenly Chocolate Peanut Butter No-Bake Cookie Bars Recipe
Dive into a world of decadent flavors with these chocolate peanut butter no-bake cookie bars that melt in your mouth.
Rich cocoa and creamy peanut butter create an irresistible combination that speaks to dessert lovers everywhere.
These no-fuss bars require zero oven time and deliver maximum satisfaction in every bite.
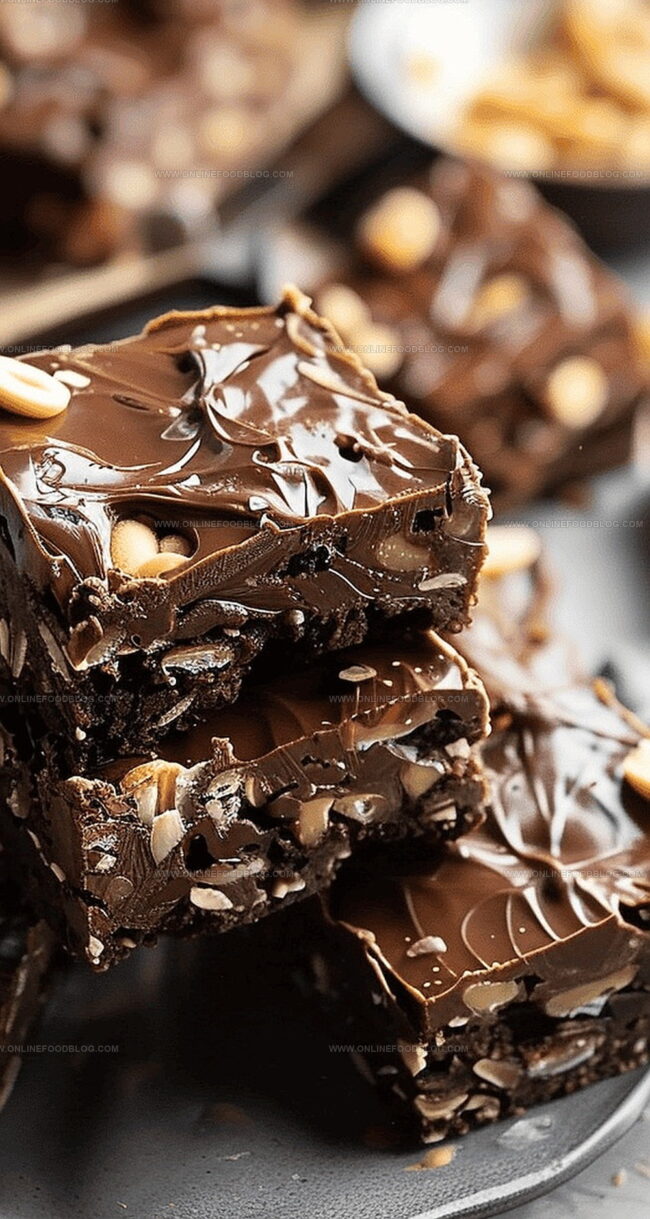
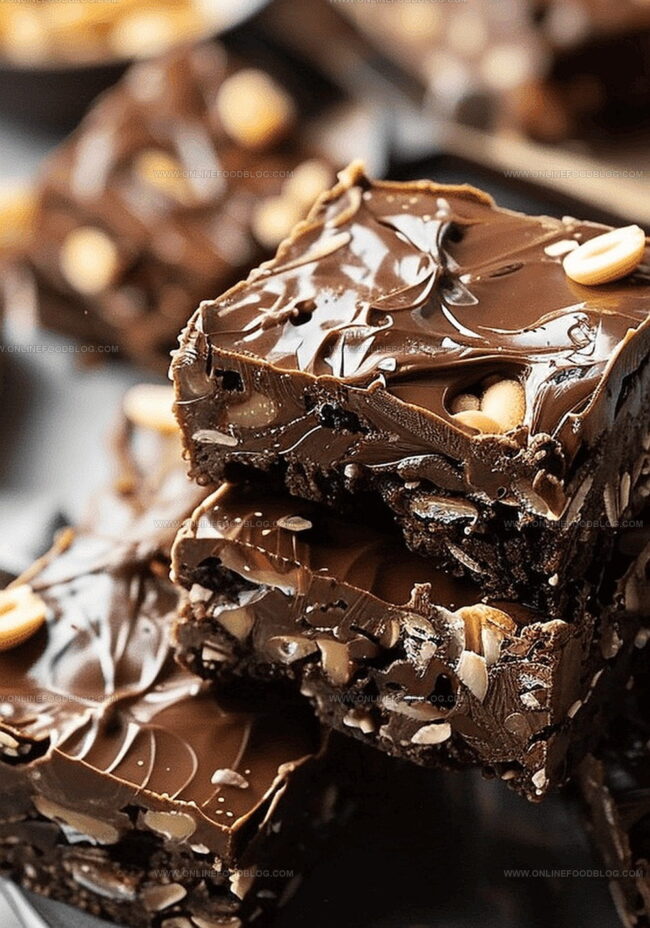
Smooth chocolate swirls meet nutty peanut butter in a dance of pure indulgence.
The recipe comes together faster than most desserts, making it perfect for spontaneous sweet cravings.
Minimal ingredients and simple steps mean you can whip up these delightful bars in under 15 minutes.
Grab your mixing bowl and get ready to experience a dessert that promises pure, unapologetic deliciousness.
Quick Recipe Overview
What You’ll Need for No-Bake Chocolate PB Bars
For Base Layer Ingredients:For Binding and Flavor Ingredients:For Topping and Finishing Ingredients:Equipment for Chocolate Peanut Butter Cookie Bars
How to Assemble No-Bake PB Cookie Bars
Line an 8×8 inch pan with parchment paper, allowing edges to hang over for easy removal. Spray lightly with non-stick coating.
Combine sugar, butter, cocoa powder, and milk in a saucepan. Heat gently, stirring until mixture becomes silky and integrated. Remove from heat.
Stir peanut butter and vanilla into the warm chocolate base until completely smooth. Fold in oats, ensuring even coating throughout.
Press mixture firmly into prepared pan. Refrigerate for 10 minutes to help set the initial layer.
Melt chocolate chips with a touch of olive oil in short microwave bursts. Stir until glossy and completely liquid.
Pour melted chocolate over chilled base. Drop small dollops of peanut butter on top. Use a knife to create elegant swirl patterns.
Refrigerate for 2-3 hours until bars are completely firm. Remove from refrigerator 10 minutes before cutting to soften slightly.
Cut into neat squares using a warmed knife. Store in refrigerator between parchment layers to maintain texture and prevent sticking.
Variations on Chocolate Peanut Butter Bars
Serving Chocolate PB Bars Right
Store No-Bake Bars to Keep Them Perfect
Print
Sinful Chocolate Peanut Butter No-Bake Cookie Bars Recipe
- Total Time: 30 minutes
- Yield: 13 1x
Description
Indulgent chocolate peanut butter no-bake cookie bars harmonize rich cocoa with creamy peanut butter in a simple, no-oven dessert. Quick preparation and minimal ingredients make these bars a delightful treat that you can enjoy without complex baking skills.
Ingredients
- 1 cup + 2 tablespoons (281g) natural peanut butter, room temperature
- 2 ¼ cups (230g) quick oats
- 1 cup (210g) white granulated sugar
- 6 tablespoons (85g) plant-based butter (or regular butter)
- 6 tablespoons (75g) almond milk (or regular milk)
- ¾ cup (135g) semi-sweet chocolate chips (dairy-free if needed)
- 3 tablespoons (15g) Dutched cocoa powder
- 2 tablespoons natural peanut butter, room temperature
- ¾ teaspoon vanilla extract
- 1–2 teaspoons olive oil
Instructions
- Preparation: Line an 8×8 inch pan with parchment paper, ensuring overhanging edges for easy removal. Lightly spray with non-stick cooking spray.
- Base Creation: In a medium saucepan, merge granulated sugar, unsalted butter, unsweetened cocoa powder, and whole milk over medium heat. Stir continuously until the mixture transforms into a smooth, homogeneous liquid without reaching a boil.
- Flavor Infusion: Remove from heat and incorporate creamy peanut butter and pure vanilla extract, whisking until the mixture achieves a uniform, glossy consistency.
- Oat Integration: Fold rolled oats into the liquid mixture, ensuring complete and even coating of each oat.
- Pan Preparation: Transfer the mixture into the prepared pan, pressing firmly with a spatula to create a compact, level surface. Refrigerate briefly to help set the base.
- Chocolate Topping: Melt semi-sweet chocolate chips with olive oil in a microwave-safe bowl, heating in short intervals and stirring until achieving a smooth, glossy texture.
- Decorative Finish: Pour melted chocolate over the chilled base, spreading evenly. Drop small peanut butter dollops across the surface and create decorative swirls using a toothpick or knife.
- Chilling and Setting: Refrigerate for a minimum of 2 hours to ensure complete solidification.
- Serving: Remove from refrigerator and let rest at room temperature for 10 minutes. Using a hot, dried knife, cut into precise squares.
- Storage: Serve immediately or store in an airtight container with parchment paper between layers. Refrigerate for up to one week.
Notes
- Prevent Burning: Stir continuously while heating sugar mixture to avoid scorching and ensure smooth, even texture.
- Chocolate Melting Trick: Use short microwave intervals and stir between each burst to achieve glossy, perfectly melted chocolate without burning.
- Cutting Technique: Warm knife under hot water and dry completely before slicing to create clean, professional-looking bar edges.
- Storage Wisdom: Place parchment paper between layers when storing to prevent bars from sticking together and maintain their beautiful appearance.
- Prep Time: 20 minutes
- Cook Time: 10 minutes
- Category: Snacks, Desserts
- Method: Simmering
- Cuisine: American
Nutrition
- Serving Size: 13
- Calories: 276
- Sugar: 18g
- Sodium: 80mg
- Fat: 15g
- Saturated Fat: 4g
- Unsaturated Fat: 10g
- Trans Fat: 0g
- Carbohydrates: 30g
- Fiber: 3g
- Protein: 7g
- Cholesterol: 0mg
Mia Reynolds
Food Writer & Home Cooking Specialist
Expertise
Easy Home Baking, Recipe Writing and Storytelling, Local and Seasonal Ingredients, Baking for Beginners
Education
New England Culinary Institute (NECI), Montpelier, Vermont
Community College of Vermont, Winooski, Vermont
Mia Reynolds fell in love with baking as a teenager experimenting in her family kitchen. Her passion took her to New England Culinary Institute, where she learned practical pastry techniques, and later to Community College of Vermont to deepen her understanding of food management.
Mia combines clear, simple baking instructions with heartwarming stories, making home baking approachable for everyone.