Sweet Symphony: Vanilla Praline Glace Recipe For Dessert Lovers
Silky smooth and decadently rich, this vanilla praline glace captures the essence of French dessert magic.
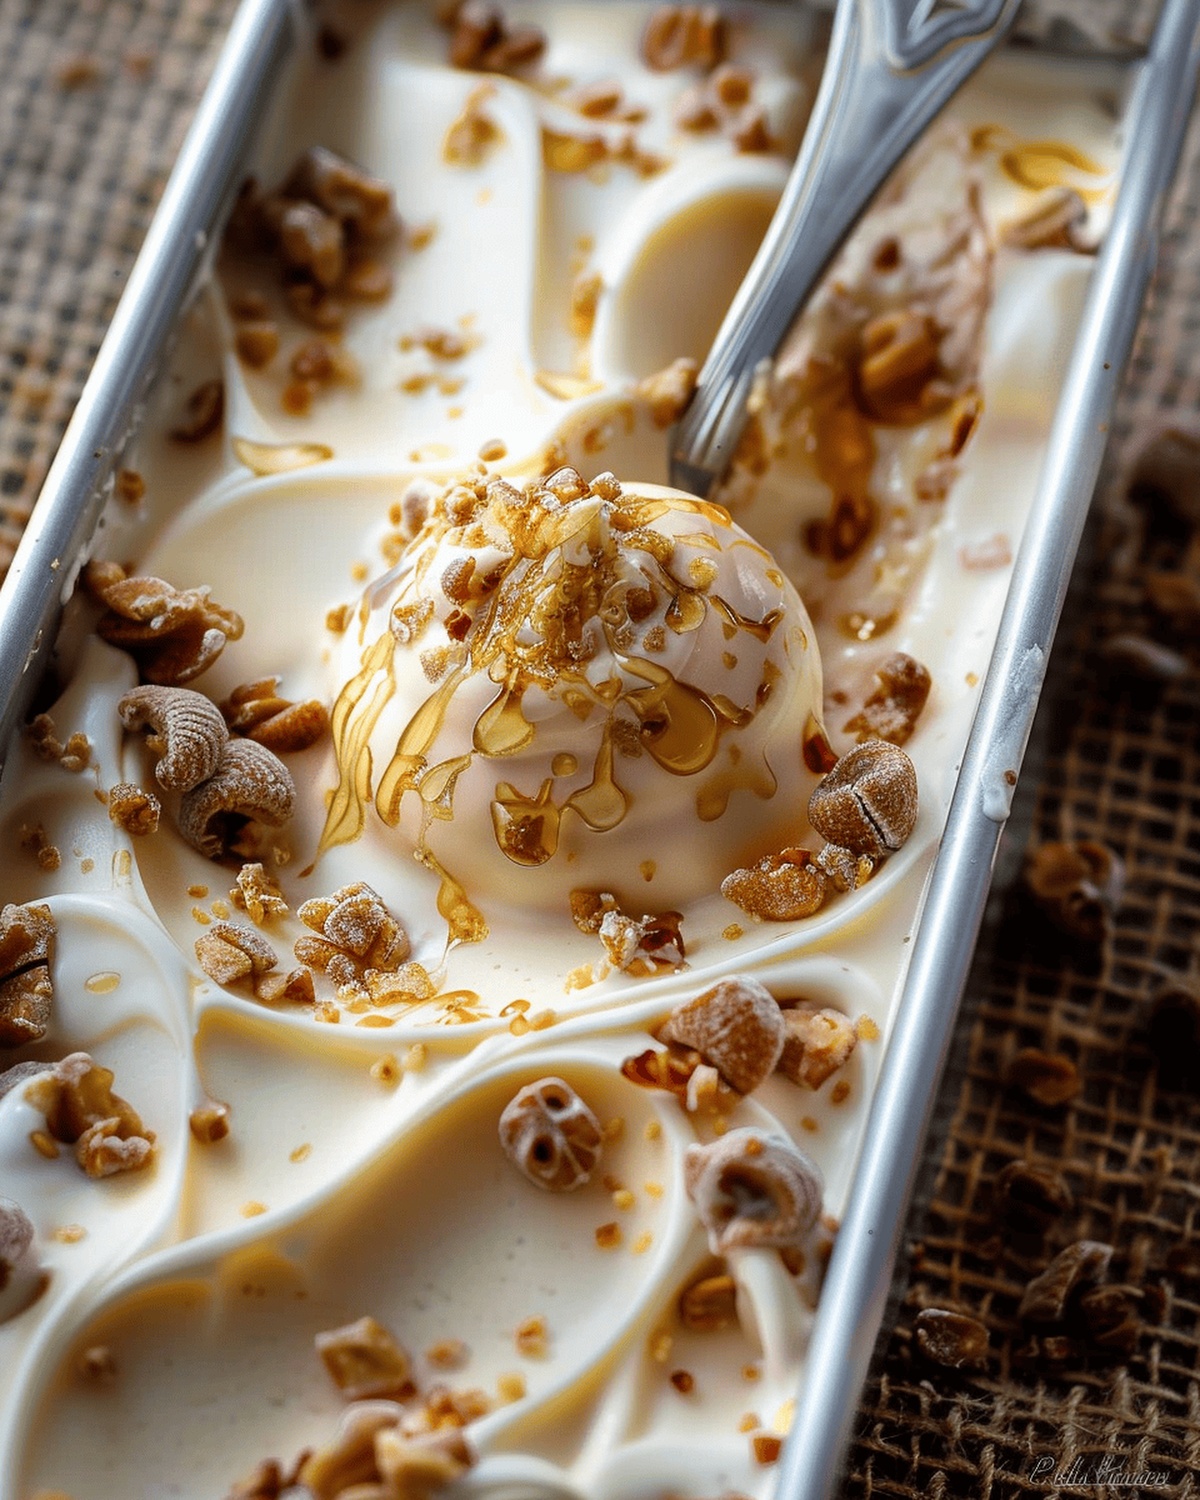
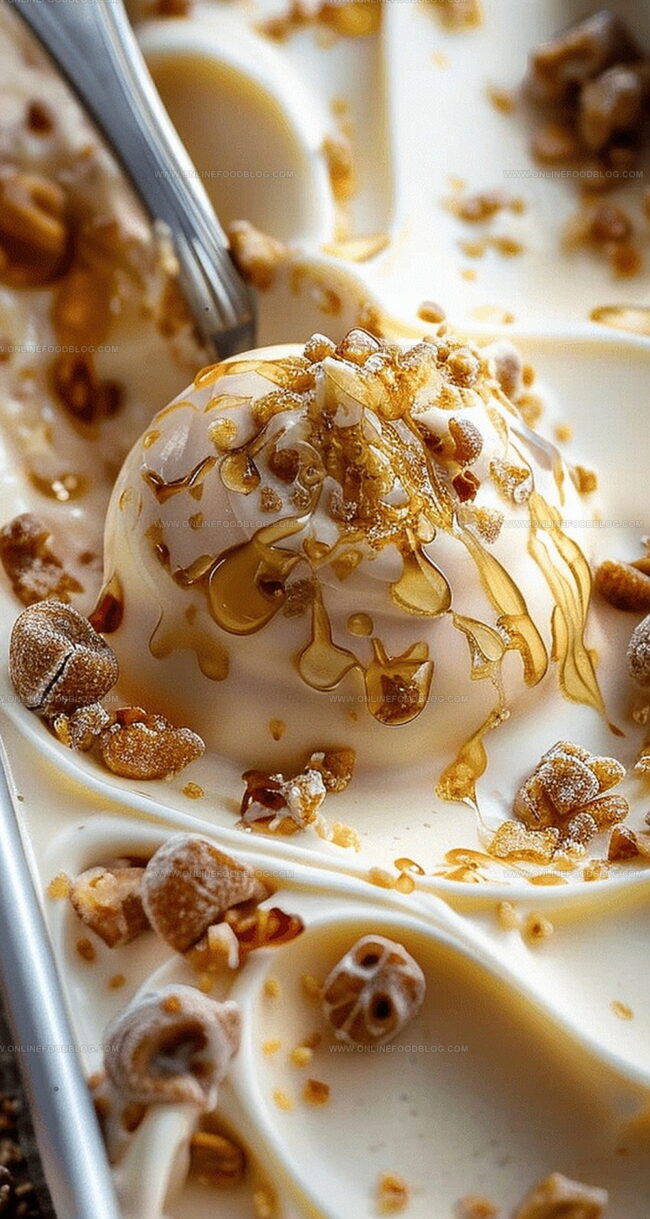
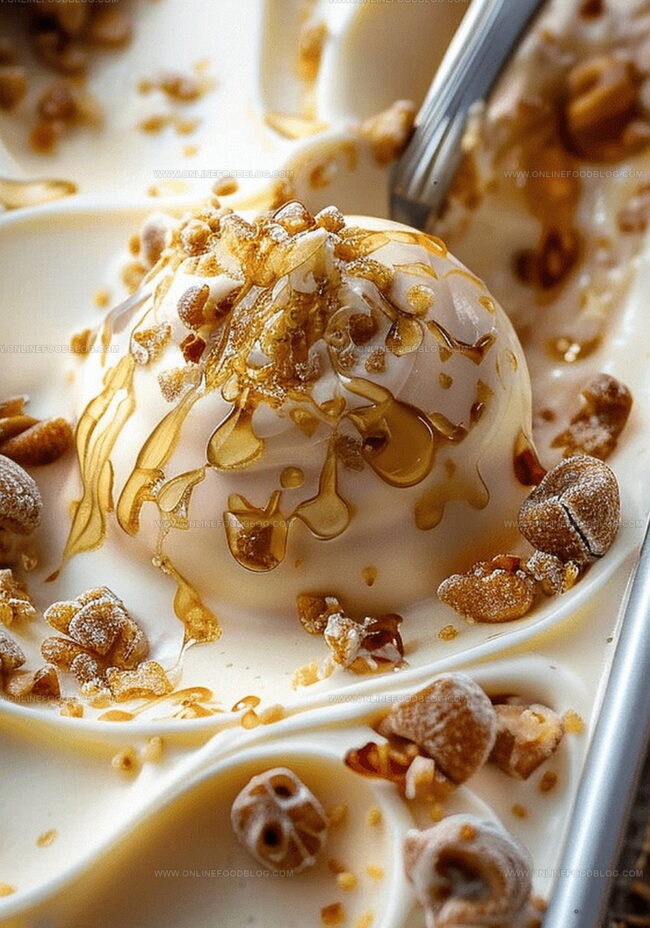
Nutty caramelized almonds dance through a luxurious vanilla base, creating a symphony of flavors you won’t forget.
Each spoonful promises a delightful crunch and creamy texture that melts perfectly on your tongue.
The classic French technique brings an elegant twist to a traditional ice cream experience.
Caramel notes intertwine with velvety vanilla, promising a sophisticated dessert that feels both comforting and indulgent.
Grab your ingredients and let’s whip up this irresistible frozen treat that will transport you straight to a Parisian patisserie.
Get ready to savor every decadent bite of this show-stopping dessert.
Quick Recipe Overview
Ingredients List for Vanilla Praline Glace
For Base Ingredients:For Texture and Crunch:For Garnish and Final Touch:Tools Needed for Whipping Up Vanilla Praline Glace
Easy Steps to Make Vanilla Praline Glace at Home
Grab a spacious mixing vessel and unleash the magic of whipping fresh cream with delicate vanilla essence. Coax the cream into soft, billowing clouds without overworking it.
Sprinkle a whisper of salt and gently incorporate the luscious sweetened condensed milk, creating a smooth, luxurious base that promises pure indulgence.
Pour the velvety mixture into a charming container, then weave praline through the cream with artistic knife strokes, creating mesmerizing swirls of flavor and texture.
Seal your creation and allow it to rest in the freezer’s embrace for at least half a day, letting the flavors meld and intensify.
Rescue your frozen delight from its chilly home, letting it soften gracefully. When ready, crown it with a sprinkle of roasted hazelnuts and extra praline for a show-stopping finale.
Flavor Boosters and Swaps for Vanilla Praline Glace
How to Dish Out Your Vanilla Glace Beautifully
Storage Advice for Leftover Vanilla Praline Glace
Print
Silky Vanilla Praline Glace Recipe
- Total Time: 20 minutes
- Yield: 5 1x
Description
Creamy French vanilla praline glace delights dessert enthusiasts with rich caramelized flavors. Smooth nutty layers combine classic European techniques for an elegant summer treat you’ll savor slowly.
Ingredients
- 1 vanilla bean
- 300 milliliters (10.1 fl oz) sweetened condensed milk
- 500 milliliters (16.9 fl oz) cold whipping cream
- 1 generous pinch of salt
- 3 to 4 tbsps homemade or store-bought praline
- Crushed roasted hazelnuts
- Praline (additional)
Instructions
- Preparation: Extract vanilla seeds by slicing the bean lengthwise and carefully scraping out the aromatic seeds using a knife’s back.
- Whipping: Combine heavy cream with vanilla seeds in a mixing bowl, whipping until soft peaks emerge, maintaining a light and airy texture.
- Seasoning and Blending: Introduce a subtle sea salt pinch, then gently fold in sweetened condensed milk using a smooth, deliberate motion to preserve the cream’s delicate structure.
- Layering: Transfer the velvety mixture into an airtight rectangular container, artfully swirling praline throughout to create elegant marbling effects and sprinkle additional praline fragments across the surface.
- Freezing and Setting: Securely seal the container and freeze for 12 hours, allowing flavors to meld and texture to solidify completely.
- Serving: Remove from freezer and let rest at room temperature for 30 minutes to achieve a luxuriously smooth, easily scoopable consistency.
- Garnishing: Elevate the presentation by sprinkling crushed roasted hazelnuts and a final praline dusting, creating a visually stunning and decadent dessert.
Notes
- Seed Extraction Technique: Use the back of a knife to gently scrape vanilla bean seeds, ensuring maximum flavor release without wasting precious ingredients.
- Whipping Wisdom: Stop whipping cream just as soft peaks form to prevent over-beating, which can compromise the dessert’s delicate texture.
- Marbling Magic: Swirl praline gently through the mixture to create beautiful, irregular patterns that enhance both visual appeal and flavor distribution.
- Serving Secret: Allow the frozen dessert to soften at room temperature for exactly 30 minutes, creating the perfect creamy consistency for smooth scooping and optimal taste experience.
- Prep Time: 20 minutes
- Cook Time: 0 minutes
- Category: Desserts, Snacks
- Method: Blending
- Cuisine: French
Nutrition
- Serving Size: 5
- Calories: 335
- Sugar: 25 g
- Sodium: 50 mg
- Fat: 26 g
- Saturated Fat: 16 g
- Unsaturated Fat: 10 g
- Trans Fat: 0 g
- Carbohydrates: 28 g
- Fiber: 1 g
- Protein: 3 g
- Cholesterol: 75 mg
Mia Reynolds
Food Writer & Home Cooking Specialist
Expertise
Easy Home Baking, Recipe Writing and Storytelling, Local and Seasonal Ingredients, Baking for Beginners
Education
New England Culinary Institute (NECI), Montpelier, Vermont
Community College of Vermont, Winooski, Vermont
Mia Reynolds fell in love with baking as a teenager experimenting in her family kitchen. Her passion took her to New England Culinary Institute, where she learned practical pastry techniques, and later to Community College of Vermont to deepen her understanding of food management.
Mia combines clear, simple baking instructions with heartwarming stories, making home baking approachable for everyone.