Dreamy Homemade Peanut Butter Chocolate Eggs Recipe
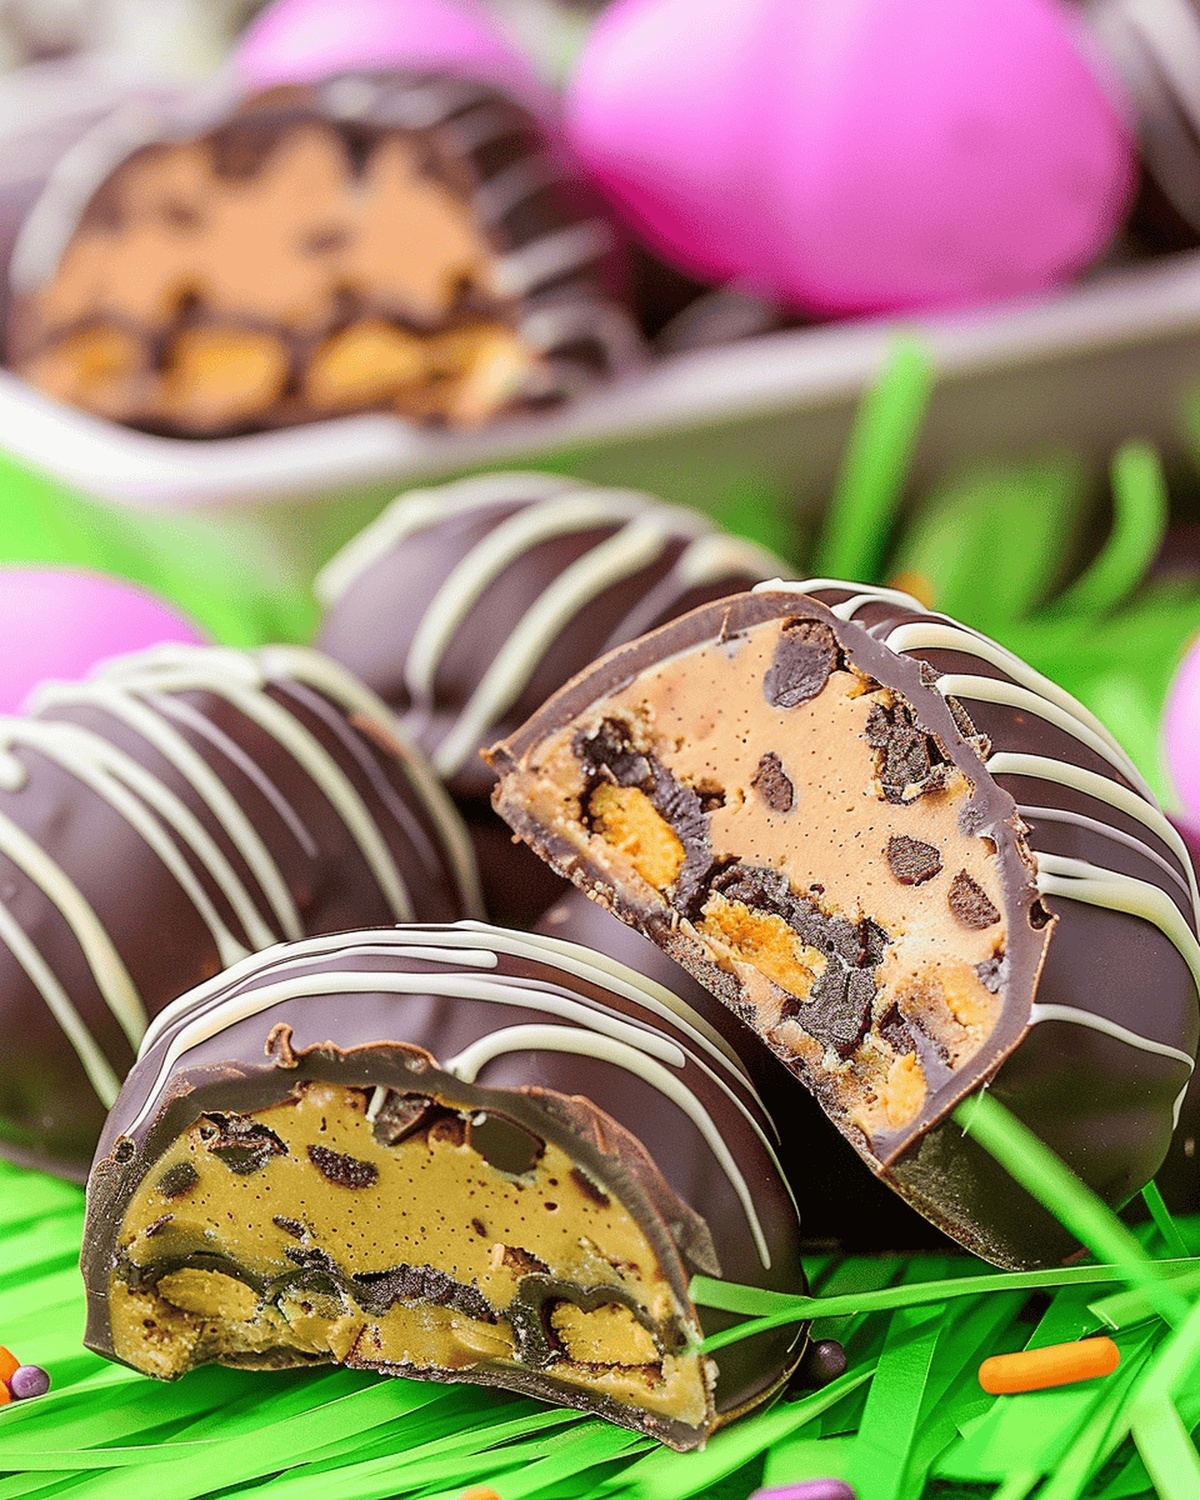
Delightful homemade peanut butter chocolate eggs spark joy in every bite.
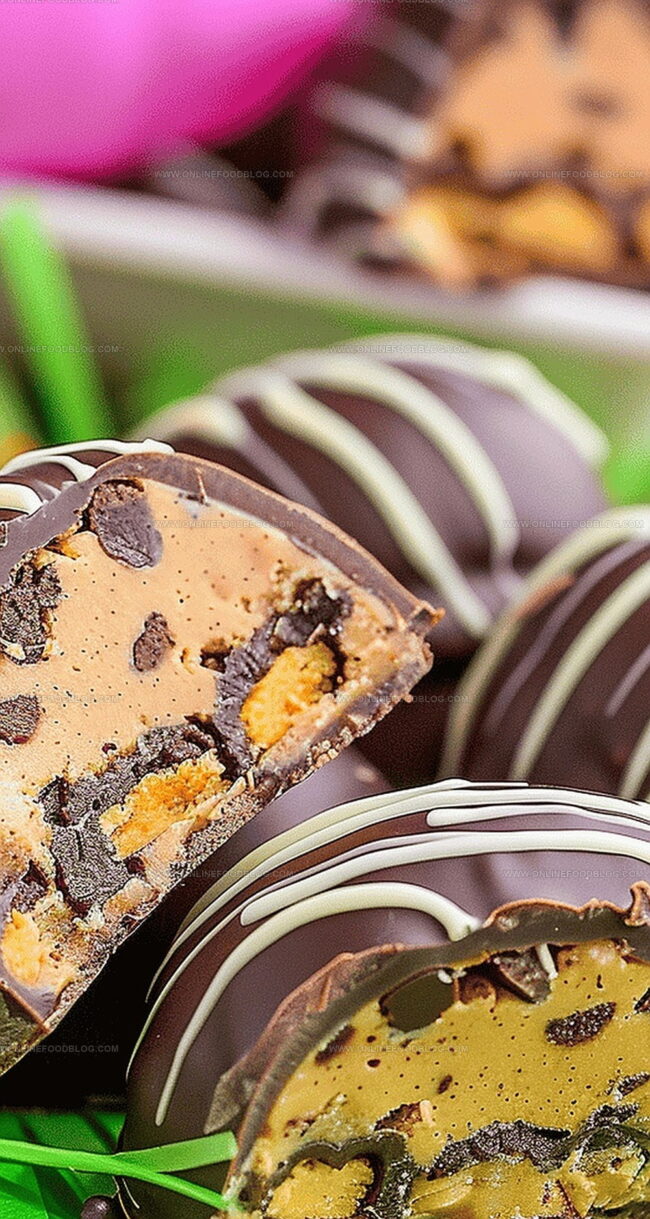
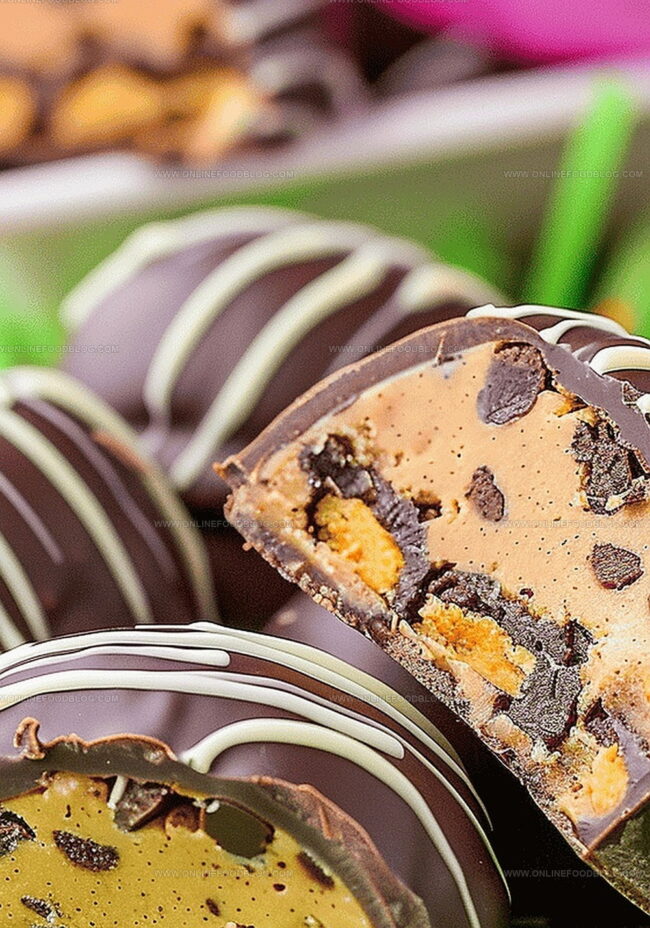
These decadent treats blend rich chocolate with creamy peanut butter in a way that melts hearts.
No store-bought candy compares to the satisfaction of crafting your own sweet confections.
Each egg becomes a canvas of pure indulgence, carefully crafted with love and simple ingredients.
Professional pastry chefs and home bakers alike adore this straightforward recipe that delivers maximum flavor.
Weekend baking reaches new heights with these irresistible chocolate-covered treasures.
Get ready to impress everyone with a batch of these mouthwatering peanut butter chocolate eggs that promise pure deliciousness.
Quick Recipe Overview
What You’ll Need for Peanut Butter Chocolate Eggs
For Base and Binding:For Texture and Flavor Enhancement:For Coating and Decoration:For Preparation:Tools for Shaping and Dipping PB Chocolate Eggs
Instructions to Make Peanut Butter Chocolate Eggs
Combine soft peanut butter with powdered sugar in a large bowl, blending until smooth and creamy. Gently fold in tiny chocolate morsels for delightful texture and bursts of flavor.
Press the mixture onto a clean surface, carefully crafting egg-like shapes using gentle hand movements. Make sure each egg looks cute and uniform.
Place the shaped eggs on a cool tray and slide them into the freezer. Let them chill and firm up for about an hour, allowing the flavors to meld together.
Melt rich chocolate chips until silky and glossy. Carefully dunk each frozen egg, ensuring complete chocolate coverage. Use a fork to help create a smooth, even layer.
Rest the chocolate-covered eggs on parchment paper. Allow them to sit at room temperature or pop them in the refrigerator until the chocolate becomes firm and shiny.
If feeling creative, drizzle contrasting chocolate or colorful candy melts over the eggs for a playful, artisan touch.
Tips for Flavoring and Filling Variations
Fun Ways to Serve Chocolate Eggs
Storage Tips for These Sweet Treats
Print
Silky Peanut Butter Chocolate Eggs Recipe
- Total Time: 1 hour 10 minutes
- Yield: 13 1x
Description
Homemade peanut butter chocolate eggs blend creamy peanut butter with rich chocolate for an irresistible Easter treat. Sweet and indulgent morsels will delight chocolate enthusiasts seeking a delicious seasonal confection.
Ingredients
- 12 oz (340 g) milk chocolate chips
- 1 cup (170 g) mini chocolate chips
- 1.5 cups (360 mL) creamy peanut butter
- 3 cups (360 g) powdered sugar
- 0.25 cup (60 g) unsalted butter, melted
- 2 tbsps (30 mL) milk
- Blue candy melts
- Yellow candy melts
- Pink candy melts
Instructions
- Mixture Preparation: Blend powdered sugar, creamy peanut butter, melted unsalted butter, and whole milk in a medium bowl until achieving a smooth, uniform consistency. Gently incorporate mini chocolate chips, ensuring even distribution throughout the dough.
- Dough Shaping: Lightly flour a clean work surface and roll the peanut butter dough to 1/4 inch thickness. Use an egg-shaped cookie cutter to create precise shapes, transferring each delicate cutout onto a parchment-lined baking sheet.
- Freezing Process: Place the egg-shaped dough in the freezer for 60 minutes to solidify and maintain structural integrity.
- Chocolate Coating: Melt milk chocolate chips using a double boiler or microwave, stirring until achieving a smooth, glossy texture. Retrieve frozen peanut butter eggs and delicately dip each piece into the molten chocolate, using a fork to ensure complete, even coverage.
- Finishing Touch: Transfer chocolate-enrobed eggs onto fresh parchment paper, allowing excess chocolate to drip away. Refrigerate for 15-20 minutes until the chocolate coating sets completely. Optionally, embellish with melted white or colored candy melts using a piping bag or resealable plastic bag with a snipped corner for decorative precision.
Notes
- Chill for Perfect Texture: Freezing the peanut butter eggs for exactly 60 minutes ensures they’re firm enough for easy chocolate dipping without falling apart.
- Master Chocolate Coating: Use a fork when dipping to achieve smooth, even chocolate coverage and allow excess chocolate to drip off for a professional-looking finish.
- Prevent Sticky Situations: Dust your work surface with flour to stop the dough from sticking and make rolling out easier, guaranteeing clean-cut egg shapes.
- Temperature Matters: Work with chilled eggs and slightly warm chocolate for the best coating technique, helping the chocolate adhere smoothly and set quickly.
- Prep Time: 10 minutes
- Cook Time: 60 minutes
- Category: Snacks, Desserts
- Method: Freezing
- Cuisine: American
Nutrition
- Serving Size: 13
- Calories: 325
- Sugar: 24 g
- Sodium: 75 mg
- Fat: 18 g
- Saturated Fat: 10 g
- Unsaturated Fat: 8 g
- Trans Fat: 0 g
- Carbohydrates: 37 g
- Fiber: 1 g
- Protein: 5 g
- Cholesterol: 7 mg


Mia Reynolds
Food Writer & Home Cooking Specialist
Expertise
Easy Home Baking, Recipe Writing and Storytelling, Local and Seasonal Ingredients, Baking for Beginners
Education
New England Culinary Institute (NECI), Montpelier, Vermont
Community College of Vermont, Winooski, Vermont
Mia Reynolds fell in love with baking as a teenager experimenting in her family kitchen. Her passion took her to New England Culinary Institute, where she learned practical pastry techniques, and later to Community College of Vermont to deepen her understanding of food management.
Mia combines clear, simple baking instructions with heartwarming stories, making home baking approachable for everyone.