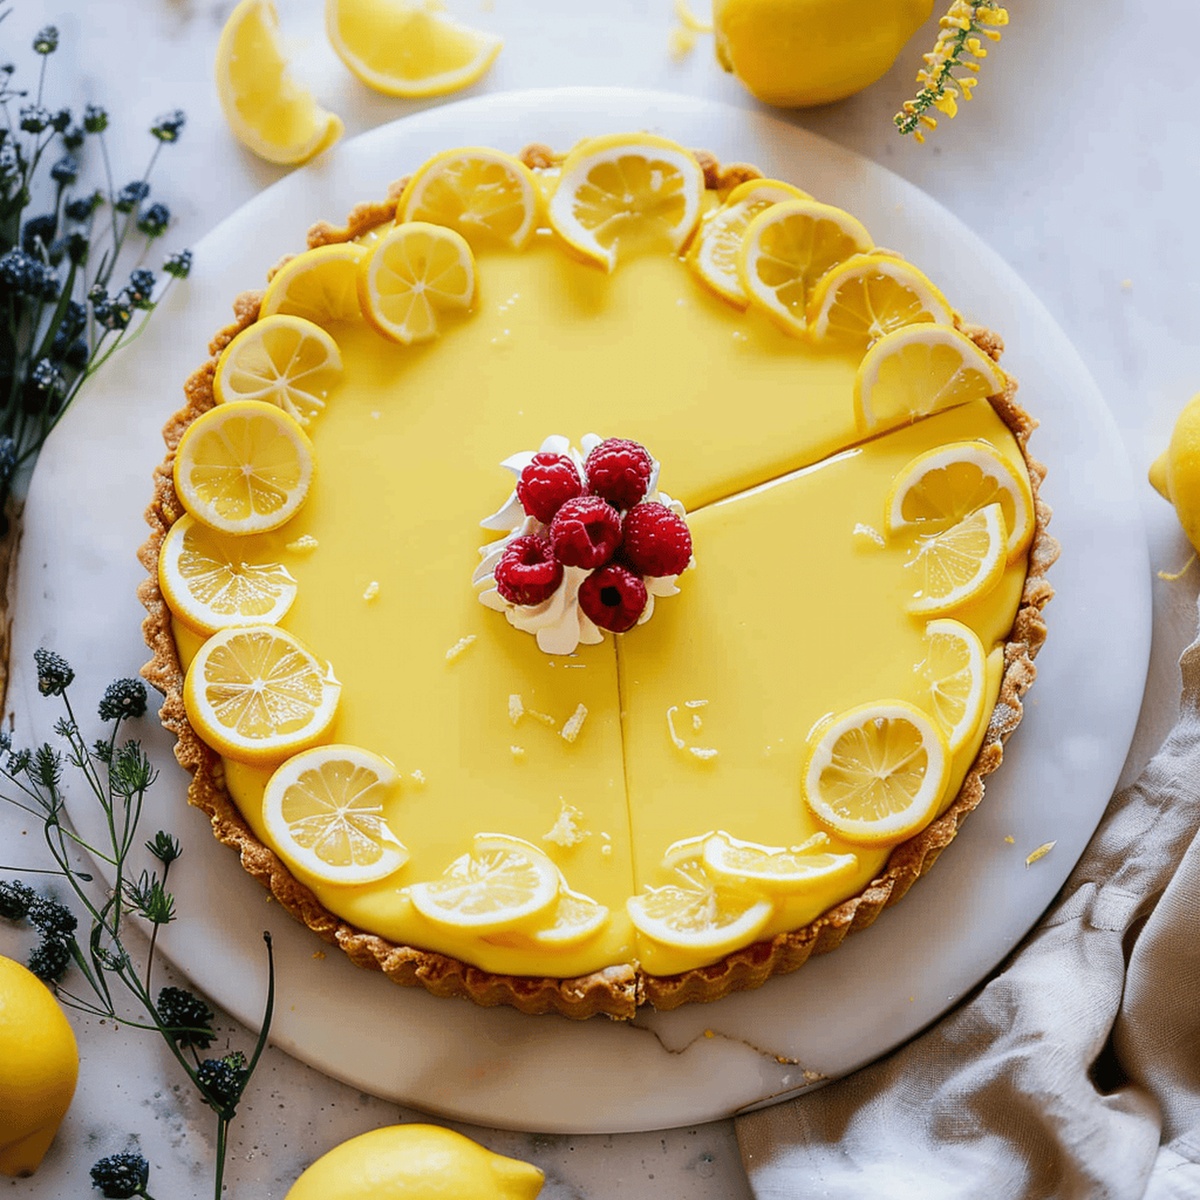
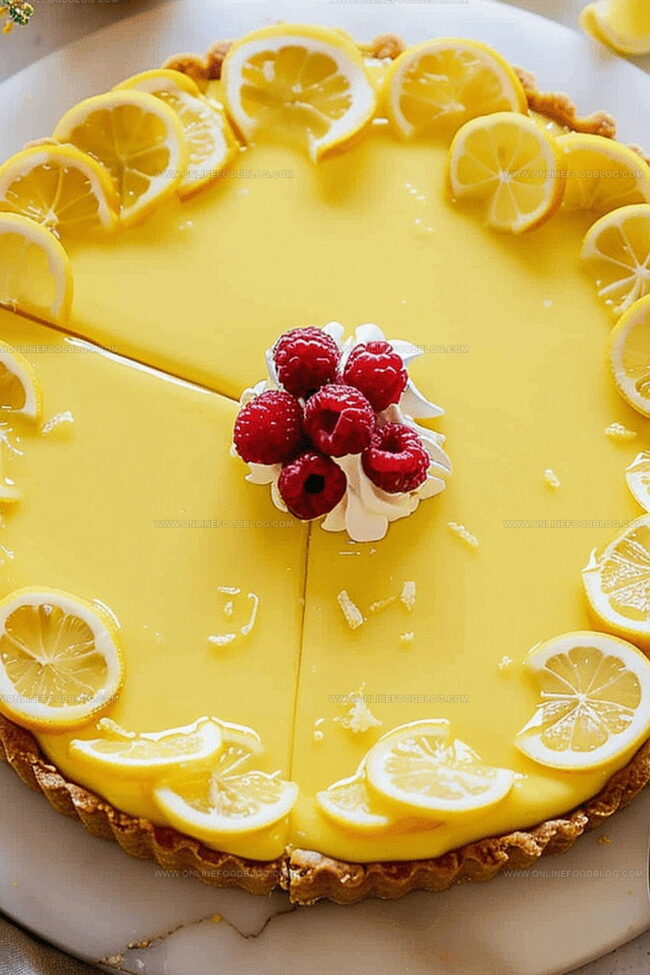
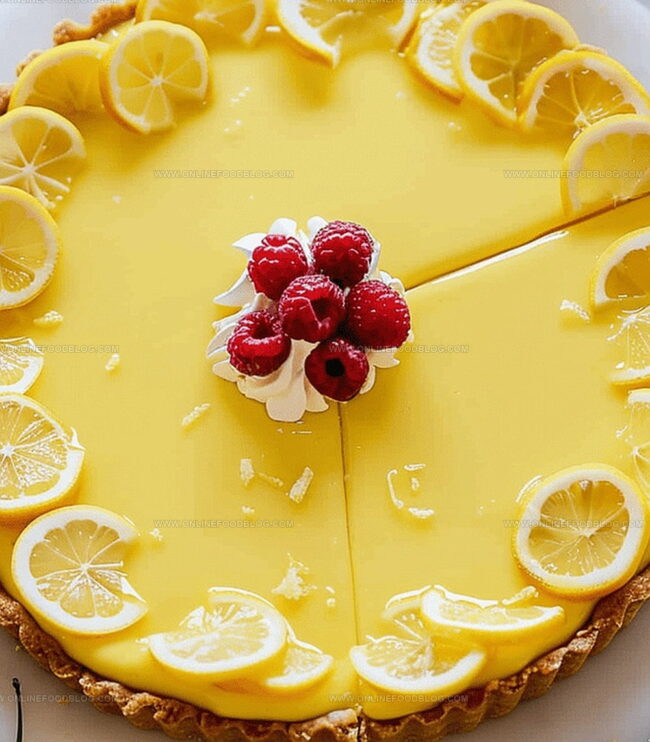
Tangy Lemon Curd Tart with Dreamy Mascarpone Cream Recipe
Summer’s golden rays call for a delightful lemon curd tart with whipped mascarpone cream that dances between tangy and sweet.
Bright citrus notes mingle with silky cream, creating a dessert that sings of sunshine and indulgence.
The buttery tart shell cradles a vibrant filling bursting with zesty flavor.
Rich mascarpone adds a luxurious cloudlike texture that melts on your tongue.
Each forkful promises a perfect balance of creamy and bright elements that will transport you to a Mediterranean afternoon.
Delicate yet decadent, this tart turns an ordinary moment into a celebration of culinary artistry.
Prepare to fall in love with a dessert that promises pure, unrestrained deliciousness.
Quick Recipe Overview
Lemon Curd Tart with Whipped Mascarpone Ingredients
For Lemon Curd Base:For Cream Topping:For Garnish and Presentation:Baking Tools for Lemon Tart with Mascarpone
Step-by-Step for Tart Assembly and Topping
Gather fresh lemons and room temperature ingredients for a smooth, tangy experience. Select ripe, fragrant lemons that feel heavy and bright.
Create a gentle heating environment using a simmering water bath. This technique ensures delicate, even cooking without scorching sensitive ingredients.
Blend lemon juice, eggs, and sugar in a heatproof bowl. Whisk continuously while suspended over steaming water, transforming raw ingredients into a luxurious, glossy mixture.
Cool the custard slightly, then introduce soft butter pieces. Use an immersion blender to create an incredibly smooth, rich lemon curd with a velvety texture.
Combine mascarpone and heavy cream in a mixer. Whip until peaks form, creating a light, airy cream that will complement the intense lemon flavor.
Layer the whipped cream on a prepared tart shell, then carefully spread the lemon curd on top. Refrigerate to allow flavors to meld and texture to set.
Just before serving, adorn the tart with fresh berries and delicate thyme leaves. The herbs and fruits add a burst of color and bright, aromatic notes.
Ideas for Zest and Cream Pairings
Serving This Tart for Brunch or Tea Time
Storage Suggestions for Lemon Curd Tart & Cream
Print
Silky Lemon Curd Tart
- Total Time: 2 hours 50 minutes (including chilling time)
- Yield: 9 1x
Description
Silky lemon curd tart with whipped mascarpone cream offers a luxurious dessert experience from Mediterranean culinary traditions. Delicate pastry and tangy citrus combine with creamy mascarpone, creating an elegant finale for sophisticated palates.
Ingredients
- 3 large eggs
- 1 egg yolk
- 145 grams (5.1 oz) lemon juice
- 225 grams (8 oz) unsalted butter, room temperature
- 150 grams (5.3 oz) granulated sugar
- 100 grams (3.5 oz) mascarpone, room temperature
- 100 milliliters (3.4 fl oz) heavy whipping cream, room temperature
- 0.25 teaspoons salt
- Fresh raspberries
- Fresh blackberries
- Fresh thyme
Instructions
- Prepare Lemon Curd Base: Create a gentle water bath by simmering water, then whisk together lemon juice, eggs, egg yolk, sugar, and salt in a heatproof bowl positioned above the simmering water.
- Cook Custard Mixture: Continuously stir the mixture over indirect heat, monitoring temperature until it thickens to a custard consistency and reaches 180°F, ensuring smooth incorporation of ingredients.
- Cool and Refine Lemon Curd: Remove from heat, continue whisking to cool to 135°F, then gradually blend in room temperature butter using an immersion blender to create a silky, uniform lemon curd.
- Craft Mascarpone Cream: Utilize a stand mixer with a whisk attachment to blend mascarpone and heavy whipping cream, beating until firm, voluminous peaks form.
- Assemble Tart Layers: Spread whipped mascarpone cream evenly across the prepared tart shell, then carefully pour lemon curd over the cream, ensuring a smooth, balanced distribution.
- Chill and Garnish: Refrigerate the tart for 1-2 hours to set layers and intensify flavors, then adorn with fresh raspberries, blackberries, and delicate thyme sprigs before serving.
Notes
- Maintain Consistent Heat: Use a gentle simmer to prevent egg scrambling and ensure smooth, creamy lemon curd texture.
- Whisk Continuously: Constant stirring prevents ingredient separation and promotes even heat distribution during cooking.
- Temperature Precision: Monitor curd temperature closely; 180°F indicates proper thickening without compromising egg proteins.
- Cooling Technique: Allow lemon curd to cool to 135°F before adding butter to prevent separation and maintain silky consistency.
- Prep Time: 30 minutes
- Cook Time: 20 minutes
- Category: Desserts
- Method: Steaming
- Cuisine: French
Nutrition
- Serving Size: 9
- Calories: 390
- Sugar: 27 g
- Sodium: 70 mg
- Fat: 30 g
- Saturated Fat: 18 g
- Unsaturated Fat: 12 g
- Trans Fat: 0 g
- Carbohydrates: 33 g
- Fiber: 1 g
- Protein: 4 g
- Cholesterol: 120 mg
Mia Reynolds
Food Writer & Home Cooking Specialist
Expertise
Easy Home Baking, Recipe Writing and Storytelling, Local and Seasonal Ingredients, Baking for Beginners
Education
New England Culinary Institute (NECI), Montpelier, Vermont
Community College of Vermont, Winooski, Vermont
Mia Reynolds fell in love with baking as a teenager experimenting in her family kitchen. Her passion took her to New England Culinary Institute, where she learned practical pastry techniques, and later to Community College of Vermont to deepen her understanding of food management.
Mia combines clear, simple baking instructions with heartwarming stories, making home baking approachable for everyone.