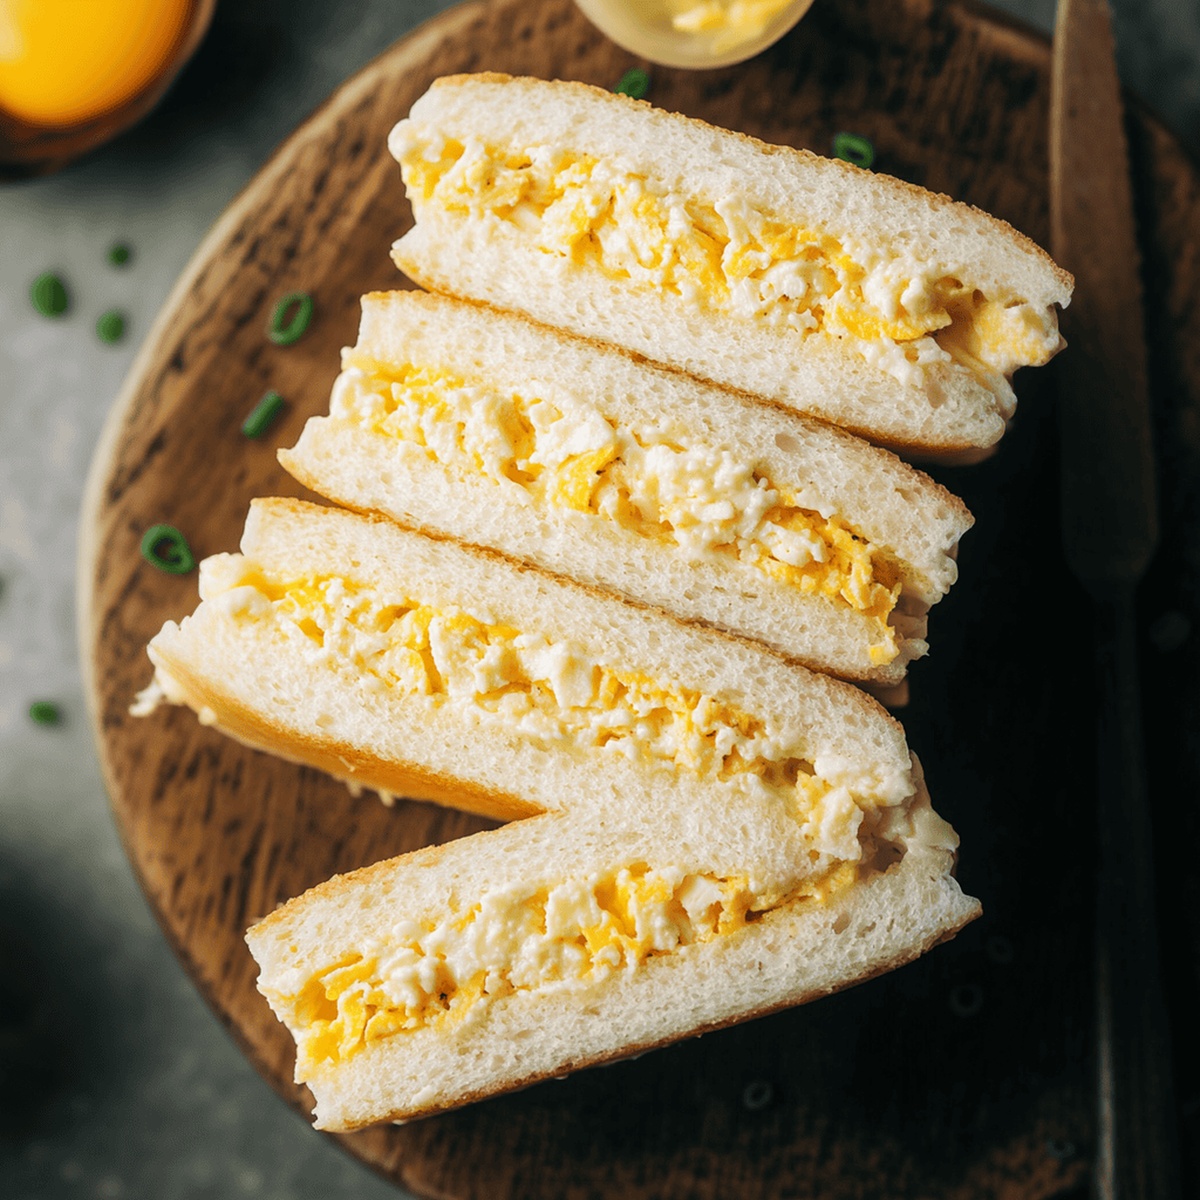
Nestled in the heart of Japanese street food culture, this tamago sando brings a delightful twist to your breakfast or snack routine.
Silky egg salad, carefully crafted between soft white bread, creates a creamy and irresistible sandwich that melts in your mouth.
The perfect balance of simplicity and flavor defines this beloved Japanese classic.
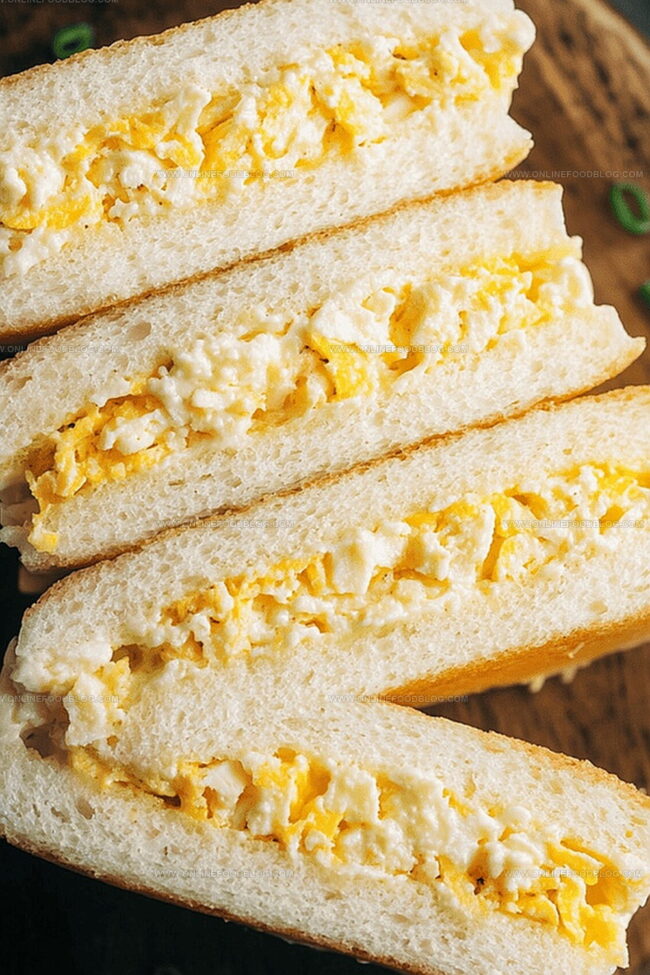
Each bite promises a harmonious blend of velvety eggs, delicate seasoning, and pillowy bread.
Crisp edges and a luxurious filling make this sandwich a true culinary delight.
Home cooks and food enthusiasts will fall in love with this straightforward yet sophisticated recipe that captures the essence of Japanese comfort food.
Dive into this culinary journey and experience the magic of a perfectly crafted tamago sando.
Quick Recipe Overview
Prep Time: 20 minutes
Cook Time: 10 minutes
Total Time: 30 minutes
Calories: 380 kcal
Servings: 3
Japanese Egg Sandwich (Tamago Sando) Ingredients
For Egg Base:
Eggs: Fresh, organic eggs ensure a rich, creamy texture with vibrant flavor. Choose eggs at room temperature for even cooking and easy peeling.
Mayonnaise: Creamy binding agent that adds luxurious smoothness and tangy depth to the egg mixture. Select high-quality, full-fat mayo for best results.
Milk: Softens hard-boiled eggs and creates a more delicate consistency. Use whole milk for richer flavor.
For Seasoning Blend:
Sugar: Subtle sweetness balances the savory egg mixture. Use fine granulated sugar for smooth integration.
Salt: Enhances overall flavor profile and brings out the eggs’ natural taste. Opt for sea salt or kosher salt for cleaner seasoning.
Black Pepper: Adds gentle warmth and aromatic complexity. Freshly ground pepper provides more intense flavor.
For Sandwich Components:
White Bread: Soft, pillowy bread creates the classic Japanese sandwich texture. Select fresh, soft-crumbed bread for authentic experience.
Butter: Provides rich, golden layer that elevates sandwich’s taste and creates a smooth spreading surface. Use unsalted butter for controlled seasoning.
Chives (Optional): Fresh herb that introduces bright, mild onion-like garnish. Choose vibrant green, crisp chives for maximum flavor.
Tools to Build a Perfect Japanese Egg Sandwich
Medium-sized Pot: Essential for boiling eggs perfectly.
Large Bowl: Needed for creating ice bath and mixing egg salad.
Fork or Paring Knife: Great for mashing eggs into small pieces.
Cutting Board: Supports sandwich preparation and slicing.
Sharp Knife: Used for removing bread crusts and cutting sandwich in half.
Measuring Spoons: Helps add precise amounts of sugar, salt, and mayonnaise.
Butter Knife: Perfect for spreading butter evenly on bread slices.
Steps to Make Japanese Egg Sandwich (Tamago Sando)
Japanese Comfort Sandwich
Egg Preparation Gently lower eggs into boiling water and cook until desired softness. Quickly cool eggs in an ice bath to stop cooking process, making them easier to peel.
Egg Mixture Breakdown boiled eggs into small, tender pieces using a fork. Blend with creamy mayonnaise, adding a touch of seasoning for extra flavor.
Bread Canvas Softly spread butter across each bread slice, creating a rich foundation for the egg mixture.
Sandwich Assembly Generously spread egg mixture on one slice, then cover with another slice. Press gently to create a perfect unity of flavors.
Final Touch Trim away bread edges for a clean, elegant presentation. Slice diagonally to reveal the smooth, creamy interior.
Flavor Options for Egg Filling or Bread Swaps
Grate eggs instead of mashing for a smoother, more uniform egg salad consistency that spreads evenly on bread.
Mix Kewpie mayonnaise for an authentic Japanese flavor, or blend regular mayo with a touch of rice vinegar for extra tanginess.
Swap white bread with milk bread for a softer, more delicate sandwich experience, or try whole wheat for added nutrition.
Sprinkle furikake, togarashi, or finely chopped green onions on the egg salad for a pop of Japanese-inspired flavor and color.
Prepare egg salad a day in advance and store in an airtight container to let flavors meld, making quick sandwich assembly a breeze.
Serving Japanese Egg Sandwich for Bento or Brunch
Picnic Perfect Companion: Pack these elegant sandwiches in a bento box with small cucumber slices and cherry tomatoes for a delightful portable lunch.
Brunch Showstopper: Serve alongside fresh fruit, green tea, and a light miso soup to create a Japanese-inspired morning spread that feels sophisticated yet comforting.
Tea Time Treat: Present these delicate sandwiches on a tiered serving plate with other small finger sandwiches for an afternoon tea experience that showcases Japanese culinary refinement.
Weekend Breakfast Delight: Pair with crispy bacon, fresh orange juice, and a small side of Japanese pickles to elevate a weekend breakfast into a gourmet morning celebration.
Best Storage Tips for Tamago Sando
Smart Storage Solutions: Keep tamago sando refrigerated in an airtight container for maximum freshness up to 24 hours.
Quick Prep Tip: Create egg salad mixture a day ahead, storing separately in sealed container to maintain crisp sandwich texture.
Bread Freshness Strategy: Select soft, fresh white bread and store at room temperature before assembling sandwich to ensure optimal softness and flavor.
Ingredient Longevity Guide: Hard-boiled eggs remain safe in refrigerator for 7 days, while prepared egg salad stays good for 3-4 days when sealed properly.
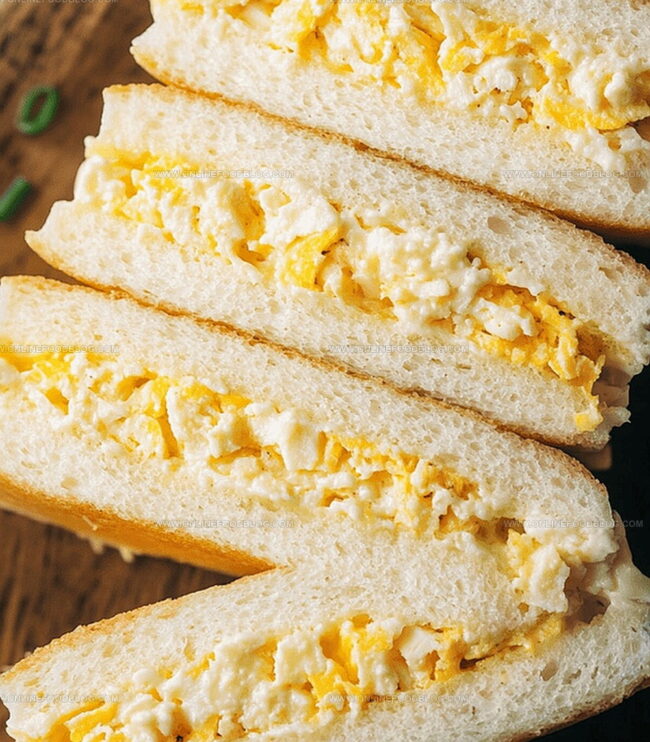
Perfectly balanced Japanese egg sandwich tamago sando delivers creamy comfort between delicate milk bread slices. Silky egg filling and crisp edges create a simple yet elegant treat that delights with its subtle, rich flavors.
Ingredients
Scale
4 slices Japanese milk bread
6 large eggs
4 tbsps Japanese mayonnaise
2 tbsps (30 g) unsalted butter, softened
1 to 2 tsp milk or plant milk (optional)
¼ tsp sugar
¼ tsp salt
¼ tsp ground black pepper
Chives, sliced (optional)
Instructions
Egg Preparation: Gently immerse eggs into vigorously boiling water, cooking for 7-10 minutes to achieve desired yolk texture, then swiftly transfer to an ice bath for rapid cooling and effortless peeling.
Egg Transformation: Deconstruct boiled eggs using a fork, creating uniform, delicate fragments, then blend with mayonnaise, sugar, salt, and pepper until a smooth, creamy consistency emerges.
Bread Foundation: Generously coat bread slices with butter, establishing a rich, flavorful base that enhances the sandwich’s overall taste profile.
Assembly Technique: Spread the egg mixture comprehensively across one bread slice, then carefully position the second slice atop, buttered side facing downward, and apply gentle pressure to seal the layers.
Finishing Touches: Precisely trim the outer crusts to create a clean, refined sandwich silhouette, and optionally garnish with finely chopped chives for added visual and flavor dimensions.
Presentation: Slice the sandwich diagonally, revealing two elegant triangular portions ready to be savored.
Notes
Egg Cooking Precision: Boil eggs between 7-10 minutes for perfect soft to medium-firm yolk consistency, ensuring precise texture.
Cooling Technique: Immediately transfer eggs to ice water to stop cooking, guaranteeing smooth shell removal and maintaining ideal egg temperature.
Butter Coating Strategy: Apply a generous, even butter layer on bread surfaces to create a rich, moisture-sealing base that prevents sogginess.
Presentation Perfection: Trim sandwich crusts carefully for a clean, professional appearance that elevates the visual and textural experience of this classic Japanese street food.
Degree: Certificate in Food and Beverage Management
Focus: Essential knowledge of recipe development, ingredient sourcing, and food business basics.
Mia Reynolds fell in love with baking as a teenager experimenting in her family kitchen. Her passion took her to New England Culinary Institute, where she learned practical pastry techniques, and later to Community College of Vermont to deepen her understanding of food management.
Mia combines clear, simple baking instructions with heartwarming stories, making home baking approachable for everyone.

Mia Reynolds
Food Writer & Home Cooking Specialist
Expertise
Easy Home Baking, Recipe Writing and Storytelling, Local and Seasonal Ingredients, Baking for Beginners
Education
New England Culinary Institute (NECI), Montpelier, Vermont
Community College of Vermont, Winooski, Vermont
Mia Reynolds fell in love with baking as a teenager experimenting in her family kitchen. Her passion took her to New England Culinary Institute, where she learned practical pastry techniques, and later to Community College of Vermont to deepen her understanding of food management.
Mia combines clear, simple baking instructions with heartwarming stories, making home baking approachable for everyone.