Refreshing DIY Iced Latte Recipe for Coffee Lovers
Cool mornings and warm afternoons call for the perfect simple iced latte that refreshes and energizes.
Brewing coffee at home doesn’t require barista skills or expensive equipment.
This recipe delivers café-quality results with minimal effort and maximum flavor.
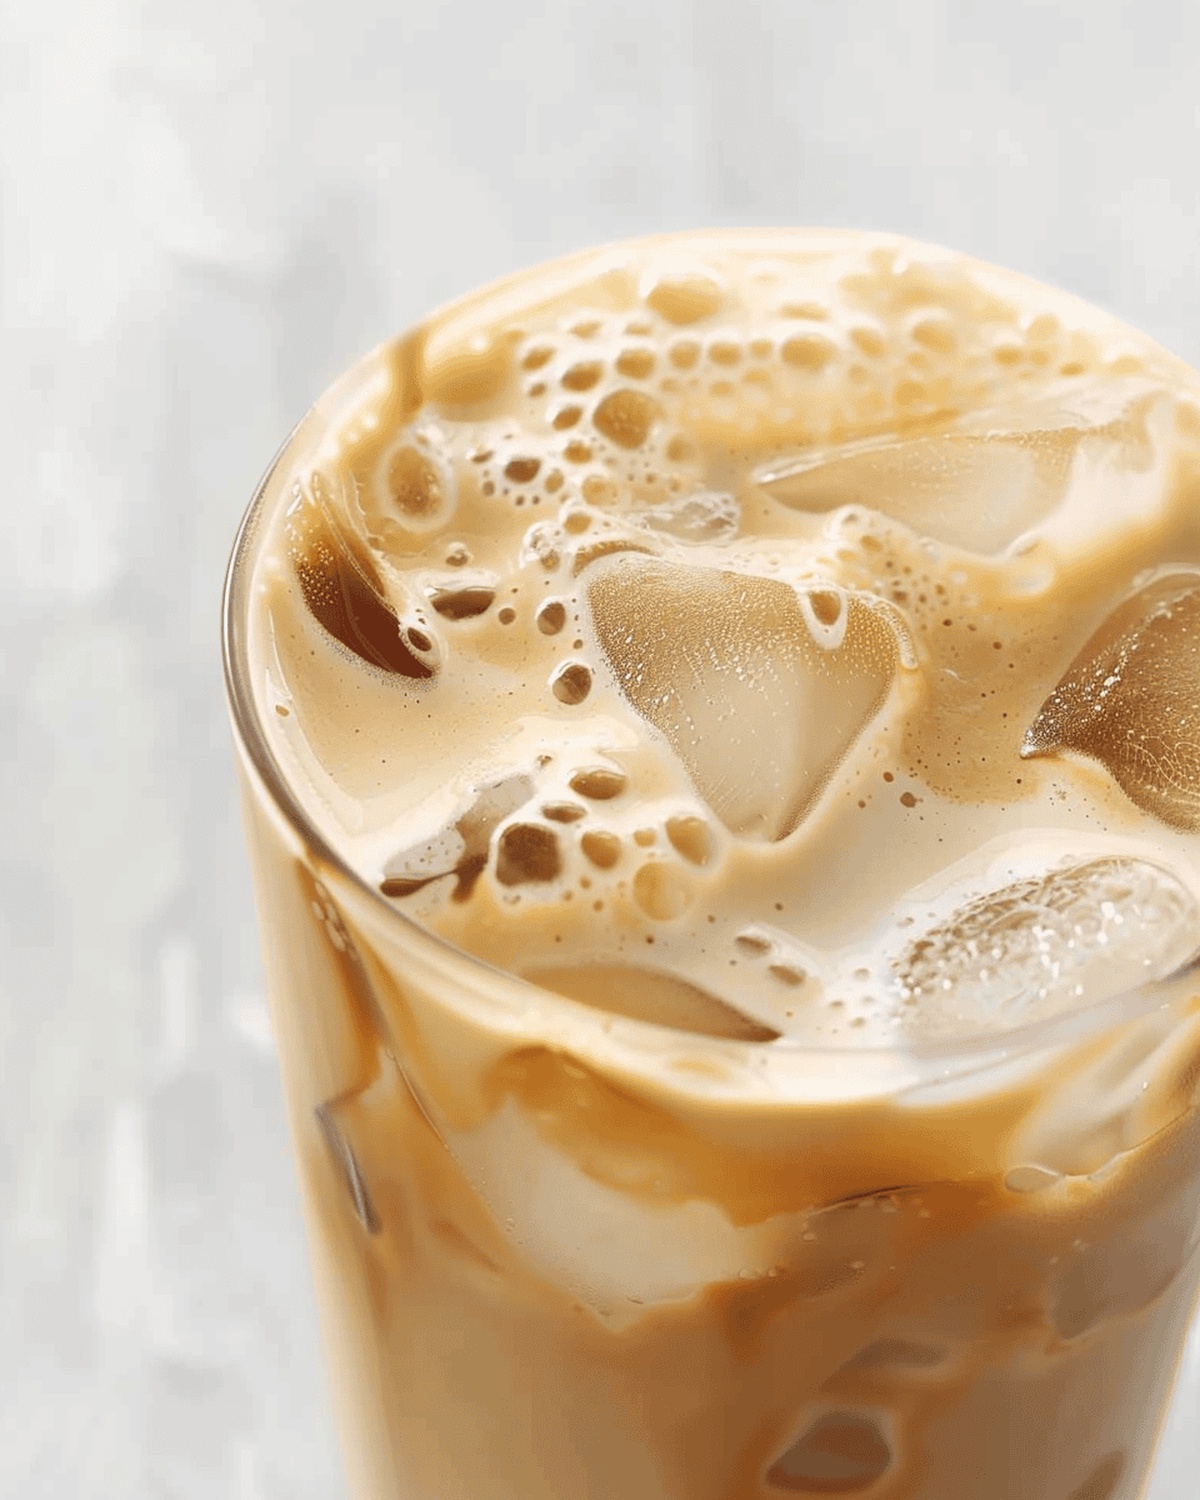
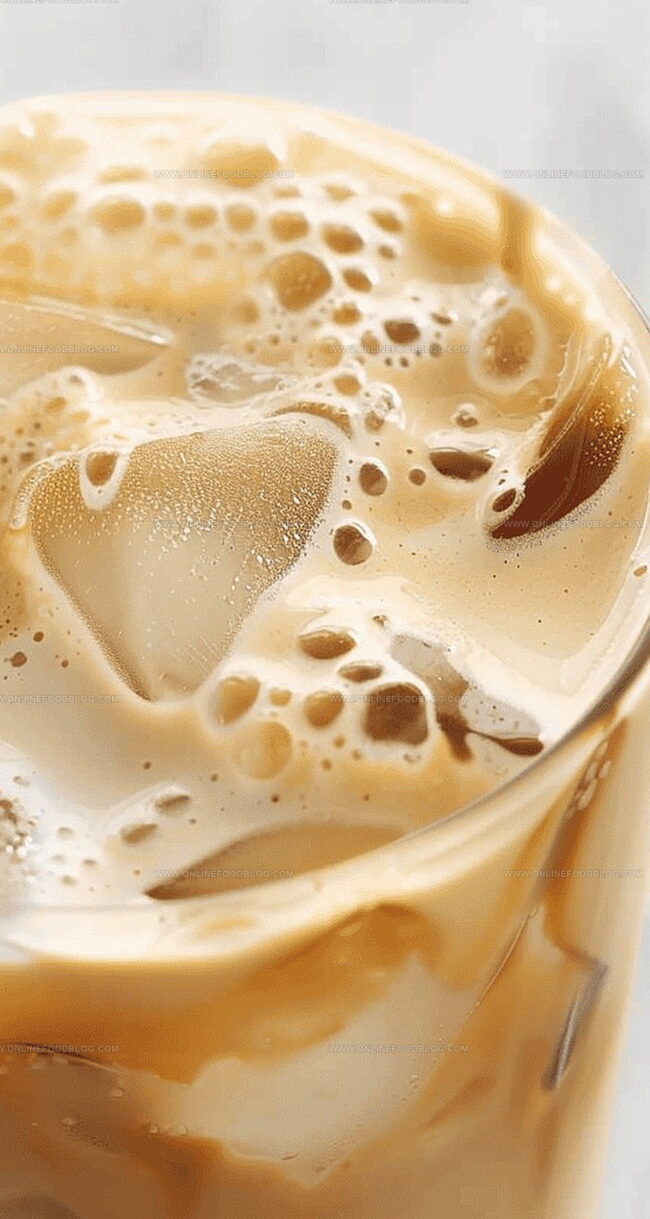
Rich espresso blends seamlessly with chilled milk, creating a smooth and creamy drink that rivals any coffee shop creation.
You’ll love how quickly this beverage comes together with just a few basic ingredients.
Brewing the perfect iced latte is about balancing strong coffee with cool, silky milk.
Savor every sip of this delightful summer staple that promises instant coffee shop vibes right in your kitchen.
Quick Recipe Overview
What’s in a Simple Iced Latte
For Coffee Base:For Chilling and Texture:For Optional Enhancement:Tools to Get That Simple Iced Latte Done
Simple Iced Latte Prep Instructions

Brew a robust coffee using a cafetière or espresso machine. While the coffee is piping hot, dissolve brown sugar to create a smooth, rich base that eliminates potential bitterness.
Combine the sweetened coffee with milk, stirring thoroughly to create a harmonious blend. The milk will soften the coffee’s intensity and add a creamy texture.
Fill a tall glass with ice cubes. Gently cascade the coffee-milk mixture over the ice, allowing it to chill instantly. For adventurous souls, a splash of coffee liqueur can elevate the drink into a more indulgent treat.
Sweeten Up Your Iced Latte with Add-Ins
Serve Iced Latte Refreshing & Cool
Keeping Iced Latte Mixes Chilled and Ready
Print
Silky Iced Latte Recipe
- Total Time: 5 minutes
- Yield: 2 1x
Description
Cool summer days welcome this refreshing simple iced latte with a smooth espresso base and creamy milk. Chilled coffee enthusiasts will appreciate its effortless preparation and crisp, invigorating taste.
Ingredients
- 1 capsule espresso coffee
- 1 tsp (5 ml) brown sugar
- 1 large splash milk (60 ml / 2 fl oz)
- ½ glass ice cubes
Instructions
- Brew Preparation: Extract a concentrated coffee using espresso machine or cafetière, ensuring rich and robust flavor profile.
- Sweetening Process: Dissolve brown sugar into hot coffee, creating a harmonious blend of sweetness and intense coffee notes.
- Milk Integration: Gently combine cold milk with sweetened coffee, stirring until achieving a smooth, uniform consistency.
- Chilling Foundation: Layer a tall glass with generous ice cubes, preparing a frosty vessel for the refreshing beverage.
- Final Assembly: Pour the coffee-milk mixture over ice, allowing instant chilling and creating a sophisticated layered effect.
- Optional Enhancement: Elevate the drink with a subtle splash of coffee liqueur, introducing a sophisticated adult dimension.
- Aromatic Finale: Dust the surface with a delicate sprinkle of cocoa powder or cinnamon, adding a fragrant and visually appealing finishing touch.
Notes
- Freshly Grind Beans: Use high-quality, recently roasted coffee beans for maximum flavor complexity and aromatic richness.
- Temperature Matters: Brew coffee hot to ensure sugar dissolves completely and blends smoothly with the coffee’s intensity.
- Milk Selection: Choose whole milk for a creamier texture or experiment with alternative milks like oat or almond for unique flavor profiles.
- Chill Technique: Use large ice cubes to prevent rapid melting and dilution, maintaining the drink’s robust coffee strength and temperature.
- Prep Time: 5 minutes
- Cook Time: 0 minutes
- Category: Drinks, Breakfast
- Method: Blending
- Cuisine: Italian
Nutrition
- Serving Size: 2
- Calories: 60
- Sugar: 5 g
- Sodium: 30 mg
- Fat: 2 g
- Saturated Fat: 1 g
- Unsaturated Fat: 1 g
- Trans Fat: 0 g
- Carbohydrates: 14 g
- Fiber: 0 g
- Protein: 2 g
- Cholesterol: 10 mg
Mia Reynolds
Food Writer & Home Cooking Specialist
Expertise
Easy Home Baking, Recipe Writing and Storytelling, Local and Seasonal Ingredients, Baking for Beginners
Education
New England Culinary Institute (NECI), Montpelier, Vermont
Community College of Vermont, Winooski, Vermont
Mia Reynolds fell in love with baking as a teenager experimenting in her family kitchen. Her passion took her to New England Culinary Institute, where she learned practical pastry techniques, and later to Community College of Vermont to deepen her understanding of food management.
Mia combines clear, simple baking instructions with heartwarming stories, making home baking approachable for everyone.