Irresistible Homemade Vanilla Ice Cream Recipe for Beginners
Creamy, dreamy homemade vanilla ice cream weaves pure magic into every delightful scoop.
Summer afternoons call for something special and refreshing.
This classic dessert delivers rich, silky smoothness that commercial brands simply cannot match.
Real ingredients make all the difference in crafting this delectable treat.
No complicated techniques or fancy equipment stand between you and pure indulgence.
With just a few simple ingredients, anyone can master this timeless dessert.
Each spoonful promises a luxurious experience that will transport you to dessert heaven.
Quick Recipe Overview
Vanilla Ice Cream Ingredients Made Simple
For Creamy Base:For Flavor Enhancers:For Optional Texture Boosters:Equipment for Homemade Vanilla Ice Cream
How to Whip Up Vanilla Ice Cream
Gather fresh cream, sugar, vanilla extract, and eggs. Choose high-quality ingredients for the most delicious result.
Blend the ingredients smoothly in a spacious mixing bowl, creating a silky custard base that promises creamy goodness.
Pour the liquid mixture into an ice cream maker, letting the machine work its cool transformation into a dreamy frozen treat.
Sprinkle in chocolate chips, fresh berries, or crushed nuts during the final churning moments for an extra burst of excitement.
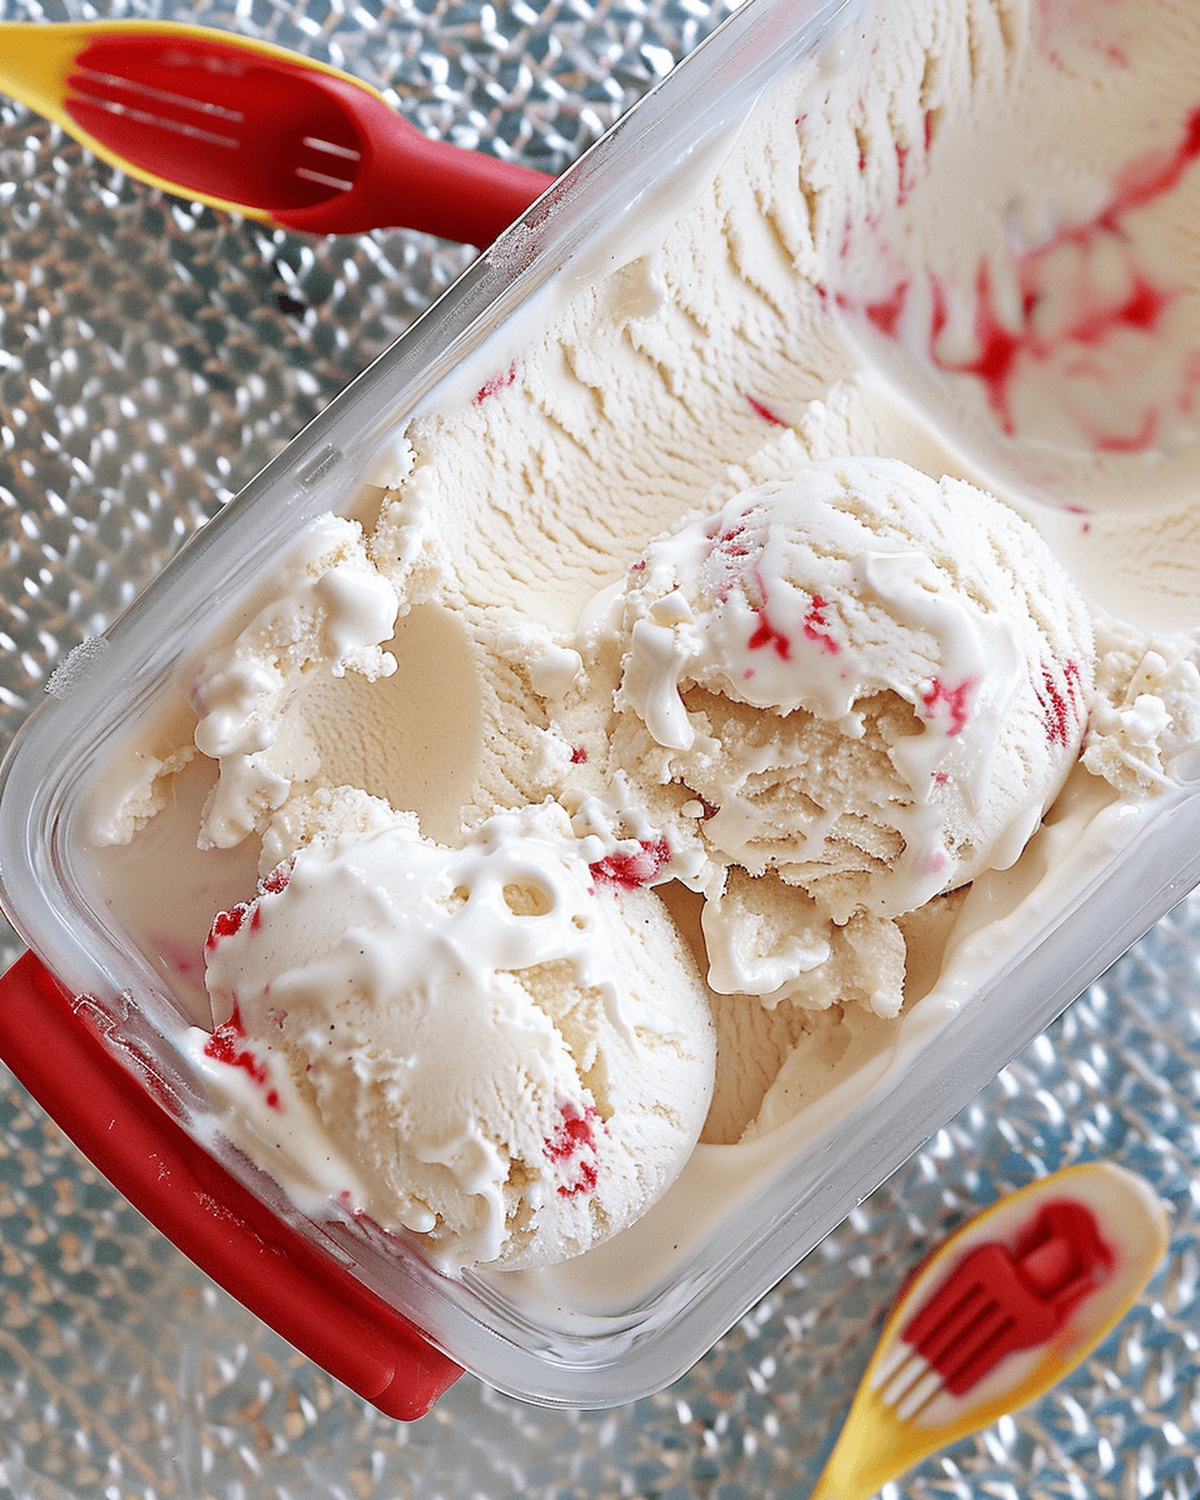
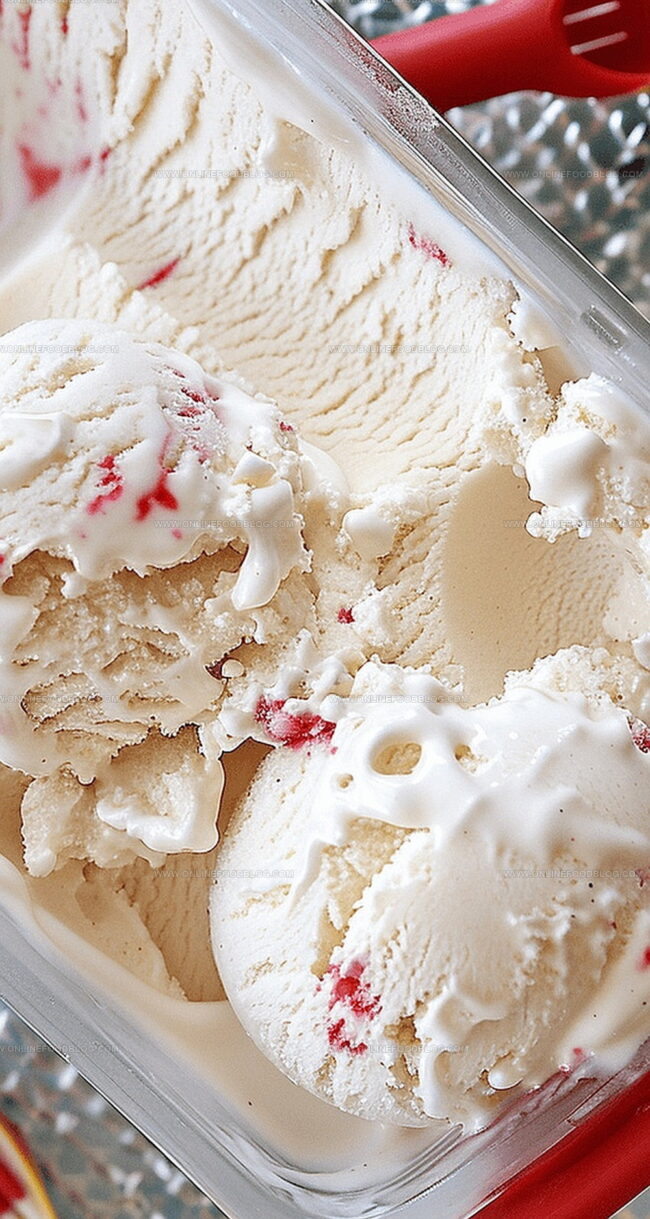
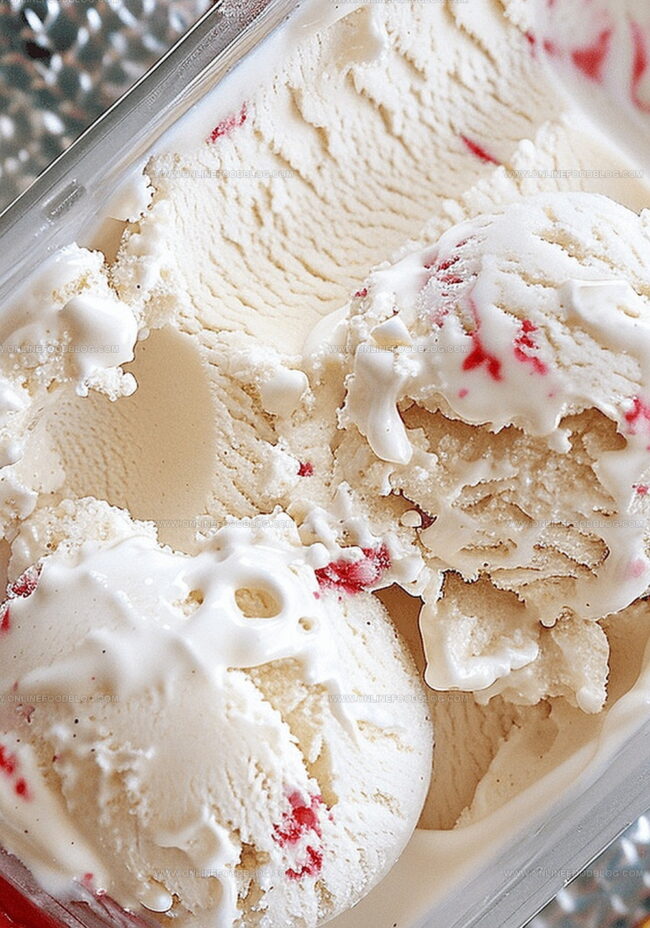
Transfer the freshly churned delight into a freezer-safe container, allowing it to set and develop rich, smooth flavors for a few hours before serving.
Freezing Tips and Flavor Options
Serving Homemade Ice Cream with Style
Vanilla Ice Cream Storage Guide
Print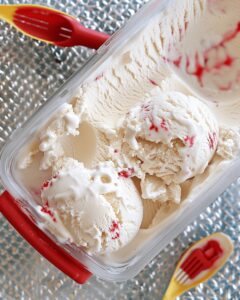
Silky Homemade Vanilla Ice Cream Recipe
- Total Time: Varies
- Yield: 5 1x
Description
Traditional Mexican vanilla ice cream showcases rich, creamy flavors from simple ingredients. Smooth custard base with pure vanilla creates a luxurious dessert you’ll savor in each delightful spoonful.
Ingredients
- 2 cups (473 ml) heavy cream
- 1 cup (237 ml) whole milk
- ½–¾ cups (100–150 g) sugar
- 1 tbsp (15 ml) vanilla extract
Instructions
- Mixture Preparation: Whisk heavy cream, whole milk, sugar, and pure vanilla extract in a large bowl until sugar dissolves completely, creating a silky, uniform liquid.
- Churning Process: Pour the mixture into a pre-chilled ice cream maker canister and activate the machine, allowing it to transform the liquid into a light, fluffy frozen treat according to the manufacturer’s churning guidelines.
- Flavor Enhancement: During the final churning moments, gently fold in optional mix-ins like chopped chocolate, fresh berries, or crushed nuts, ensuring even distribution throughout the creamy base.
- Freezing and Setting: Transfer the freshly churned ice cream to a freezer-safe container using a spatula, smoothing the surface to minimize ice crystal formation. Seal with an airtight lid and freeze for 2-4 hours until the ice cream reaches a rich, firm consistency perfect for scooping and serving.
Notes
- Chill Equipment First: Pre-freeze your ice cream maker’s canister for at least 24 hours to ensure optimal freezing and smooth texture.
- Prevent Ice Crystals: Cover the ice cream’s surface directly with plastic wrap before sealing the container to minimize unwanted crystallization.
- Temperature Matters: Let the ice cream soften at room temperature for 5-10 minutes before serving to achieve the perfect scoopable consistency.
- Customize Creatively: Experiment with different vanilla varieties like Madagascar, Tahitian, or bourbon to enhance the flavor profile and create unique taste experiences.
- Prep Time: 10 min
- Cook Time: 0 minutes
- Category: Desserts, Snacks
- Method: Blending
- Cuisine: American
Nutrition
- Serving Size: 5
- Calories: 340
- Sugar: 24 g
- Sodium: 50 mg
- Fat: 23 g
- Saturated Fat: 14 g
- Unsaturated Fat: 9 g
- Trans Fat: 0 g
- Carbohydrates: 30 g
- Fiber: 0 g
- Protein: 4 g
- Cholesterol: 80 mg
Mia Reynolds
Food Writer & Home Cooking Specialist
Expertise
Easy Home Baking, Recipe Writing and Storytelling, Local and Seasonal Ingredients, Baking for Beginners
Education
New England Culinary Institute (NECI), Montpelier, Vermont
Community College of Vermont, Winooski, Vermont
Mia Reynolds fell in love with baking as a teenager experimenting in her family kitchen. Her passion took her to New England Culinary Institute, where she learned practical pastry techniques, and later to Community College of Vermont to deepen her understanding of food management.
Mia combines clear, simple baking instructions with heartwarming stories, making home baking approachable for everyone.