Tropical Paradise: Heavenly Haupia Pie Recipe
When summer heat sizzles, this classic Hawaiian haupia pie delivers pure tropical bliss.
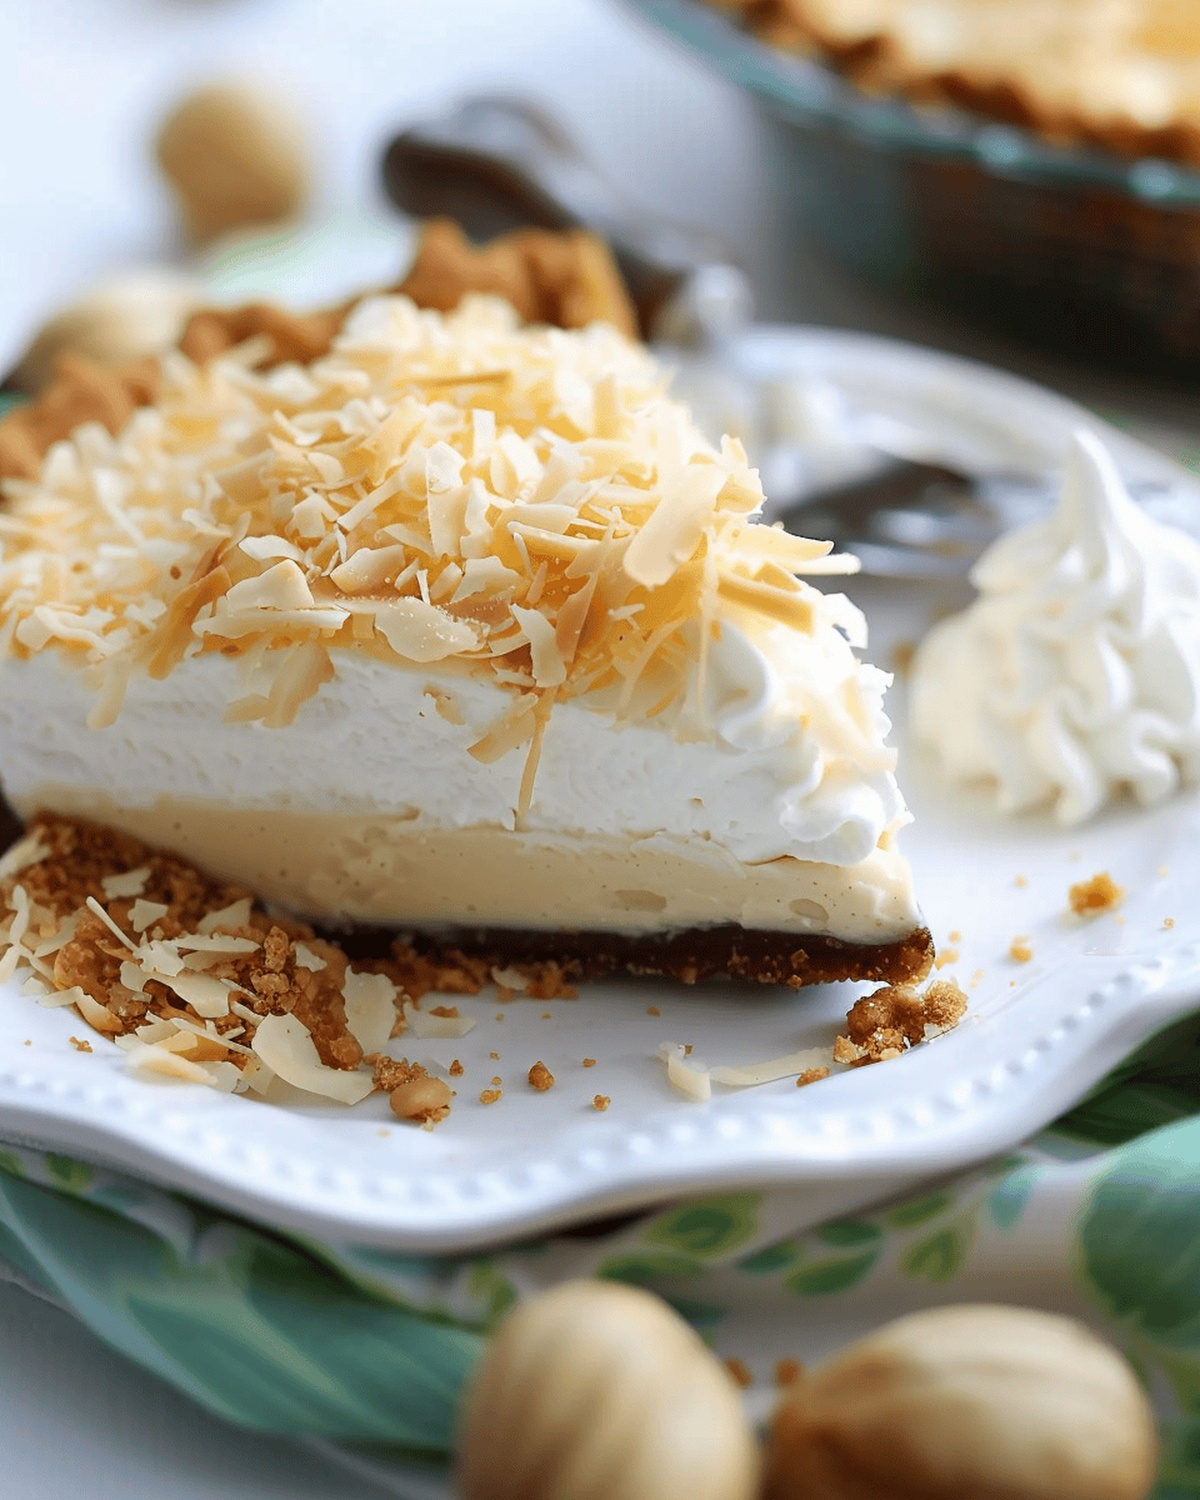
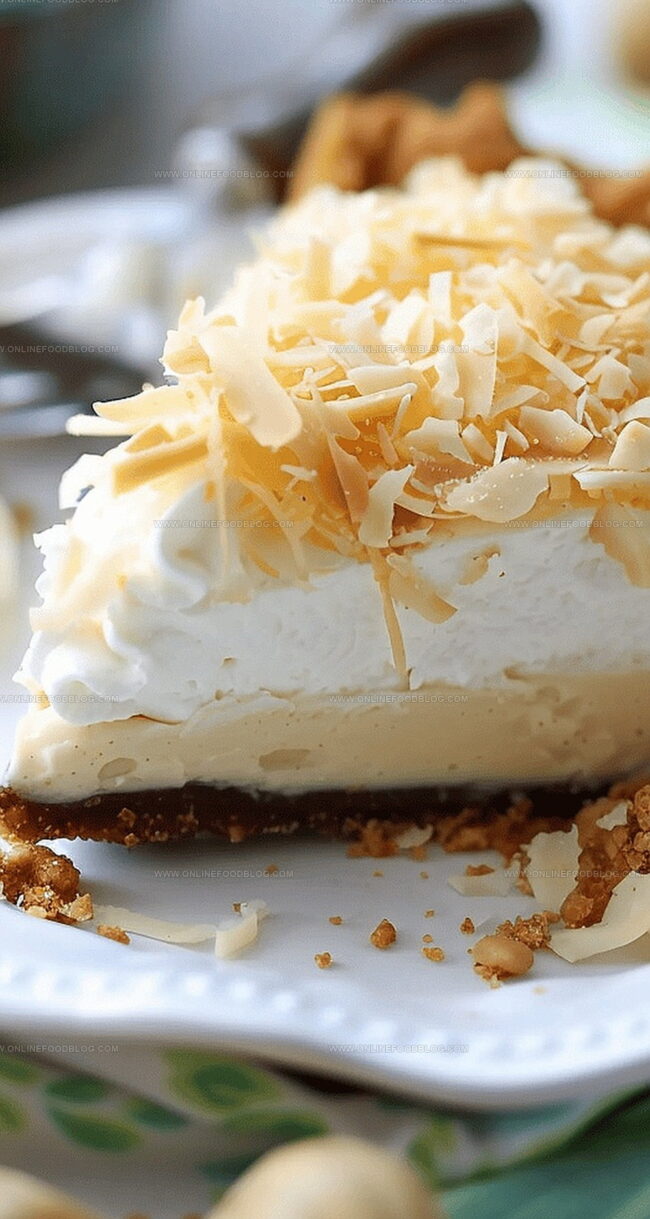
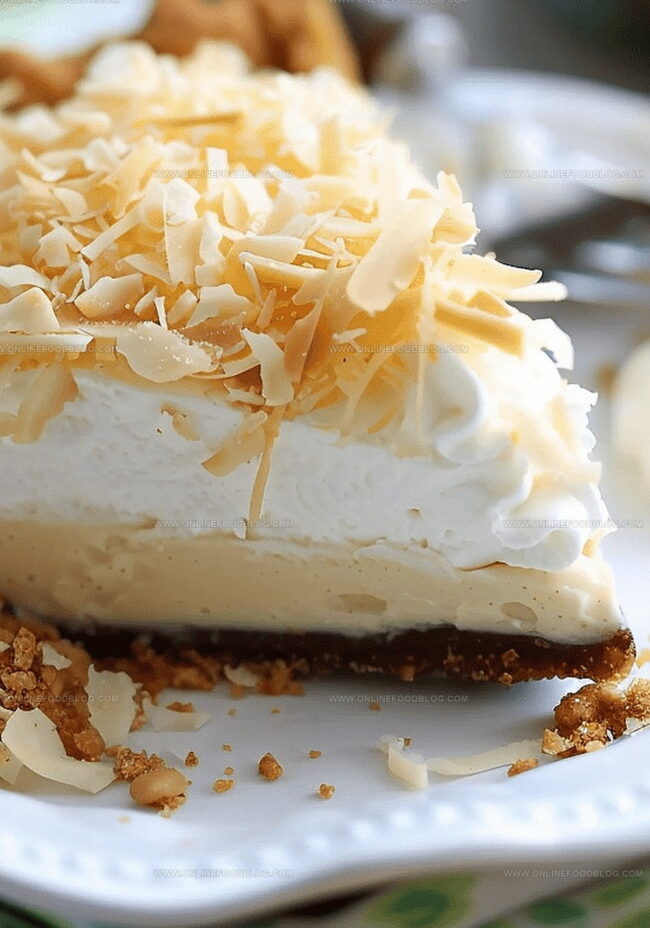
The traditional coconut haupia pie recipe weaves together creamy layers of sweet, velvety goodness.
Silky coconut custard nestles atop a buttery graham cracker crust, creating a dessert that whispers of island breezes.
Each slice promises a cool, refreshing escape from ordinary sweets.
Rich coconut flavors dance across your palate with delicate precision.
Smooth and luscious, this dessert captures the essence of Hawaiian culinary magic.
You’ll fall in love with every single bite of this delectable tropical treat.
Quick Recipe Overview
Haupia Pie Ingredient Map
For Crust Ingredients:For Filling Ingredients:For Topping Ingredients:Tools to Help You Layer, Chill, and Slice
How to Build That Iconic Coconut Custard Pie
Blend macadamia nuts into fine powder, mixing with chilled butter and flour until crumbly. Shape into soft disk and chill in refrigerator. Roll out delicate dough and settle into pie dish, then bake until edges turn golden.
Warm coconut cream with sweet sugar, creating silky base. Thicken mixture with cornstarch blend. Separate filling, introducing rich chocolate to half the mixture. Pour layers carefully into prepared crust.
Whip fresh cream until peaks stand tall and proud. Gently toast delicate coconut shavings until they reach warm amber color. Allow pie to cool completely before crowning with soft cream and sprinkled golden coconut.
Chill pie for several hours to let flavors meld and texture set. Serve cool, revealing beautiful layers of tropical paradise on each slice.
Flavor Boosts & Crust Upgrades You’ll Love
Tropical Serving Styles for Haupia Pie
Storage Secrets for Keeping It Silky
Print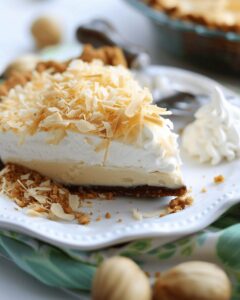
Silky Haupia Pie Recipe
- Total Time: 1 hour 5 minutes
- Yield: 9 1x
Description
Hawaiian haupia pie blends creamy coconut custard with a buttery graham cracker crust, creating a tropical dessert that whispers island memories. Pacific paradise meets sweet indulgence, inviting you to savor each luscious bite of coconut-infused comfort.
Ingredients
- 1 can coconut cream (13.5–15 oz)
- 1.25 cups flour (standard) or 1.5 cups flour (American)
- 1 cup whole milk
- 1 cup sugar
- 1 cup chocolate chips
- 2 cups heavy cream
- ½ cup macadamia pieces
- ½ cup cornstarch
- ½ cup cold and cubed butter
- ½ tsp salt
- ¼ cup sugar
- 3–5 tbsps ice water
- 2 tsps coconut extract
- 1 cup water
- ¼–½ cup toasted coconut shavings
Instructions
- Crust Preparation: Pulverize macadamia nuts in a food processor until finely ground, then integrate chilled butter and flour, pulsing until the mixture resembles coarse crumbs. Introduce ice water gradually, processing until the dough coheres.
- Dough Chilling: Form the dough into a compact disk, wrap in plastic, and refrigerate for 30-45 minutes to enhance texture and manageability.
- Crust Baking: Preheat oven to 350°F. Roll out the chilled dough, transfer to an 8-inch pie dish, trim edges, and blind bake for approximately 15 minutes until lightly golden.
- Coconut Filling Base: Whisk cornstarch with water to create a smooth slurry. In a heavy saucepan, combine coconut cream, milk, and sugar, whisking over medium heat. Introduce coconut extract and cornstarch mixture, cooking until the filling thickens to a pudding-like consistency.
- Layering and Chocolate Infusion: Pour half the coconut filling into the prepared crust. Merge melted chocolate into the remaining filling, creating a marbled effect, and spread carefully over the initial layer.
- Garnish Preparation: Toast coconut shavings in the oven at 350°F for 5-7 minutes, monitoring closely to prevent burning. Whip heavy cream with sugar until stiff peaks form.
- Cooling and Serving: Allow the pie to cool completely at room temperature, then refrigerate for at least 2 hours. Before serving, crown with whipped cream and sprinkle toasted coconut shavings.
Notes
- Crust Consistency Check: Ensure macadamia nuts are finely ground for a uniform, sandy texture that binds perfectly with butter and flour.
- Dough Handling Tip: Refrigerate dough for at least 30 minutes to prevent shrinkage and maintain a flaky, tender crust during baking.
- Filling Thickness Warning: Stir constantly while cooking to prevent scorching and achieve a smooth, pudding-like consistency without lumps.
- Cooling Crucial Step: Allow pie to set completely in the refrigerator for minimum 2 hours to develop rich flavors and achieve perfect slice-able texture.
- Prep Time: 40 minutes
- Cook Time: 15 minutes
- Category: Desserts
- Method: Baking
- Cuisine: Hawaiian
Nutrition
- Serving Size: 9
- Calories: 590
- Sugar: 39 g
- Sodium: 170 mg
- Fat: 42 g
- Saturated Fat: 25 g
- Unsaturated Fat: 15 g
- Trans Fat: 0 g
- Carbohydrates: 49 g
- Fiber: 2 g
- Protein: 6 g
- Cholesterol: 100 mg
Mia Reynolds
Food Writer & Home Cooking Specialist
Expertise
Easy Home Baking, Recipe Writing and Storytelling, Local and Seasonal Ingredients, Baking for Beginners
Education
New England Culinary Institute (NECI), Montpelier, Vermont
Community College of Vermont, Winooski, Vermont
Mia Reynolds fell in love with baking as a teenager experimenting in her family kitchen. Her passion took her to New England Culinary Institute, where she learned practical pastry techniques, and later to Community College of Vermont to deepen her understanding of food management.
Mia combines clear, simple baking instructions with heartwarming stories, making home baking approachable for everyone.