
Frosty Homemade Frappuccino Recipe: Cafe Magic at Home
Cool summer days call for a refreshing homemade frappuccino recipe that rivals any coffee shop concoction.
Brewing the perfect blended beverage doesn’t require barista skills or fancy equipment.
Each sip of this creamy, rich drink delivers pure coffee paradise with minimal effort.
You’ll love how simple ingredients come together to create a seriously delicious treat.
The secret lies in balancing coffee, ice, and just the right amount of sweetness.
Blending these components creates a smooth, frosty masterpiece that beats store-bought versions hands down.
Dive into this delightful recipe and turn your kitchen into a personal coffee haven.
Quick Recipe Overview
Homemade Frappuccino: Ingredient Checklist
For The Liquid Base:For The Texture Enhancers:For The Sweetness and Topping:Tools to Make Homemade Frappuccino
How to Whip Up Homemade Frappuccino
Start by brewing a rich, aromatic espresso or strong coffee to create the core flavor of your refreshing drink.
Toss the freshly brewed coffee into the blender alongside ice cubes, creamy milk, and your preferred sweetener for a smooth, cool mixture.
Pulse the ingredients until they transform into a frothy, velvety blend with a light and airy consistency.
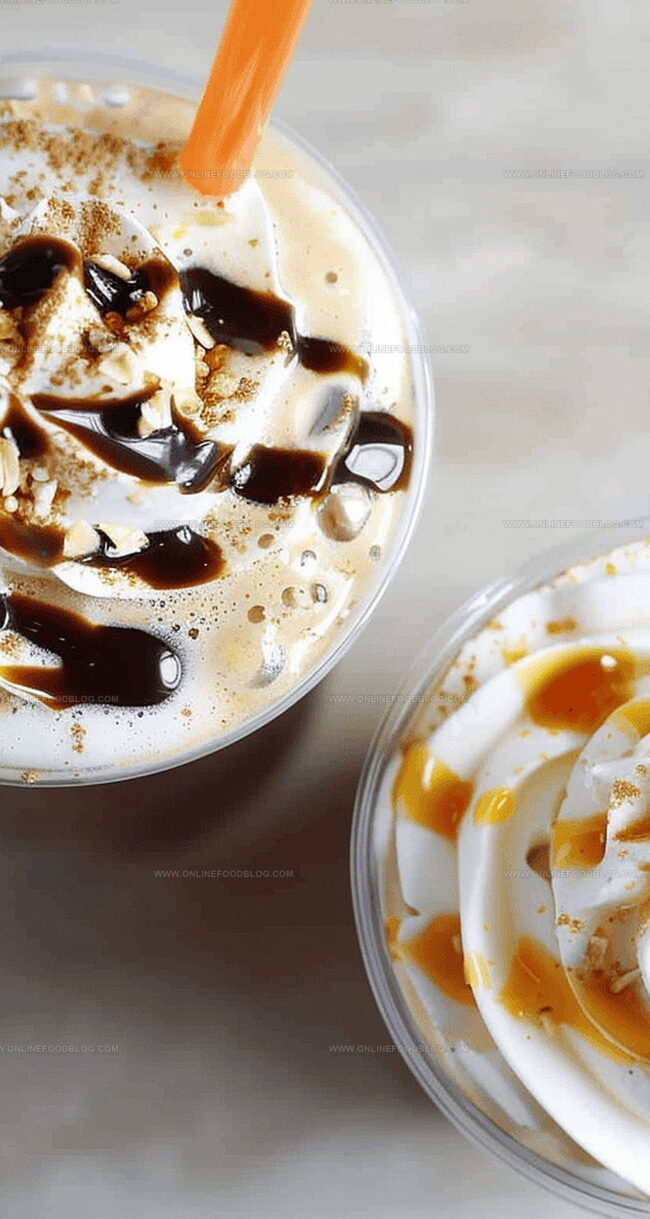
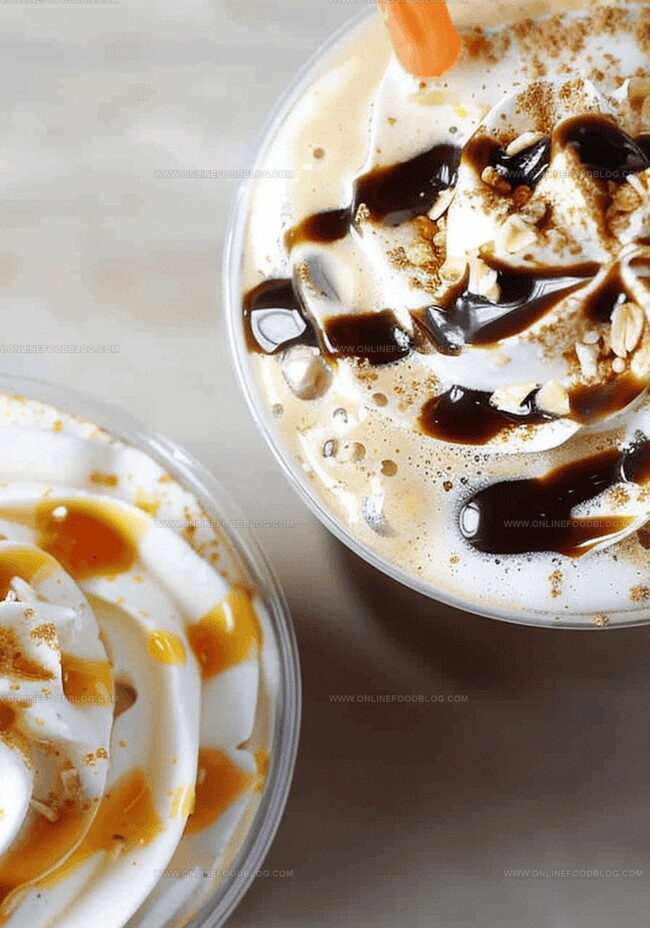
Elegantly pour the frosty concoction into a tall glass and crown it with a fluffy cloud of whipped cream, creating a decadent cafe-style treat you can enjoy anytime.
Homemade Frappuccino Add-Ons
Serving Homemade Frappuccino
Homemade Frappuccino Storage Help
Print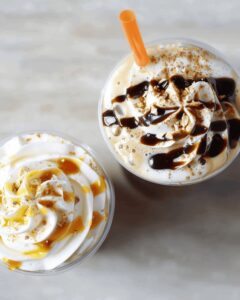
Silky Frappuccino Recipe
- Total Time: 5 minutes
- Yield: 3 1x
Description
Creamy homemade frappuccino blends coffee, milk, and sweetness into a refreshing summer drink. Starbucks-inspired sips come together quickly with simple ingredients, offering cool satisfaction to coffee enthusiasts.
Ingredients
- 2 shots/½ cup strong coffee
- 2 cups/480 ml ice
- 1 cup/240 ml whole milk
- 2 tbsps/30 ml chocolate syrup (or caramel)
- 2 tbsps/30 g chocolate chips (optional)
- ½ cup/120 ml whipped cream
Instructions
- Coffee Extraction: Brew a robust espresso or intense coffee, capturing deep, complex flavor profiles that will anchor the frappuccino’s character.
- Blending Preparation: Combine freshly brewed coffee, ice cubes, milk, vanilla syrup, and sugar directly into a high-performance blender, ensuring all components are ready for transformation.
- Texture Development: Pulse the mixture vigorously until it achieves a velvety, frost-laden consistency with uniformly crushed ice crystals, creating a smooth and harmonious beverage.
- Presentation: Pour the blended concoction into a chilled serving glass, allowing the drink to settle and reveal its luxurious layers.
- Garnishing Finale: Top the frappuccino with a lavish cloud of whipped cream, then embellish with chocolate shavings, caramel drizzle, or a light dusting of ground cinnamon for an elevated sensory experience.
Notes
- Brew Boldly: Choose high-quality, freshly ground coffee beans for maximum flavor intensity and aromatic depth.
- Chill Perfectly: Use frozen coffee cubes instead of water ice to prevent dilution and maintain robust coffee taste.
- Blend Strategically: Pulse the blender in short bursts to achieve a smooth, creamy texture without over-processing the mixture.
- Customize Creatively: Experiment with flavor syrups, alternative milk options, and unique toppings to craft a personalized frappuccino experience.
- Prep Time: 5 minutes
- Cook Time: 0 minutes
- Category: Drinks, Snacks
- Method: Blending
- Cuisine: American
Nutrition
- Serving Size: 3
- Calories: 290
- Sugar: 24g
- Sodium: 90mg
- Fat: 15g
- Saturated Fat: 9g
- Unsaturated Fat: 5g
- Trans Fat: 0g
- Carbohydrates: 32g
- Fiber: 0g
- Protein: 7g
- Cholesterol: 30mg
Mia Reynolds
Food Writer & Home Cooking Specialist
Expertise
Easy Home Baking, Recipe Writing and Storytelling, Local and Seasonal Ingredients, Baking for Beginners
Education
New England Culinary Institute (NECI), Montpelier, Vermont
Community College of Vermont, Winooski, Vermont
Mia Reynolds fell in love with baking as a teenager experimenting in her family kitchen. Her passion took her to New England Culinary Institute, where she learned practical pastry techniques, and later to Community College of Vermont to deepen her understanding of food management.
Mia combines clear, simple baking instructions with heartwarming stories, making home baking approachable for everyone.