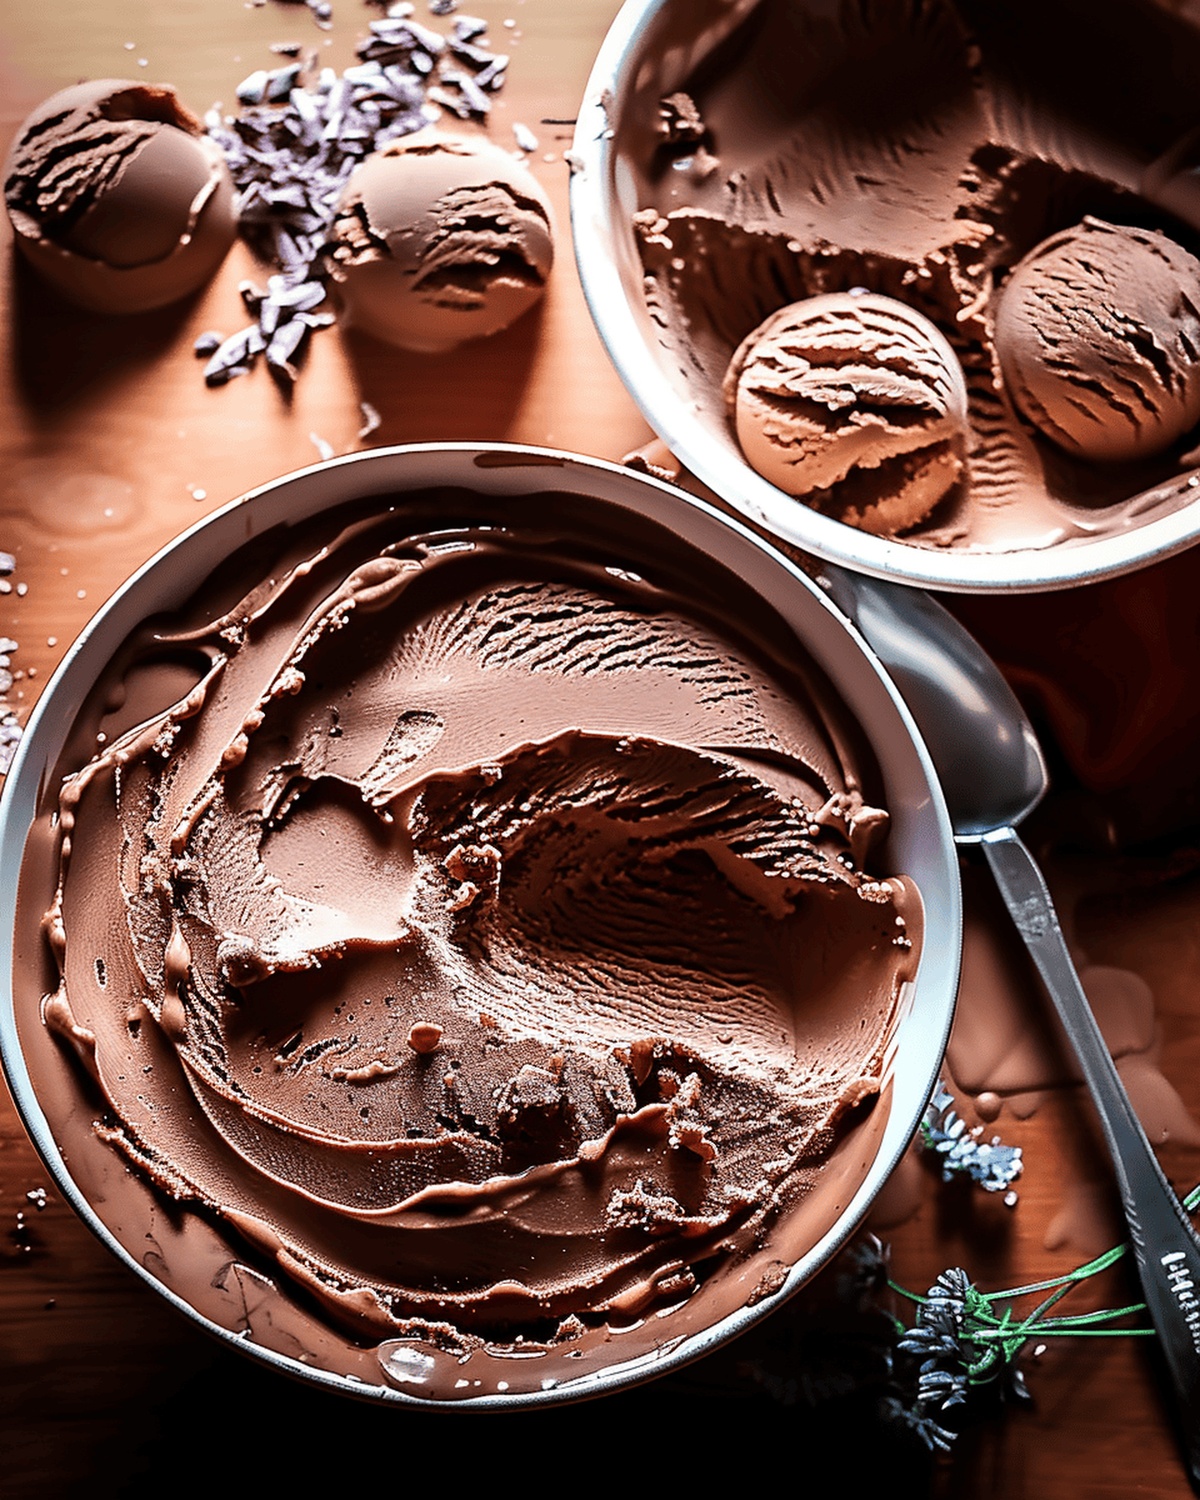
Dreamy Eggless Chocolate Ice Cream Recipe: Fuss-Free Delight
Summers heat up with a delightful twist when you whip up this easy eggless chocolate ice cream.
No complicated techniques or special equipment stand between you and creamy, rich dessert bliss.
The secret lies in simple ingredients and a few clever mixing steps.
chocolate lovers will swoon over the silky smooth texture that melts perfectly on your tongue.
Rich cocoa flavors dance through each spoonful, promising pure indulgence without eggs.
This recipe brings restaurant-quality dessert right to your kitchen with minimal effort.
Grab your spoon and get ready to dive into chocolate paradise.
Quick Recipe Overview
Ingredients for Eggless Chocolate Ice Cream
For Base and Flavor:For Thickening and Smoothness:For Optional Churning Alternatives:Must-Have Tools for Eggless Ice Cream Making
Instructions to Blend Eggless Chocolate Ice Cream
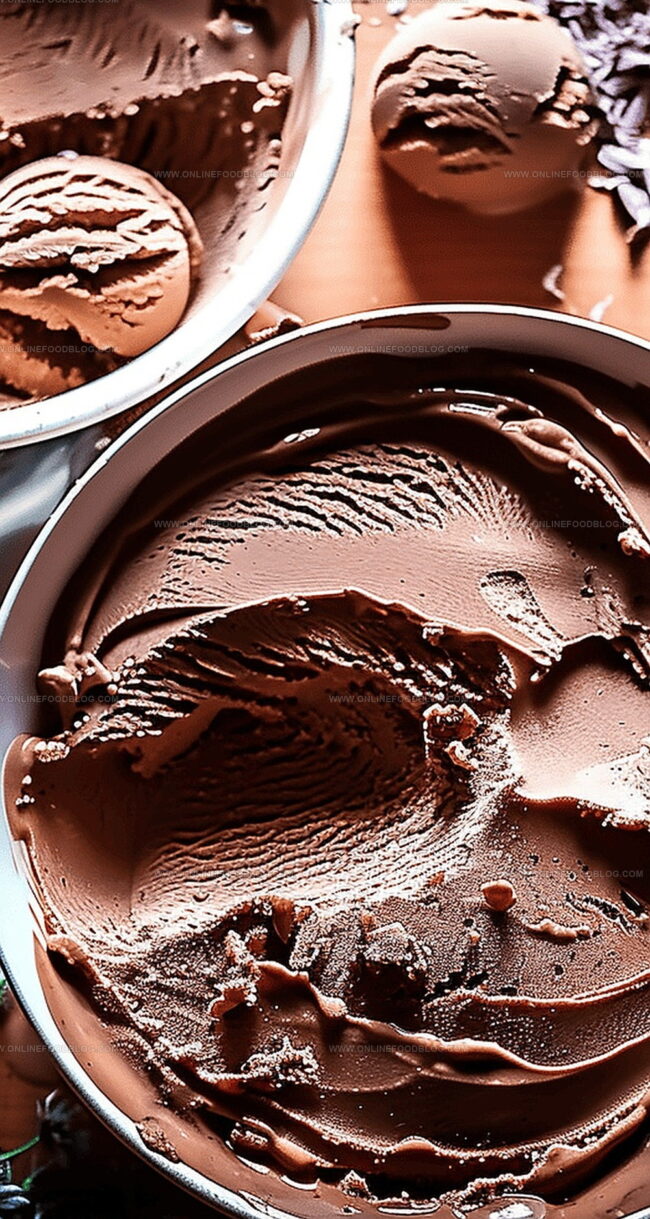
Blend rich chocolate components gently in a saucepan, creating a silky liquid that promises decadent dessert magic.
Warm the mixture slowly, allowing flavors to dance and meld together without scorching, stirring consistently to maintain a luxurious texture.
Refrigerate the liquid treasure for several hours, letting it develop deep, complex flavor profiles and prepare for its final frozen form.
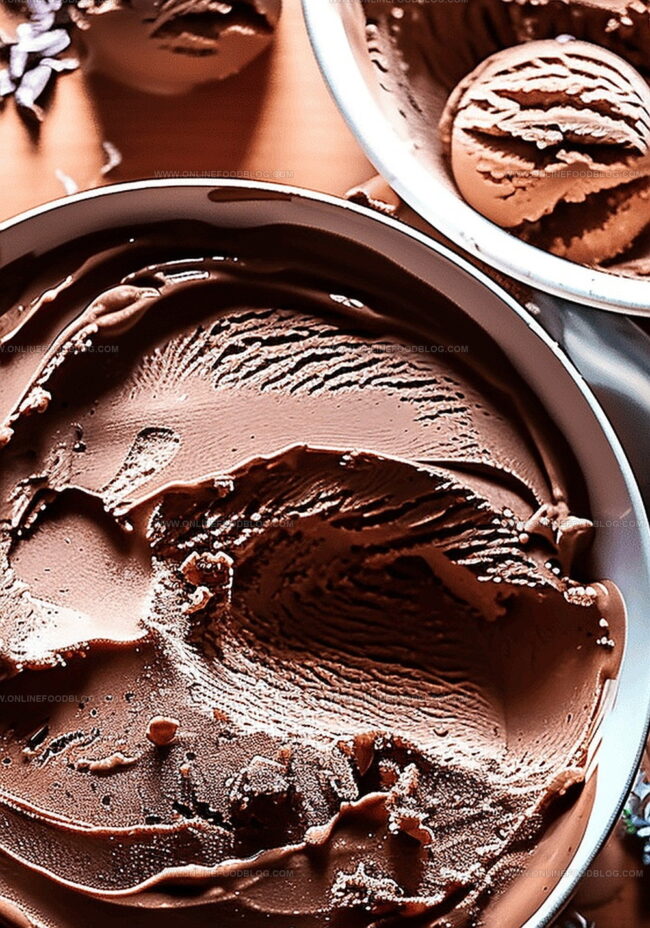
Transform the chilled mixture into creamy goodness using an ice cream maker, spinning it into soft, velvety perfection.
Transfer the churned creation into a container and let it rest in the freezer, allowing it to firm up into a luscious, scoopable treat ready to delight taste buds.
Alternative Method for No Ice Cream Maker:
If you lack a churning device, use an immersion blender every hour during freezing, breaking up developing ice crystals to ensure a smooth, dreamy consistency.
Tips for Creaminess Without the Eggs
Serving Ideas for Chocolate Ice Cream Done Right
Keep Your Ice Cream Smooth in Storage
Print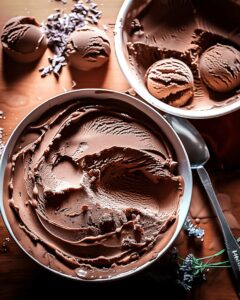
Silky Eggless Chocolate Ice Cream Recipe
- Total Time: 15 minutes
- Yield: 5 1x
Description
Rich chocolate lovers delight in this simple eggless chocolate ice cream that brings creamy Italian-style dessert magic to home kitchens. Cold dessert perfection comes together with minimal ingredients so you can enjoy smooth, indulgent chocolate goodness anytime.
Ingredients
- 240 g (8.5 oz) high-quality dark chocolate (100 g (3.5 oz) Jivara milk chocolate and 140 g (5 oz) Caraïbe dark chocolate from Valrhona)
- 750 ml (25.4 fl oz) whole milk (or 200 ml (6.8 fl oz) cream and 550 ml (18.6 fl oz) milk)
- 80 g (2.8 oz) sugar
- 30 g (1.1 oz) powdered milk
Instructions
- Blend Base: Whisk dairy ingredients, cocoa powder, sugar, and cornstarch in a medium saucepan until completely smooth and lump-free.
- Heat and Thicken: Simmer mixture over medium-low heat, continuously stirring to prevent scorching, for 4-6 minutes until the consistency resembles a pudding-like texture that coats the back of a spoon.
- Cool and Chill: Transfer the chocolate base to a shallow container and refrigerate for 5-6 hours or overnight to develop deep, rich chocolate flavors.
- Churn or Freeze: If using an ice cream maker, churn the mixture for 20-25 minutes until soft-serve consistency. Without a machine, pour into a freezer-safe container and vigorously stir with an immersion blender or whisk every 45 minutes to prevent large ice crystals.
- Final Freeze: Transfer the churned or manually mixed ice cream to a sealed container and freeze for 2-3 hours until firm and perfectly scoopable.
Notes
- Prevent Lumps Carefully: Whisk dairy ingredients, cocoa, sugar, and cornstarch thoroughly to ensure a silky-smooth base without any unwanted clumps.
- Watch Heat Closely: Maintain a gentle medium-low temperature while stirring continuously to prevent scorching and achieve perfect consistency.
- Cool Completely: Refrigerate the mixture for at least 5-6 hours or overnight to develop rich, deep chocolate flavors and ensure proper chilling.
- Texture Technique: If churning manually, break up ice crystals by stirring vigorously every 45 minutes to create a creamy, smooth final texture.
- Prep Time: 10 minutes
- Cook Time: 5 minutes
- Category: Desserts, Snacks, Drinks
- Method: Boiling
- Cuisine: Indian
Nutrition
- Serving Size: 5
- Calories: 321
- Sugar: 16 g
- Sodium: 82 mg
- Fat: 17 g
- Saturated Fat: 10 g
- Unsaturated Fat: 7 g
- Trans Fat: 0 g
- Carbohydrates: 36 g
- Fiber: 1 g
- Protein: 8 g
- Cholesterol: 41 mg
Mia Reynolds
Food Writer & Home Cooking Specialist
Expertise
Easy Home Baking, Recipe Writing and Storytelling, Local and Seasonal Ingredients, Baking for Beginners
Education
New England Culinary Institute (NECI), Montpelier, Vermont
Community College of Vermont, Winooski, Vermont
Mia Reynolds fell in love with baking as a teenager experimenting in her family kitchen. Her passion took her to New England Culinary Institute, where she learned practical pastry techniques, and later to Community College of Vermont to deepen her understanding of food management.
Mia combines clear, simple baking instructions with heartwarming stories, making home baking approachable for everyone.