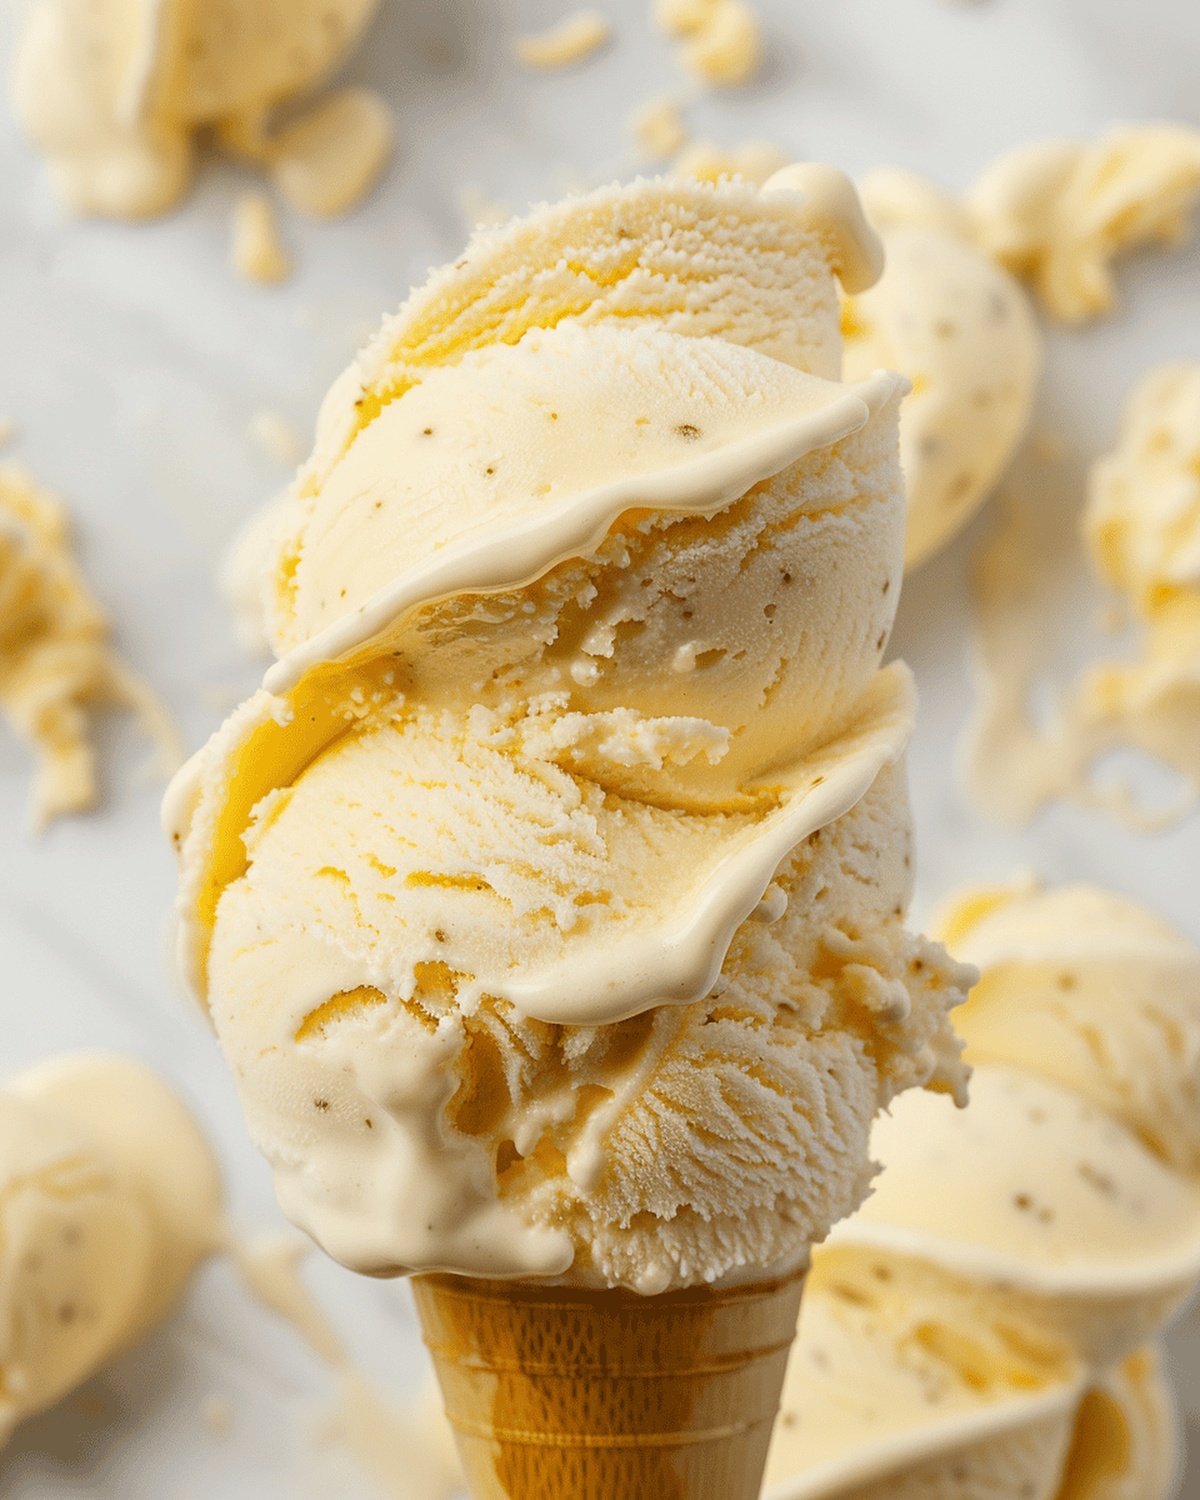
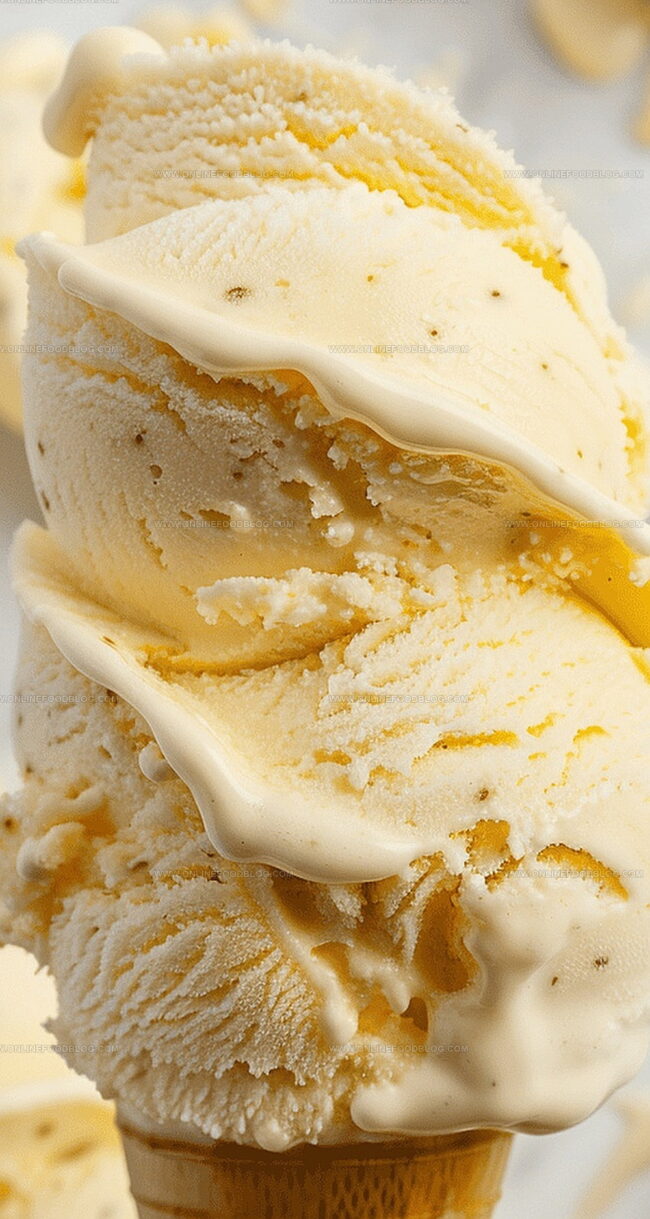
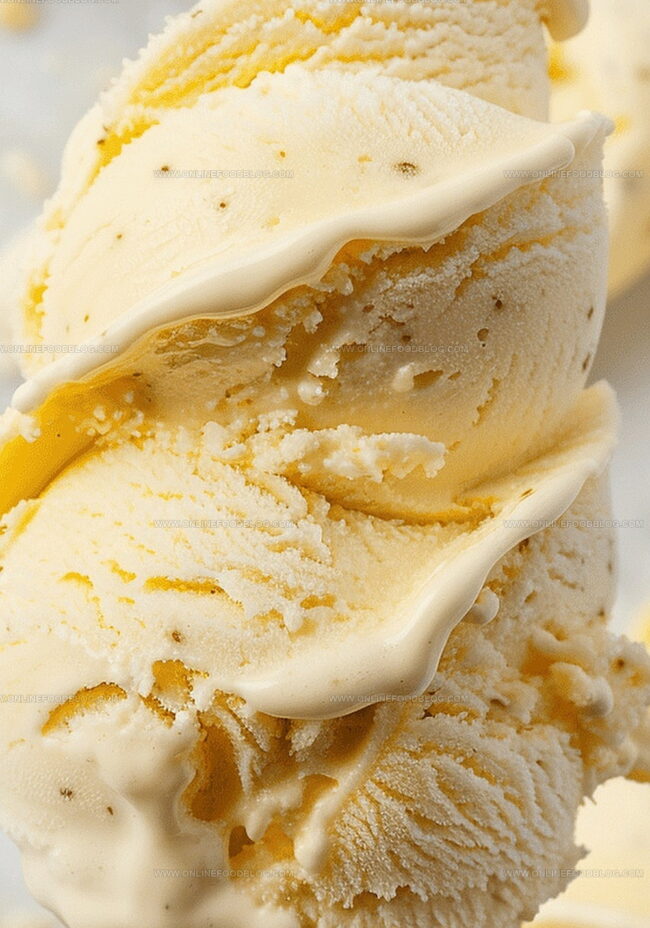
The Creamiest Custard Ice Cream Recipe For Summer Joy
Summers demand cool, creamy desserts that delight every sweet tooth, and this classic custard ice cream recipe delivers pure bliss with its rich, silky texture.
The smooth vanilla-infused custard ice cream melts effortlessly on your tongue, creating an instant moment of delectable pleasure.
Each spoonful promises a luxurious experience that transports you to pure dessert heaven.
The recipe combines simple ingredients with expert technique to craft a dessert that feels both nostalgic and indulgent.
Traditional techniques ensure a velvety consistency that sets this ice cream apart from store-bought versions.
Handcrafted with love and precision, this dessert transforms ordinary ingredients into an extraordinary treat.
Grab your ice cream maker and get ready to impress with a dessert that celebrates summer’s sweetest moments.
Quick Recipe Overview
Custard Ice Cream: Ingredients You’ll Need
For Base and Flavor Enhancers:For Dairy Components:For Preparation Tools:Ice Cream Equipment That Makes It Smooth
Custard Ice Cream Instructions from Start to Scoop
Ensure ice cream bowl is completely frozen solid with no liquid movement inside.
Whisk egg yolks and sugar until color transforms into soft sunshine yellow.
Split vanilla bean and extract delicate inner seeds, releasing rich aromatic essence.
Warm milk with vanilla seeds and bean pod gently, creating a fragrant foundation without boiling.
Carefully blend hot milk into egg mixture, creating smooth harmony between ingredients.
Slowly cook mixture until texture becomes luxuriously thick, coating utensil with creamy layer.
Strain mixture, incorporate heavy cream and extract, creating silky base.
Refrigerate base, allowing flavors to meld and deepen.
Transform liquid into dreamy soft ice cream using specialized machine.
Transfer to container, seal carefully, and allow ice cream to solidify completely.
Allow ice cream to soften slightly before indulging in creamy delight.
Flavor Customization for Your Custard Base
Serving Tips for a Cool & Classic Finish
Ice Cream Storage Without Freezer Burn
Print
Silky Custard Ice Cream Recipe
- Total Time: 35 minutes
- Yield: 5 1x
Description
Creamy Mexican custard ice cream blends rich egg yolks with delicate vanilla notes. Smooth cold dessert delivers authentic flavor profiles perfect for warm summer celebrations.
Ingredients
- 4 large egg yolks
- 1 ½ cups whole milk (360 ml)
- 1 ½ cups heavy cream (360 ml)
- ¾ cup granulated sugar (150 g)
- 1 vanilla bean
- ½ teaspoon (2.5 ml) vanilla extract
- ½ teaspoon (2.5 ml) salt
Instructions
- Chill Bowl: Prepare the ice cream maker’s freezer bowl 24 hours in advance, ensuring no liquid movement when shaken.
- Create Custard Base: Whisk egg yolks and sugar until pale and creamy. Split vanilla bean and extract seeds.
- Infuse Milk: Combine milk, salt, vanilla seeds, and pod in a saucepan. Warm until tiny bubbles form around edges, then remove from heat.
- Temper Mixture: Slowly add heated milk to egg mixture, whisking continuously to prevent curdling. Return to saucepan and cook over low heat until custard thickens enough to coat a spoon.
- Strain and Enhance: Pour custard through a fine-mesh strainer into a clean bowl. Reintroduce vanilla pod and mix in heavy cream and vanilla extract.
- Chill Thoroughly: Cover custard with plastic wrap touching the surface. Refrigerate for minimum 3 hours or overnight.
- Churn and Freeze: Remove vanilla pod and churn in ice cream maker for 20-25 minutes. Transfer to a shallow freezer-safe container, smooth surface, and seal with plastic wrap.
- Set and Serve: Freeze for 4-6 hours until solidified. Let soften at room temperature for 3-5 minutes before scooping.
Notes
- Prep Freezer Bowl Early: Freeze the ice cream maker’s bowl at least 24 hours ahead to ensure optimal churning and smooth texture.
- Temper Eggs Carefully: Slowly add hot milk to egg mixture while whisking constantly to prevent scrambling and create a silky custard base.
- Strain for Smoothness: Use a fine-mesh strainer to catch any egg fragments, guaranteeing a perfectly smooth and creamy ice cream texture.
- Seal and Protect: Always cover the custard and churned ice cream with plastic wrap directly touching the surface to prevent ice crystallization and freezer burn.
- Prep Time: 15 minutes
- Cook Time: 20 minutes
- Category: Desserts, Snacks
- Method: Simmering
- Cuisine: American
Nutrition
- Serving Size: 5
- Calories: 370
- Sugar: 25 g
- Sodium: 100 mg
- Fat: 30 g
- Saturated Fat: 18 g
- Unsaturated Fat: 12 g
- Trans Fat: 0 g
- Carbohydrates: 28 g
- Fiber: 0 g
- Protein: 4 g
- Cholesterol: 180 mg
Mia Reynolds
Food Writer & Home Cooking Specialist
Expertise
Easy Home Baking, Recipe Writing and Storytelling, Local and Seasonal Ingredients, Baking for Beginners
Education
New England Culinary Institute (NECI), Montpelier, Vermont
Community College of Vermont, Winooski, Vermont
Mia Reynolds fell in love with baking as a teenager experimenting in her family kitchen. Her passion took her to New England Culinary Institute, where she learned practical pastry techniques, and later to Community College of Vermont to deepen her understanding of food management.
Mia combines clear, simple baking instructions with heartwarming stories, making home baking approachable for everyone.