Saucepan: Medium-sized, heavy-based pan for gently heating milk and making caramel.
Mixing bowl: Medium-sized bowl for whisking egg yolks and sugar.
Whisk: Essential for blending ingredients smoothly and preventing lumps.
Paring knife: For splitting and scraping vanilla bean seeds.
Sieve: To strain custard and ensure silky texture.
Baking sheet: Lined with parchment paper for creating caramel brittle.
Offset spatula: For spreading caramel evenly on baking sheet.
Plastic wrap: To cover custard and prevent skin formation.
Tea towel: Stabilizes bowl during tempering process.
Directions to Make This Rich Ice Cream
Creamy Vanilla Dream
Vanilla Preparation Gently warm milk and cream in a saucepan, infusing with fragrant vanilla beans for a rich, luxurious base that whispers sweet promises of deliciousness.
Egg Mixture Magic Whip egg yolks with sugar until the combination transforms into a silky, pale canvas that will become the heart of your frozen delight.
Gentle Blending Carefully introduce the warm cream mixture into the egg blend, stirring with love and patience to create a smooth, velvety custard that hints at the incredible dessert to come.
Custard Transformation Slowly heat the mixture, watching it thicken into a luscious cream that coats the back of a spoon – a telltale sign of perfection that signals your creation is almost complete.
Cooling and Resting Allow the custard to chill completely, letting flavors meld and develop depth overnight – patience is the secret ingredient that elevates this dessert from good to absolutely extraordinary.
Caramel Crunch Create a golden amber caramel, quickly spread on a baking sheet, and break into delightful shards that will add a spectacular crunch to your dreamy ice cream.
Tips for Creamy Crème Brûlée Results
Swap traditional vanilla bean with Madagascar or Tahitian vanilla for deeper, more complex flavor profiles. Fresh beans deliver richer taste compared to extract.
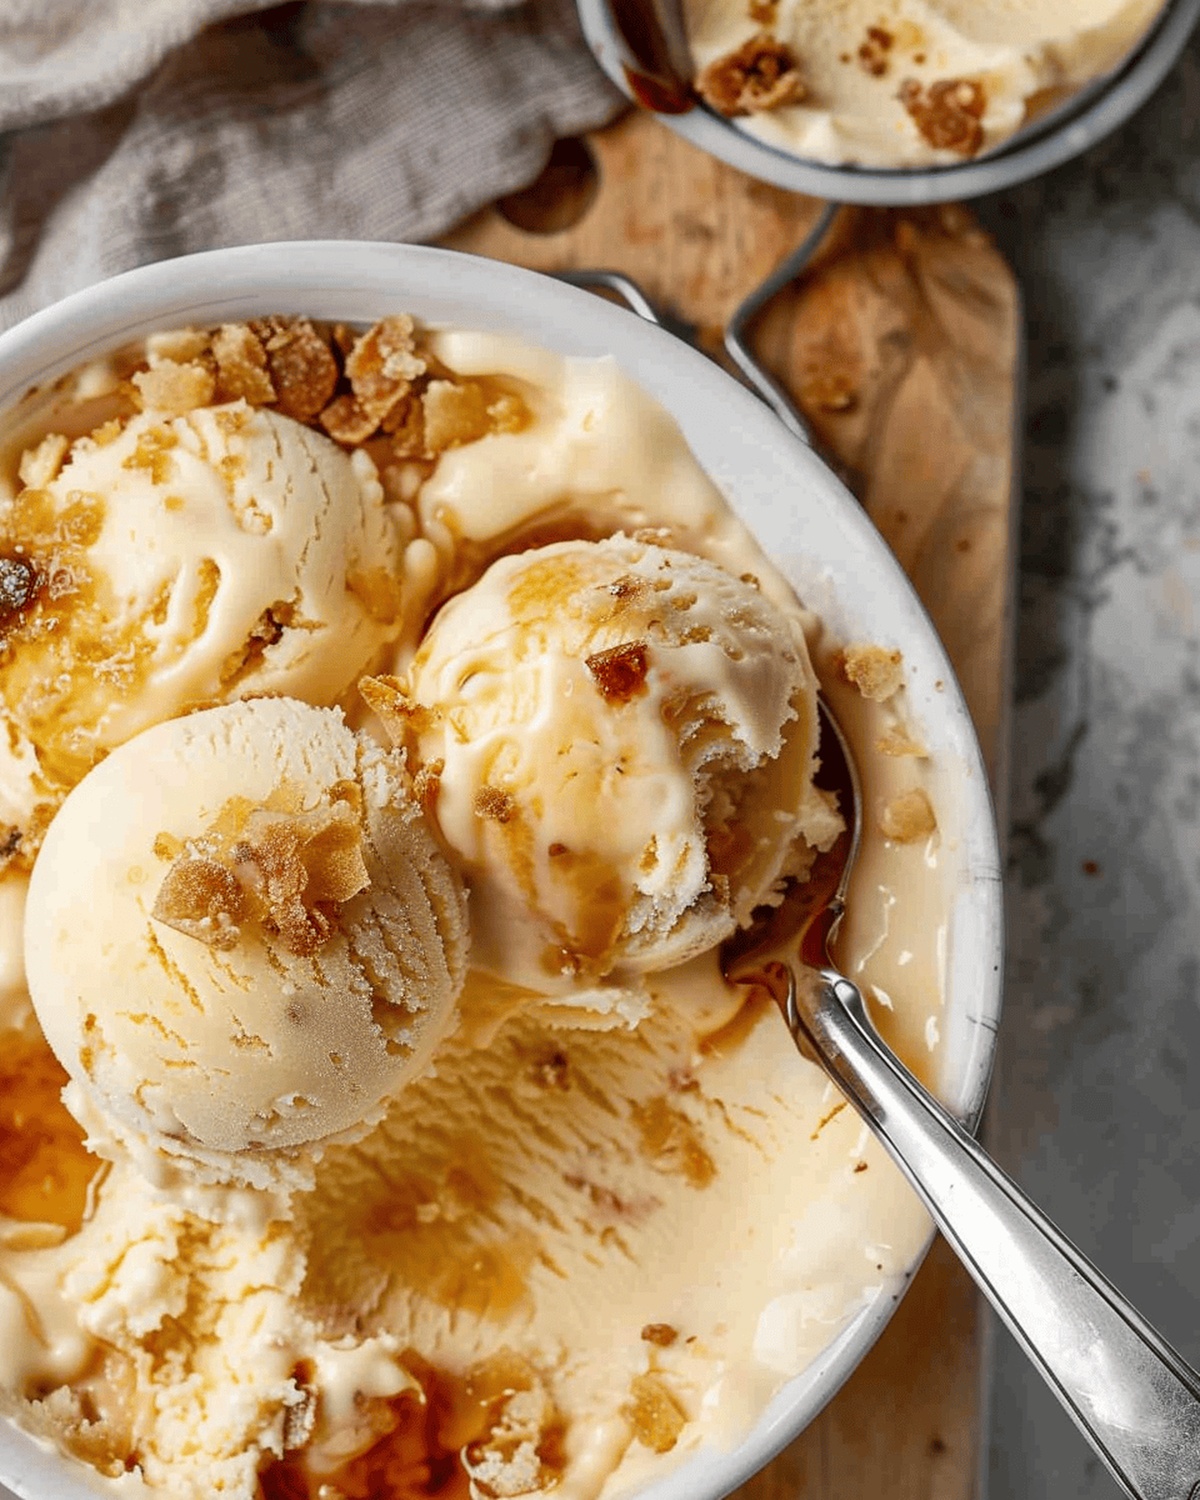
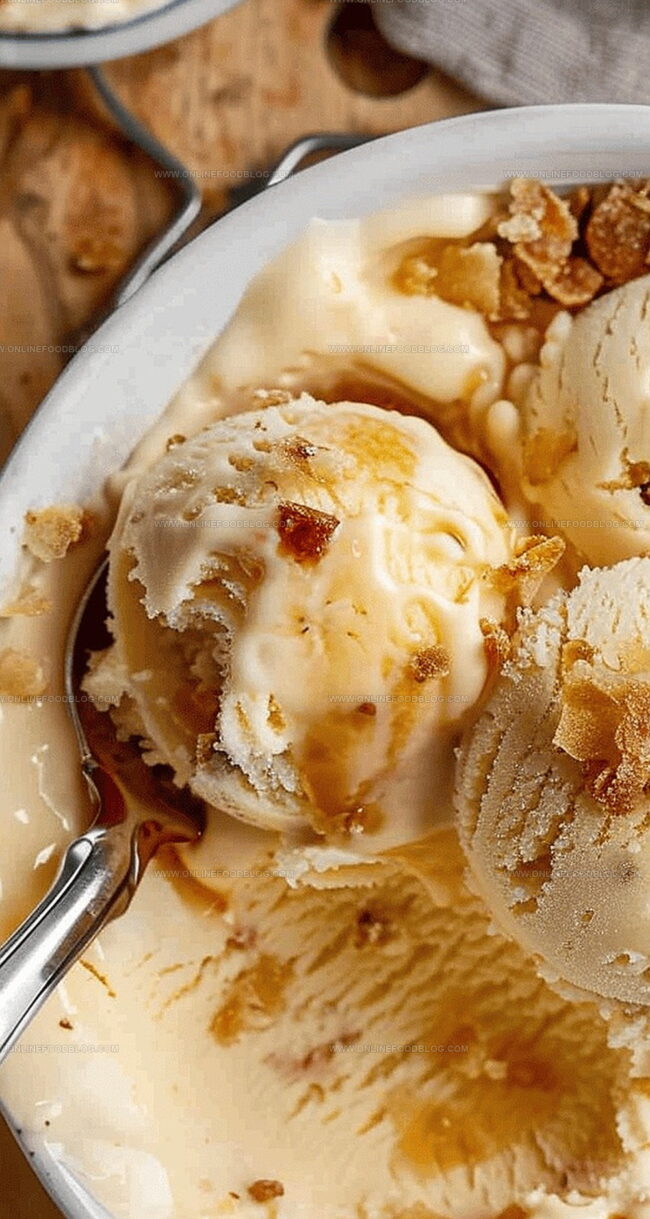
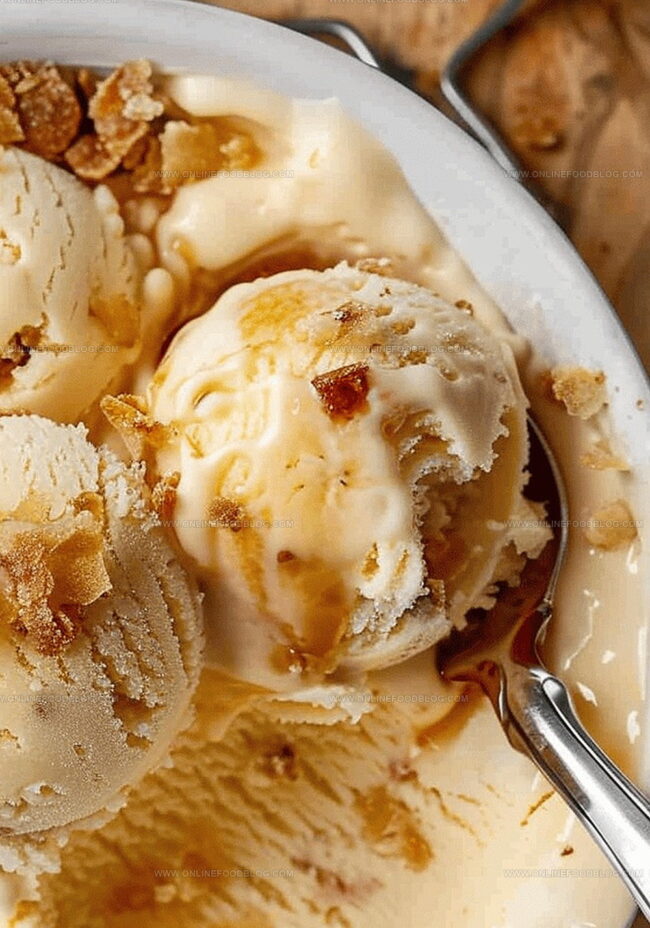
Break caramel brittle into different sizes for varied crunch. Smaller pieces distribute evenly, while larger chunks provide unexpected textural surprises in each bite.
Adjust sugar quantity in custard base to control overall sweetness. Reduce sugar by 10-15% for a more sophisticated, less sweet dessert that highlights natural cream flavors.
Add 1-2 tablespoons of dark rum or bourbon during cooling stage to enhance richness and prevent excessive ice crystallization. Liquor softens the texture and introduces subtle complexity.
Ensure all ingredients are certified gluten-free, particularly caramel ingredients. Replace traditional caramel with alternative sweeteners like coconut sugar for sensitive dietary needs.
Suggestions for Serving Crème Brûlée Ice Cream
Elegant Dessert Companion: Serve this luxurious crème brûlée ice cream alongside a delicate almond biscotti or crisp shortbread cookie for delightful textural contrast.
Caramel Crunch Garnish: Sprinkle the homemade caramel brittle pieces generously over the top of each ice cream scoop, creating a stunning golden crackle that echoes the classic crème brûlée experience.
Wine Pairing Perfection: Complement the rich, creamy dessert with a chilled glass of sweet Sauternes or a late harvest Riesling, which will beautifully enhance the vanilla and caramel notes.
Plating Elegance: Present the ice cream in chilled crystal glasses or vintage dessert bowls, garnishing with a fresh mint leaf or a delicate edible flower to elevate the visual appeal.
Cold Storage Instructions for Crème Brûlée Ice Cream
Fridge-Friendly Storage: Tuck your homemade crème brûlée ice cream into an airtight container, ensuring it’s sealed tight to prevent freezer burn and unwanted ice crystals. This sweet creation stays delicious for up to two weeks when properly stored.
Serving Temperature Magic: Let the ice cream sit at room temperature for 3-5 minutes before scooping to achieve that perfect, silky-smooth texture that melts effortlessly on your tongue.
Caramel Brittle Care: Store the crunchy caramel pieces separately in a sealed container at room temperature. Keep them away from humidity to maintain their satisfying crack and prevent sticky clumping.
Make-Ahead Brilliance: Prepare the custard base and caramel brittle up to two days in advance. Chilling the custard overnight deepens the vanilla flavor and creates an extra creamy texture that will make your dessert irresistibly smooth.
Infusion and Base Preparation: Split vanilla bean and extract seeds. Combine milk, cream, vanilla bean, and seeds in a saucepan. Heat until delicate bubbles form around edges without boiling.
Custard Development: Whip egg yolks with sugar until the mixture transforms into a pale, voluminous texture. Gradually temper the egg mixture by slowly introducing hot milk while whisking continuously to prevent curdling.
Cooking and Straining: Return the combined liquid to the saucepan, cooking over low heat while constantly stirring. Ensure custard reaches the correct consistency by checking the back of a spoon—the path should remain clear. Strain through a fine-mesh sieve into a clean bowl, cover surface directly with plastic wrap, and refrigerate for a minimum of two hours.
Caramel Brittle Creation: Melt sugar in a heavy-bottomed pan until it reaches a golden brown color, swirling gently to ensure even caramelization. Pour molten caramel onto a parchment-lined baking sheet, spreading thinly. Allow to cool and set before fragmenting into varied-sized pieces.
Churning and Finishing: Fold caramel brittle fragments into the chilled custard. Churn in an ice cream maker until the mixture reaches a luxurious, creamy consistency. Transfer to a freezer-safe container and freeze until firm.
Notes
Vanilla Infusion Technique: Split and scrape vanilla bean to maximize flavor extraction, ensuring rich, authentic taste throughout the custard base.
Egg Tempering Mastery: Add hot milk slowly to egg yolks while whisking vigorously to prevent scrambling, creating a smooth, silky custard foundation.
Custard Consistency Check: Use the finger-path method on the back of a spoon to confirm perfect thickening—a clear path indicates ideal custard texture.
Caramel Brittle Precision: Watch sugar carefully during caramelization, swirling gently to achieve golden-brown color without burning, creating crisp, flavorful caramel shards.
Degree: Certificate in Food and Beverage Management
Focus: Essential knowledge of recipe development, ingredient sourcing, and food business basics.
Mia Reynolds fell in love with baking as a teenager experimenting in her family kitchen. Her passion took her to New England Culinary Institute, where she learned practical pastry techniques, and later to Community College of Vermont to deepen her understanding of food management.
Mia combines clear, simple baking instructions with heartwarming stories, making home baking approachable for everyone.

Mia Reynolds
Food Writer & Home Cooking Specialist
Expertise
Easy Home Baking, Recipe Writing and Storytelling, Local and Seasonal Ingredients, Baking for Beginners
Education
New England Culinary Institute (NECI), Montpelier, Vermont
Community College of Vermont, Winooski, Vermont
Mia Reynolds fell in love with baking as a teenager experimenting in her family kitchen. Her passion took her to New England Culinary Institute, where she learned practical pastry techniques, and later to Community College of Vermont to deepen her understanding of food management.
Mia combines clear, simple baking instructions with heartwarming stories, making home baking approachable for everyone.