The Sweet Dream: Classic Cream Pie Recipe for Beginners
Dessert lovers can’t resist a silky classic cream pie that melts in your mouth and leaves you wanting more.
This timeless treat brings together creamy decadence and pure comfort in every single bite.
Rich, smooth, and utterly irresistible, the classic cream pie recipe promises a delightful experience for anyone with a sweet tooth.
The golden, flaky crust cradles a luscious filling that whispers of pure indulgence.
Layers of velvety cream create a dessert that feels like a warm hug on a plate.
Each forkful delivers a perfect balance of sweetness and texture that will have you swooning.
Dive into this delectable masterpiece and let your taste buds dance with pure culinary joy.
Quick Recipe Overview
Ingredients List for Classic Cream Pie
For The Crust:For The Filling Base:For The Finishing Touches:Tools and Utensils for Cream Pie Making
Step-by-Step for Cream Pie Filling and Crust
Gently prick the refrigerated pie crust with a fork and bake until the edges turn a delicate golden color. Let the crust cool naturally while preparing the creamy filling.
In a heavy saucepan, blend milk, sugar, cornstarch, vanilla, and salt. Slowly cook the mixture, stirring constantly to prevent any scorching. Watch for a smooth, bubbling texture that signals the filling is transforming.
Incorporate softened butter into the warm mixture, whisking until it melts completely. Allow the filling to bubble gently for a brief moment, creating a luxurious consistency.
Carefully pour the velvety filling into the prepared pie crust. Some extra filling might remain, which can be a delightful chef’s treat.
Place the pie in the oven and bake until the edges start to bubble softly. This gentle warming helps set the filling perfectly.
Let the pie rest on a wire rack, then cover and refrigerate. Patience is key – allow several hours for the pie to set completely.
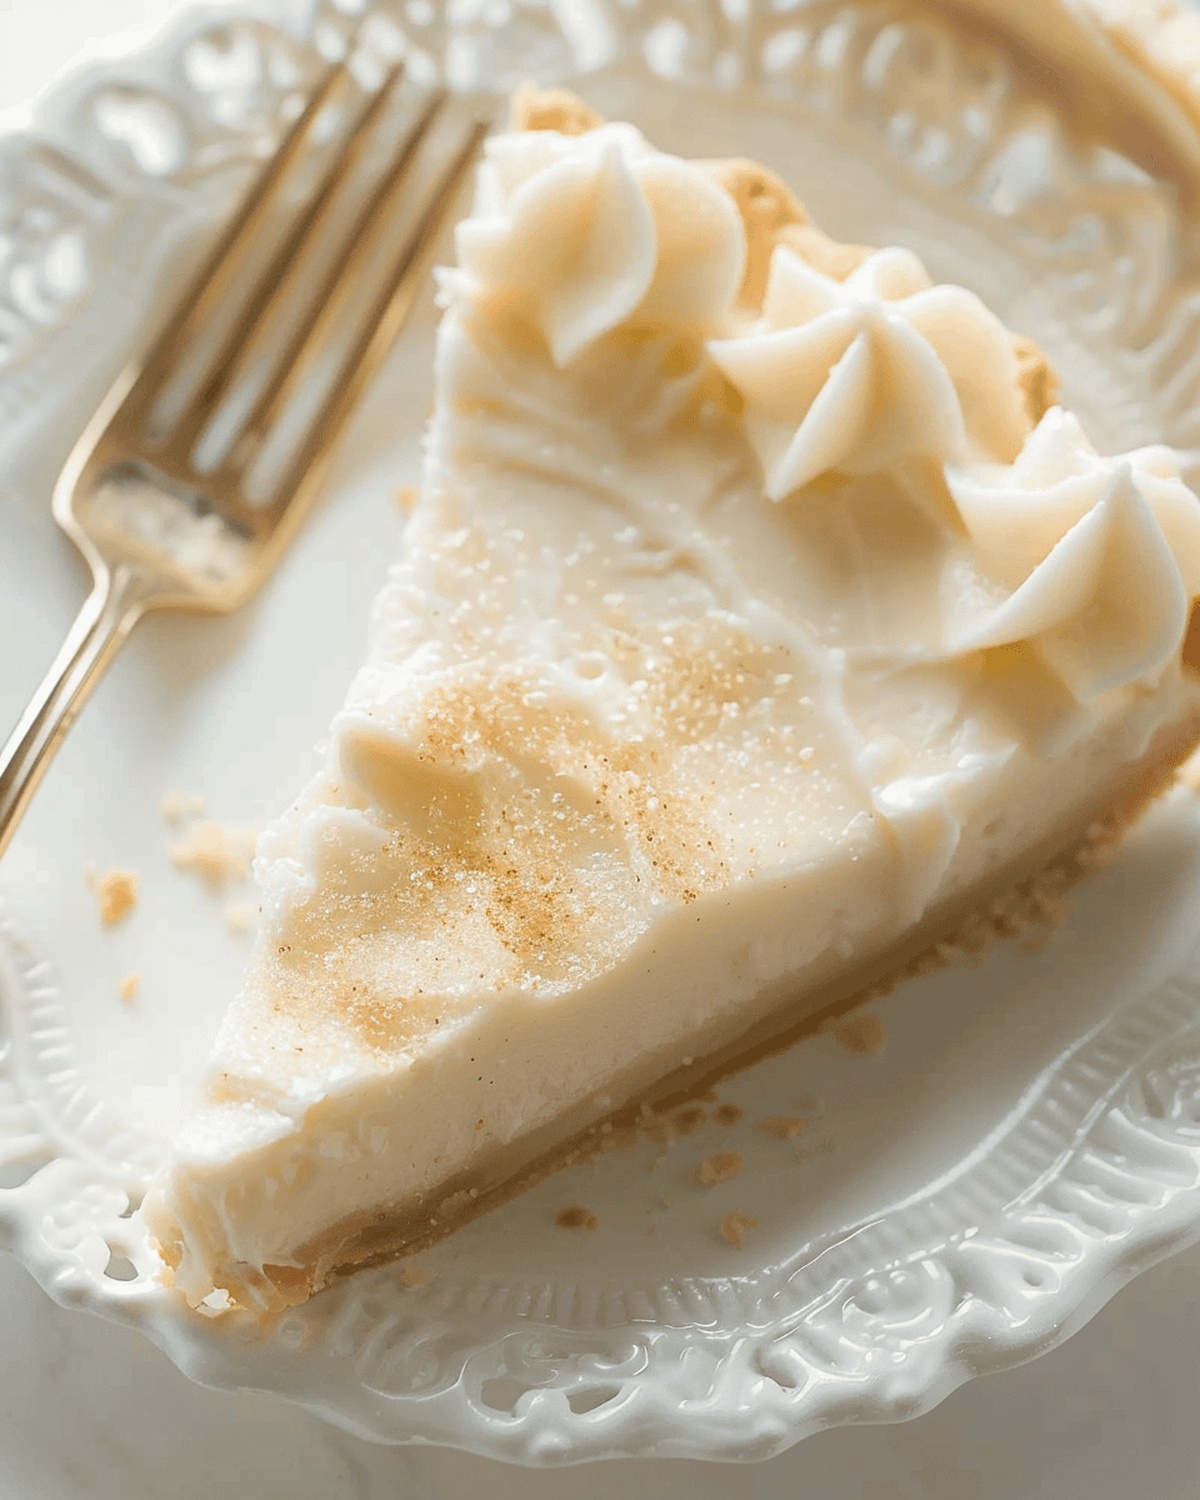
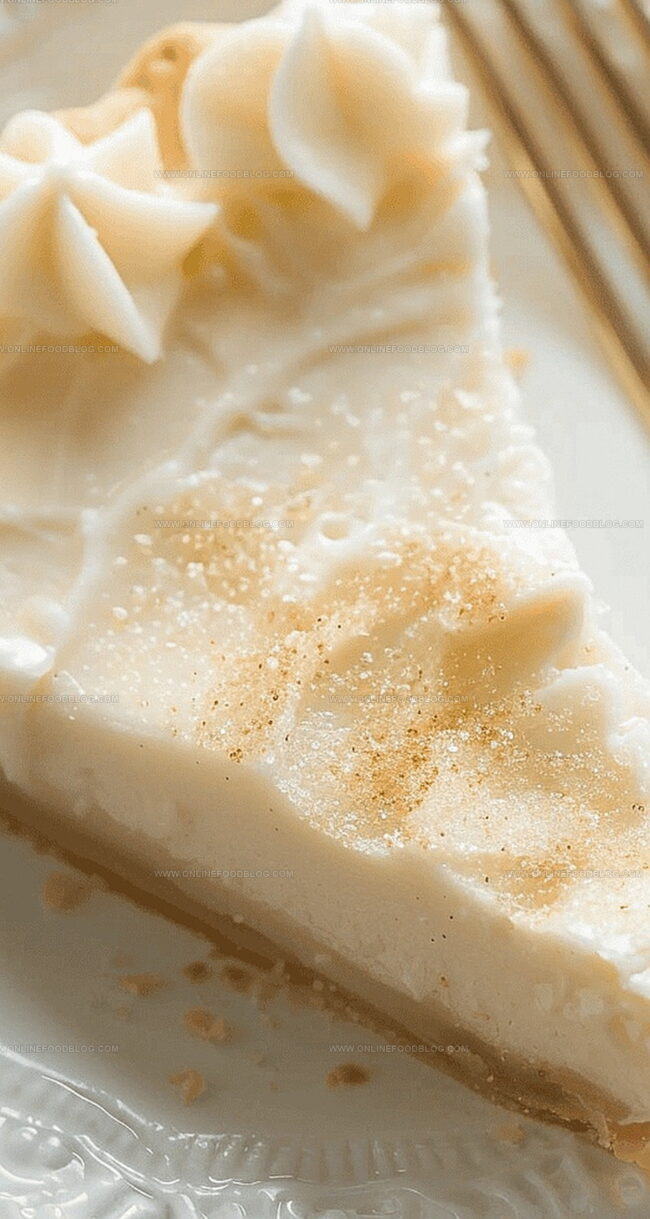
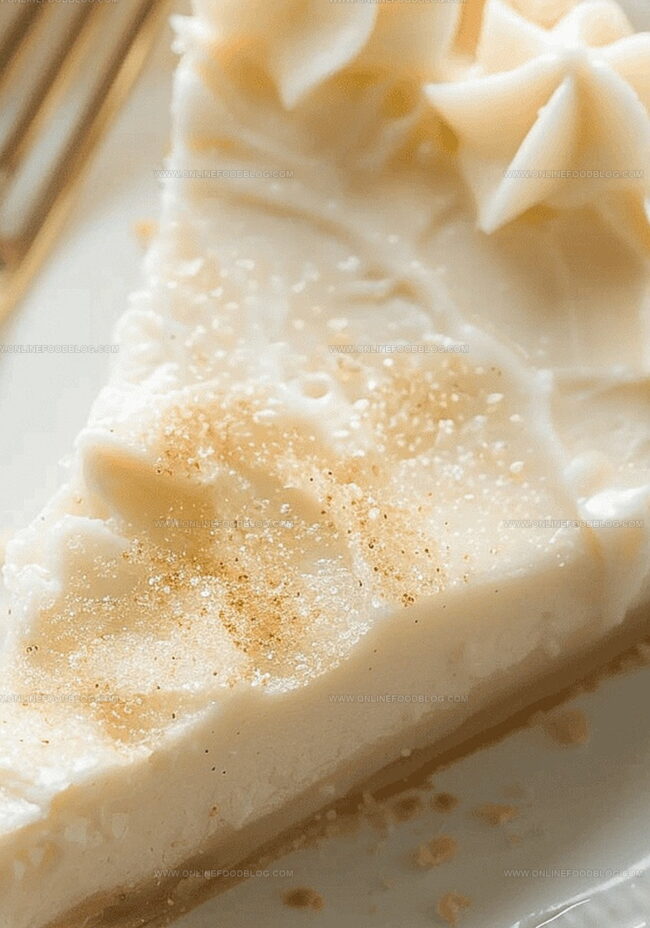
Sprinkle a whisper of cinnamon across the top before serving. The pie will stay fresh in the refrigerator for several days, ready to delight whenever you crave a sweet moment.
Tips for Cream Texture and Flavor Variations
How to Serve Cream Pie with Toppings
Refrigeration Tips for Cream Pie
Print
Silky Cream Pie Recipe
- Total Time: 40 minutes + chilling
- Yield: 9 1x
Description
Silky classic cream pie delights dessert enthusiasts with its rich, creamy filling nestled in a buttery crust. Smooth custard and whipped cream create an irresistible dessert you’ll savor to the last delectable bite.
Ingredients
- 1 9-inch deep-dish pie shell (4-cup volume, thawed or homemade buttery pie crust), blind-baked
- 3 cups (710 ml) whole milk
- 1.5 cups (300 g) granulated sugar
- 0.75 cup (12 tbsps or 170 g) unsalted butter, diced into small cubes
- ⅓ cup (40 g) cornstarch
- 2 tsps vanilla extract
- 0.25 tsp salt (or to taste)
- Cinnamon for sprinkling
Instructions
- Crust Preparation: Pierce refrigerated pie dough extensively with a fork, then bake at 400°F until edges achieve a delicate golden tone, approximately 10 minutes. Cool completely.
- Filling Creation: In a heavy saucepan, blend milk, sugar, cornstarch, vanilla, and salt into a uniform mixture. Cook over medium-low heat, continuously whisking to prevent scorching and ensure smooth consistency. As mixture thickens and initiates gentle bubbling, incorporate butter and continue stirring until fully integrated.
- Initial Baking Phase: Carefully pour thickened filling into pre-baked crust, then transfer pie to a baking sheet. Reduce oven temperature to 350°F and bake for approximately 10 minutes, observing subtle edge bubbling.
- Cooling and Setting: Remove pie from oven and allow to rest on a wire rack for one hour at room temperature. Subsequently, cover with foil and refrigerate for 8 hours to ensure complete filling solidification.
- Final Presentation: Before serving, delicately dust pie surface with ground cinnamon. Refrigerate any remaining pie, which maintains quality for up to one week.
Notes
- Prevent Scorching: Constant stirring is crucial when cooking the filling to avoid burning and ensure a smooth, creamy texture.
- Crust Cooling Technique: Allow the pie crust to cool completely before adding filling to maintain structural integrity and prevent sogginess.
- Filling Consistency Check: Watch for gradual thickening and bubbling during cooking, which indicates the cornstarch is activating and the mixture is reaching the right density.
- Chilling is Critical: Refrigerate the pie for the full 8 hours to achieve a perfectly set filling that slices cleanly and holds its shape.
- Prep Time: 20 minutes
- Cook Time: 20 minutes
- Category: Desserts
- Method: Baking
- Cuisine: American
Nutrition
- Serving Size: 9
- Calories: 457
- Sugar: 38 g
- Sodium: 105 mg
- Fat: 25 g
- Saturated Fat: 15 g
- Unsaturated Fat: 10 g
- Trans Fat: 0 g
- Carbohydrates: 54 g
- Fiber: 0 g
- Protein: 5 g
- Cholesterol: 63 mg
Mia Reynolds
Food Writer & Home Cooking Specialist
Expertise
Easy Home Baking, Recipe Writing and Storytelling, Local and Seasonal Ingredients, Baking for Beginners
Education
New England Culinary Institute (NECI), Montpelier, Vermont
Community College of Vermont, Winooski, Vermont
Mia Reynolds fell in love with baking as a teenager experimenting in her family kitchen. Her passion took her to New England Culinary Institute, where she learned practical pastry techniques, and later to Community College of Vermont to deepen her understanding of food management.
Mia combines clear, simple baking instructions with heartwarming stories, making home baking approachable for everyone.