Softened Butter: Creates smooth, spreadable layer with rich, indulgent taste.
Granulated Sugar: Adds sweetness and helps caramelize during baking.
For Cream Cheese Frosting:
Cream Cheese: Creates tangy, smooth base for luxurious topping.
Powdered Sugar: Provides silky sweetness and helps stabilize frosting.
Vanilla Extract: Introduces warm, aromatic depth to frosting.
Unsalted Butter: Enhances richness and creates smooth consistency.
Salt: Balances sweetness and elevates overall flavor complexity.
Tool You’ll Need for Cookies and Cream Rolls
Stand mixer: Essential for kneading dough efficiently and mixing ingredients thoroughly.
Dough hook attachment: Perfect for working the dough without manual kneading.
Whisk: Helps blend wet ingredients smoothly and break up any lumps.
Measuring cups and spoons: Crucial for accurate ingredient quantities.
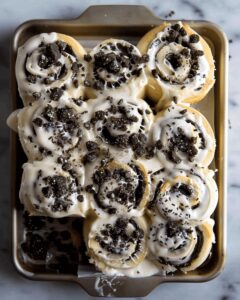
Baking pan (9 x 13-inch): Provides the right space for rolls to rise and bake evenly.
Rolling pin: Helps roll out dough to the specified rectangle shape.
Mixing bowls: Needed for preparing dough, filling, and frosting.
Plastic wrap: Covers dough during rising process.
Sharp knife or bench scraper: Used for cutting rolls into equal portions.
Spatula: Helps spread butter and frosting evenly.
Cooling rack: Optional for cooling rolls after baking.
Rolling Instructions for Cookies and Cream Rolls
Cozy Cookie Adventure
Yeast Awakening A magical moment where tiny yeast bubbles come to life in warm water, creating the foundation for delicious rolls.
Dough Creation Blend flour, milk, eggs, and activated yeast into a soft, tender mixture that feels like a warm hug.
Cookie Magic Gently fold crushed cookies into the silky dough, creating delightful speckled textures and surprise crunch.
Rolling Canvas Stretch the dough into a wide, smooth rectangle ready for delicious transformations.
Flavor Layers Sprinkle softened butter, sugar, and cookie crumbles across the dough, creating a landscape of sweet potential.
Rolling Technique Carefully roll the dough into a beautiful swirl, capturing all the delicious ingredients inside.
Resting Period Allow the rolls to relax and rise, growing plump and promising in a cozy corner of your kitchen.
Oven Transformation Bake until golden brown, filling your home with irresistible cookie and bread aromas.
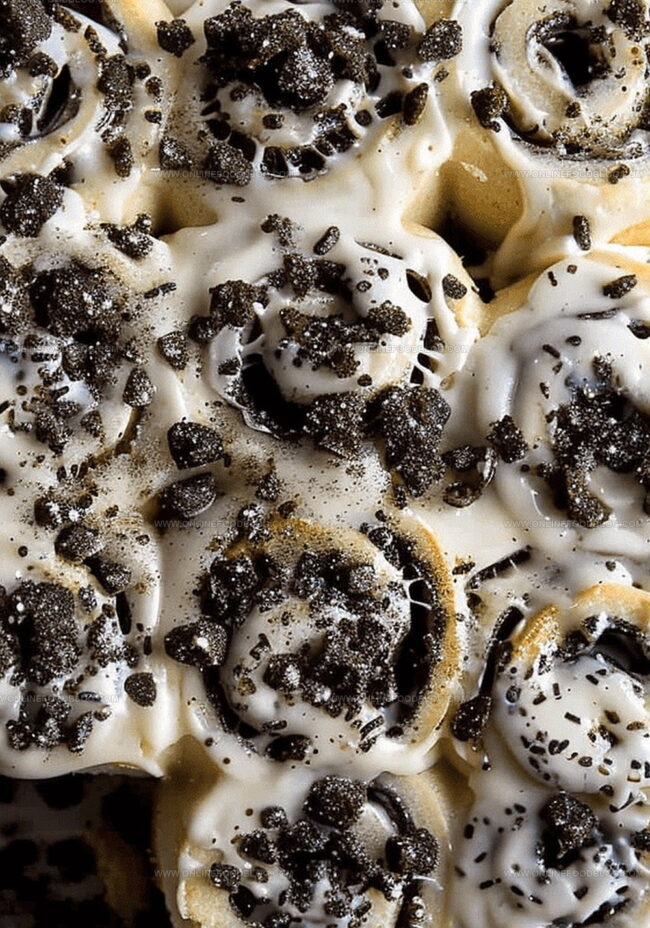
Creamy Crowning Glory Top warm rolls with dreamy cream cheese frosting and extra cookie sprinkles for the ultimate indulgence.
Tricks and Swaps for Cookies and Cream Rolls
Ensure water is lukewarm, not hot, to prevent killing the yeast. The mixture should look foamy and bubbly before adding to other ingredients.
Don’t rush the kneading process. Allow the dough to become smooth and elastic, which develops gluten and creates a softer texture in your rolls.
Place dough in a warm, draft-free spot to help it rise effectively. A slightly warm oven (turned off) or near a sunny window works great for optimal rising.
Crush Oreo cookies into different sizes for varied texture. Smaller crumbs distribute evenly, while larger chunks create delightful surprise bites in your rolls.
Let rolls cool slightly before frosting to prevent the cream cheese topping from melting completely. Sprinkle extra cookie crumbs on top for a stunning presentation.
Serving Cookies and Cream Rolls at Their Best
Cookies and Cream Roll Party Platter: Create a stunning dessert centerpiece by arranging the rolls on a rustic wooden board, sprinkled with extra crushed Oreo cookies for dramatic visual appeal.
Brunch Companion Delight: Serve these rolls alongside fresh berries and a light cappuccano for a decadent weekend morning treat that transforms an ordinary breakfast into a special occasion.
Ice Cream Sandwich Twist: While the rolls are still warm, slice them in half and sandwich a scoop of vanilla or cookies and cream ice cream between the halves for an indulgent summer dessert fusion.
Family Movie Night Special: Cut the rolls into smaller bite-sized pieces for easy sharing during movie time, making them a crowd-pleasing snack that everyone can enjoy together.
Keeping Cookies and Cream Rolls Fresh
Refrigeration Strategy: Store these delightful rolls in an airtight container inside the refrigerator for up to 4 days. Cool them completely before covering to prevent condensation that might make the rolls soggy.
Make-Ahead Magic: Prepare the dough and assemble the rolls the night before, then cover and refrigerate overnight. Remove from the fridge 30 minutes before baking to allow the rolls to come to room temperature and rise slightly.
Freezer-Friendly Approach: Wrap individual rolls tightly in plastic wrap, then place in a freezer-safe container. They’ll stay fresh for 2-3 weeks. Thaw overnight in the refrigerator and warm slightly in the microwave before serving.
Room Temperature Tips: Keep freshly baked rolls covered with a clean kitchen towel at room temperature for up to 2 days. For best taste and texture, warm them briefly in the oven before enjoying, which helps revive their soft, pillowy consistency.
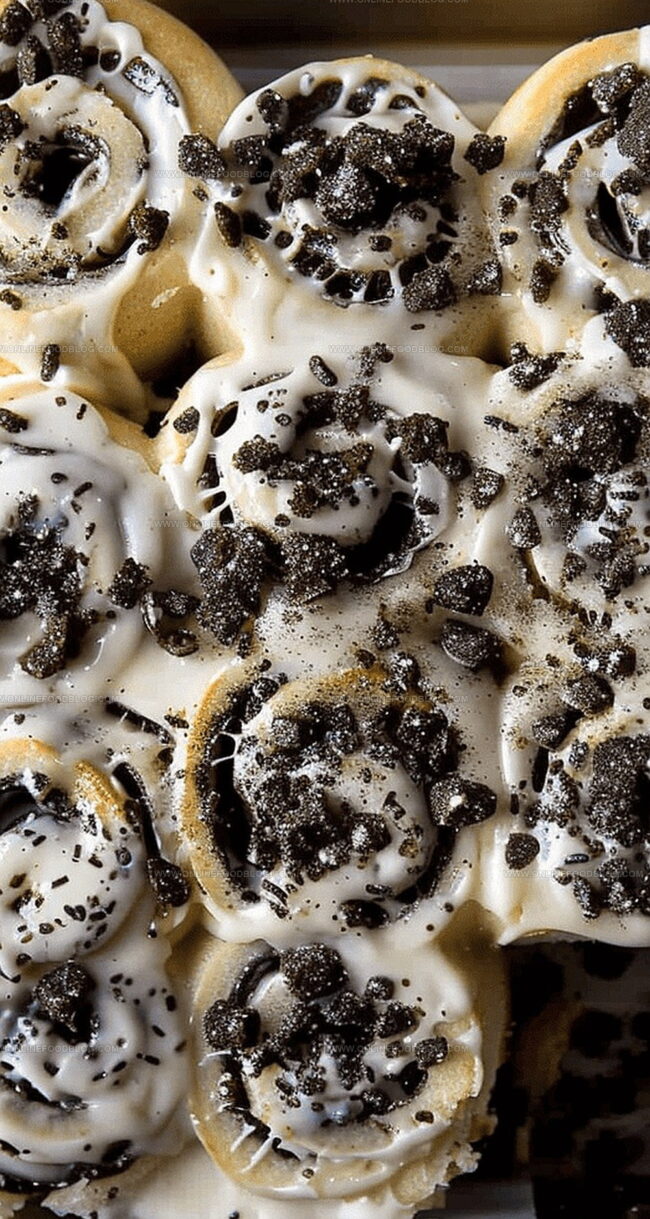
Indulgent cookies and cream rolls merge classic dessert flavors into a delightful pastry experience. Crumbly chocolate cookie pieces swirl through creamy filling, creating an irresistible treat you’ll savor with pure delight.
Ingredients
Scale
4 cups (520 g) all-purpose flour
½ cup (114 g) whole milk, room temperature
½ cup warm water, about 110°F
5 tablespoons (70 g) unsalted butter, softened
1 large egg
1 large egg yolk
¼ cup (50 g) granulated sugar
2 ¼ tsps active dry yeast
1 tsp kosher salt
½ cup finely chopped Oreo cookies
1 cup finely chopped Oreo cookies
⅓ cup (76 g) unsalted butter, softened
3 tbsps (38 g) granulated sugar
4 oz (113 g) brick-style cream cheese, room temperature
1 ½ cups (170 g) confectioners’ sugar
¼ cup (57 g) unsalted butter, softened
½ tsp vanilla extract
Pinch kosher salt
Finely chopped Oreo cookies
Instructions
Yeast Activation: Dissolve yeast in warm water with sugar, allowing the mixture to become frothy and develop a rich, aromatic quality for 5-7 minutes.
Liquid Base Formation: Blend activated yeast with warm milk, remaining sugar, egg, and egg yolk in a stand mixer bowl, creating a smooth, uniform liquid foundation.
Dough Development: Integrate seasoned flour with salt into the liquid mixture using the dough hook attachment, kneading at low speed while gradually incorporating softened butter until the dough becomes elastic and smooth.
Cookie Integration: Fold chopped cookies evenly throughout the dough, ensuring a consistent distribution of crunchy texture.
First Proofing: Transfer the dough to a lightly greased bowl, cover with plastic wrap, and allow it to rise in a warm environment until volume doubles.
Filling and Shaping: Roll the dough into a rectangular shape, spread softened butter across the surface, sprinkle sugar and crushed cookies, then roll tightly from the long side and slice into 12 equal portions.
Second Proofing: Arrange rolls in a greased baking pan, leaving space for expansion, and let them rest to encourage rising.
Baking Process: Preheat oven to 350°F and bake rolls until they transform into a golden-brown delicacy, approximately 30-33 minutes.
Frosting Preparation: Whip cream cheese and butter until silky, gradually incorporating vanilla, salt, and powdered sugar to create a smooth, creamy topping.
Final Presentation: Once rolls have cooled slightly, spread frosting generously and garnish with additional crushed Oreo cookies for a decorative and flavorful finish.
Notes
Yeast Activation Tip: Ensure water temperature is between 100-110°F to activate yeast properly without killing it, creating a fluffy and light texture.
Dough Consistency Check: Knead until the dough becomes smooth, elastic, and slightly tacky, which indicates proper gluten development and ensures tender rolls.
Rising Environment Hack: Choose a warm, draft-free spot like near a preheated oven or inside a turned-off oven with the light on to help dough rise effectively.
Frosting Texture Secret: Bring cream cheese and butter to room temperature before mixing to achieve a smooth, lump-free frosting that spreads easily on warm rolls.
Degree: Certificate in Food and Beverage Management
Focus: Essential knowledge of recipe development, ingredient sourcing, and food business basics.
Mia Reynolds fell in love with baking as a teenager experimenting in her family kitchen. Her passion took her to New England Culinary Institute, where she learned practical pastry techniques, and later to Community College of Vermont to deepen her understanding of food management.
Mia combines clear, simple baking instructions with heartwarming stories, making home baking approachable for everyone.

Mia Reynolds
Food Writer & Home Cooking Specialist
Expertise
Easy Home Baking, Recipe Writing and Storytelling, Local and Seasonal Ingredients, Baking for Beginners
Education
New England Culinary Institute (NECI), Montpelier, Vermont
Community College of Vermont, Winooski, Vermont
Mia Reynolds fell in love with baking as a teenager experimenting in her family kitchen. Her passion took her to New England Culinary Institute, where she learned practical pastry techniques, and later to Community College of Vermont to deepen her understanding of food management.
Mia combines clear, simple baking instructions with heartwarming stories, making home baking approachable for everyone.