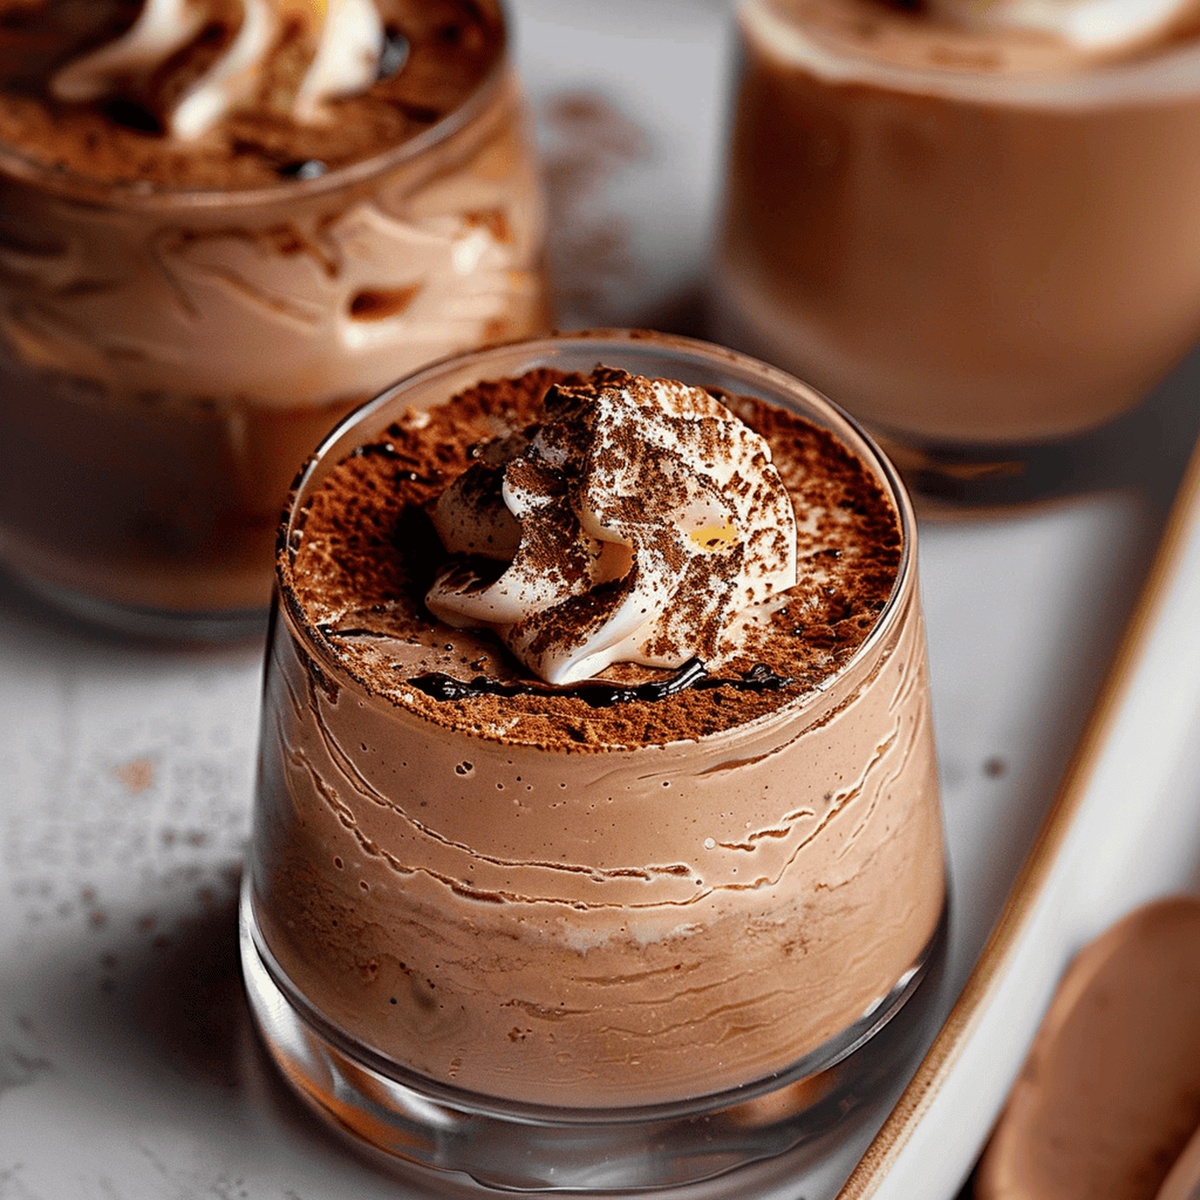
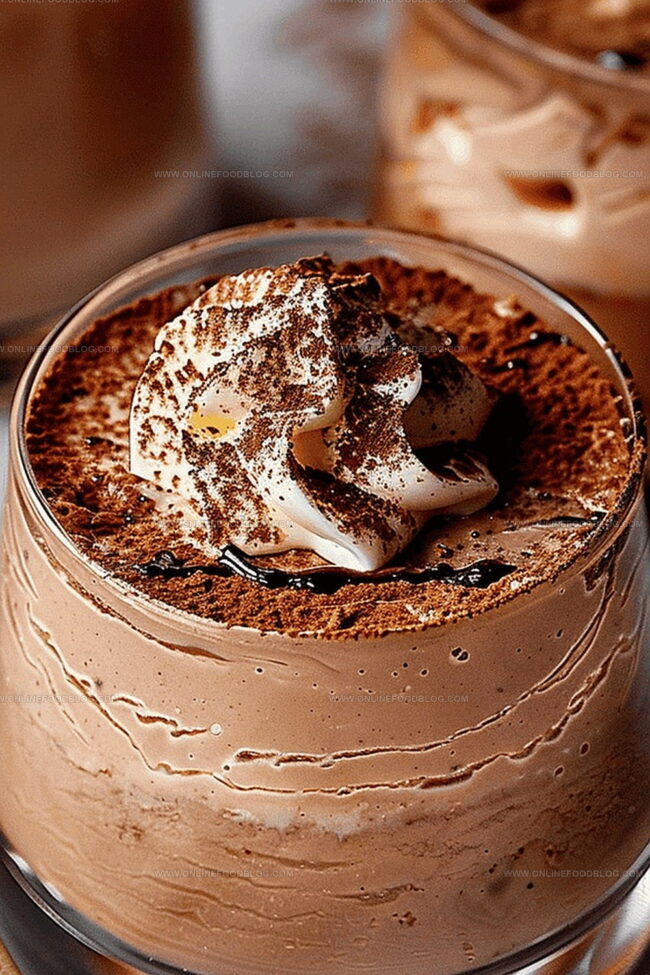
Decadent desserts often spark joy, and this creamy coffee mousse recipe delivers pure bliss with every spoonful.
Silky smooth textures mingle with rich espresso notes that dance across your palate.
The deep, aromatic coffee intensifies the dessert’s luxurious character, making each bite an indulgent experience.
Chocolate lovers and caffeine enthusiasts will adore this elegant treat that requires minimal effort.
Simple ingredients combine to create a sophisticated dessert that looks impressive yet comes together effortlessly.
Whip, fold, and chill your way to a restaurant-quality dessert that will leave everyone wanting more.
Quick Recipe Overview
Prep Time: 15 minutes
Cook Time: 0 minutes
Total Time: 2 hours 15 minutes
Calories: 302 kcal
Servings: 5
Coffee Mousse Ingredient Breakdown
For Whipping and Base:
Heavy Cream: Provides luxurious, airy texture that creates signature mousse lightness; choose high-fat content cream for best volume.
Milk: Adds smooth, creamy consistency and helps blend flavors seamlessly.
For Flavor Intensity:
Espresso or Strong Coffee: Delivers robust, deep coffee essence; select freshly brewed, high-quality beans for maximum richness.
Dark Chocolate: Contributes intense, bittersweet undertones; opt for premium chocolate with at least 70% cocoa content.
For Sweetening and Stabilizing:
Confectioners Sugar: Ensures silky sweetness and helps stabilize whipped cream; choose fine-ground variety for seamless incorporation.
Utensils You’ll Need for Smooth Coffee Mousse
Electric mixer or whisk: Perfect for whipping cream to stiff, fluffy peaks.
Mixing bowls (2): One for whipping cream, another for coffee-chocolate mixture.
Spatula: Essential for gently folding ingredients without losing air.
Measuring cups: Accurately measure milk, coffee, sugar, and cream.
Serving glasses or bowls: Stylish vessels to chill and serve the mousse.
Microwave or double boiler: Melt chocolate smoothly and safely.
Grater or vegetable peeler: Optional for creating chocolate shavings.
How to Whip and Chill Coffee Mousse Correctly
Coffee Fusion
A luxurious dessert blending rich chocolate and bold coffee flavors that creates a dreamy, silky texture perfect for coffee lovers and sweet treat enthusiasts.
Cream Cloud
Whip cream into a fluffy, airy consistency that will become the delicate base of this decadent mousse, creating a light and ethereal foundation.
Chocolate Coffee Harmony
Combine melted dark chocolate with espresso and smooth milk, whisking until the mixture transforms into a glossy, velvety liquid that hints at the deliciousness to come.
Gentle Incorporation
Softly fold the whipped cream into the coffee-chocolate blend, creating swirls that maintain the airy texture while marrying the intense flavors.
Cooling and Setting
Transfer the mousse into elegant serving glasses and allow it to rest in the refrigerator, giving the dessert time to develop its rich, smooth consistency.
Final Flourish
Enhance the mousse with optional garnishes like delicate chocolate shavings or whole coffee beans, adding a sophisticated touch to this elegant dessert.
Toppings and Flavor Ideas for Coffee Mousse
Swap regular espresso with flavored coffee like hazelnut or vanilla for a unique twist.
Use different chocolate types like milk or white chocolate to change the depth and richness of the mousse.
Prepare the mousse up to two days in advance, storing covered in the refrigerator for convenient entertaining.
Top with crushed chocolate-covered espresso beans, caramel drizzle, or sprinkle of cocoa powder for elegant serving styles.
Substitute half of the heavy cream with mascarpone cheese for an extra silky and smooth mousse consistency.
Ways to Serve Coffee Mousse Elegantly
Coffee Cafe Elegance: Serve this decadent mousse in delicate wine glasses or clear parfait cups to showcase the rich, creamy layers and create a sophisticated dessert presentation.
Chocolate Lover’s Dream: Top the mousse with dark chocolate shavings, chocolate-covered espresso beans, or a light dusting of cocoa powder to enhance the intense coffee and chocolate flavors.
Breakfast-Inspired Delight: Pair the mousse with crisp almond biscotti or delicate butter cookies on the side, creating a perfect accompaniment for morning coffee or an afternoon indulgence.
Seasonal Garnish Magic: Sprinkle crushed hazelnut praline, add a small mint leaf, or drizzle caramel sauce to bring an extra layer of texture and complementary flavor to this luxurious dessert.
Storage Tips for Keeping Coffee Mousse Light
Mousse Magic Storage: Keep your delightful coffee mousse refrigerated in airtight containers to maintain its creamy texture and rich flavor.
Chilling Champions: Store individual servings in sealed glass jars or dessert glasses for easy grab-and-go treats that stay fresh up to 3 days.
Make-Ahead Miracle: Prepare the mousse 24-48 hours before serving to allow flavors to deepen and develop a more intense coffee-chocolate profile.
Freezing Friendly: Wrap mousse tightly in plastic wrap and freeze for up to 2 weeks, thawing in the refrigerator for 2-3 hours before enjoying its silky smooth consistency.
Degree: Certificate in Food and Beverage Management
Focus: Essential knowledge of recipe development, ingredient sourcing, and food business basics.
Mia Reynolds fell in love with baking as a teenager experimenting in her family kitchen. Her passion took her to New England Culinary Institute, where she learned practical pastry techniques, and later to Community College of Vermont to deepen her understanding of food management.
Mia combines clear, simple baking instructions with heartwarming stories, making home baking approachable for everyone.
Mia Reynolds
Food Writer & Home Cooking Specialist
Expertise
Easy Home Baking, Recipe Writing and Storytelling, Local and Seasonal Ingredients, Baking for Beginners
Education
New England Culinary Institute (NECI), Montpelier, Vermont
Community College of Vermont, Winooski, Vermont
Mia Reynolds fell in love with baking as a teenager experimenting in her family kitchen. Her passion took her to New England Culinary Institute, where she learned practical pastry techniques, and later to Community College of Vermont to deepen her understanding of food management.
Mia combines clear, simple baking instructions with heartwarming stories, making home baking approachable for everyone.