Dreamy Banana Cream Pie Recipe: Silky Smooth Perfection
On a lazy summer afternoon, a classic banana cream pie wafts memories of grandma’s kitchen and sweet nostalgia.
This decadent dessert blends creamy custard with ripe bananas in a buttery, flaky crust that melts in your mouth.
Rich layers of silky filling promise pure indulgence with every forkful.
Homemade pies carry a special magic that store-bought treats can never match.
Soft banana slices nestled between smooth custard create a dessert that turns ordinary moments into delightful celebrations.
Each bite promises comfort and joy, inviting you to savor a slice of pure deliciousness.
Get ready to fall in love with this irresistible banana cream pie that will surely become a new favorite.
Quick Recipe Overview
Banana Cream Pie: What Goes In
For Pie Crust Ingredients:For Filling Base Ingredients:For Topping and Finishing Ingredients:Equipment for a Fluffy Cream Pie Finish
Equipment & Tools:Making Banana Cream Pie in a Few Easy Steps

Create a delicate base using flour, salt, and sugar blended smoothly in a food processor. The key is achieving a soft, crumbly texture that will melt in your mouth.
Incorporate cold butter cubes into the mixture, pulsing until tiny pea-sized pieces form. This technique ensures a flaky, delectable crust that crumbles perfectly.
Gently add cold water, mixing until the dough holds together without being sticky. Shape into a smooth disc and let it rest in the refrigerator, allowing the flavors to develop and the gluten to relax.
Roll out the pastry on wax paper, creating a shape slightly larger than your pie plate. Carefully transfer the dough, folding and pinching edges to create a beautiful, rustic border.
Preheat the oven and blind bake the crust using pie weights. This crucial step ensures a crisp, golden foundation that won’t become soggy when filled.
Whisk together half and half, sugar, cornstarch, and eggs in a saucepan. Cook slowly and steadily, stirring constantly to develop a luxurious, smooth custard that’s free from lumps.
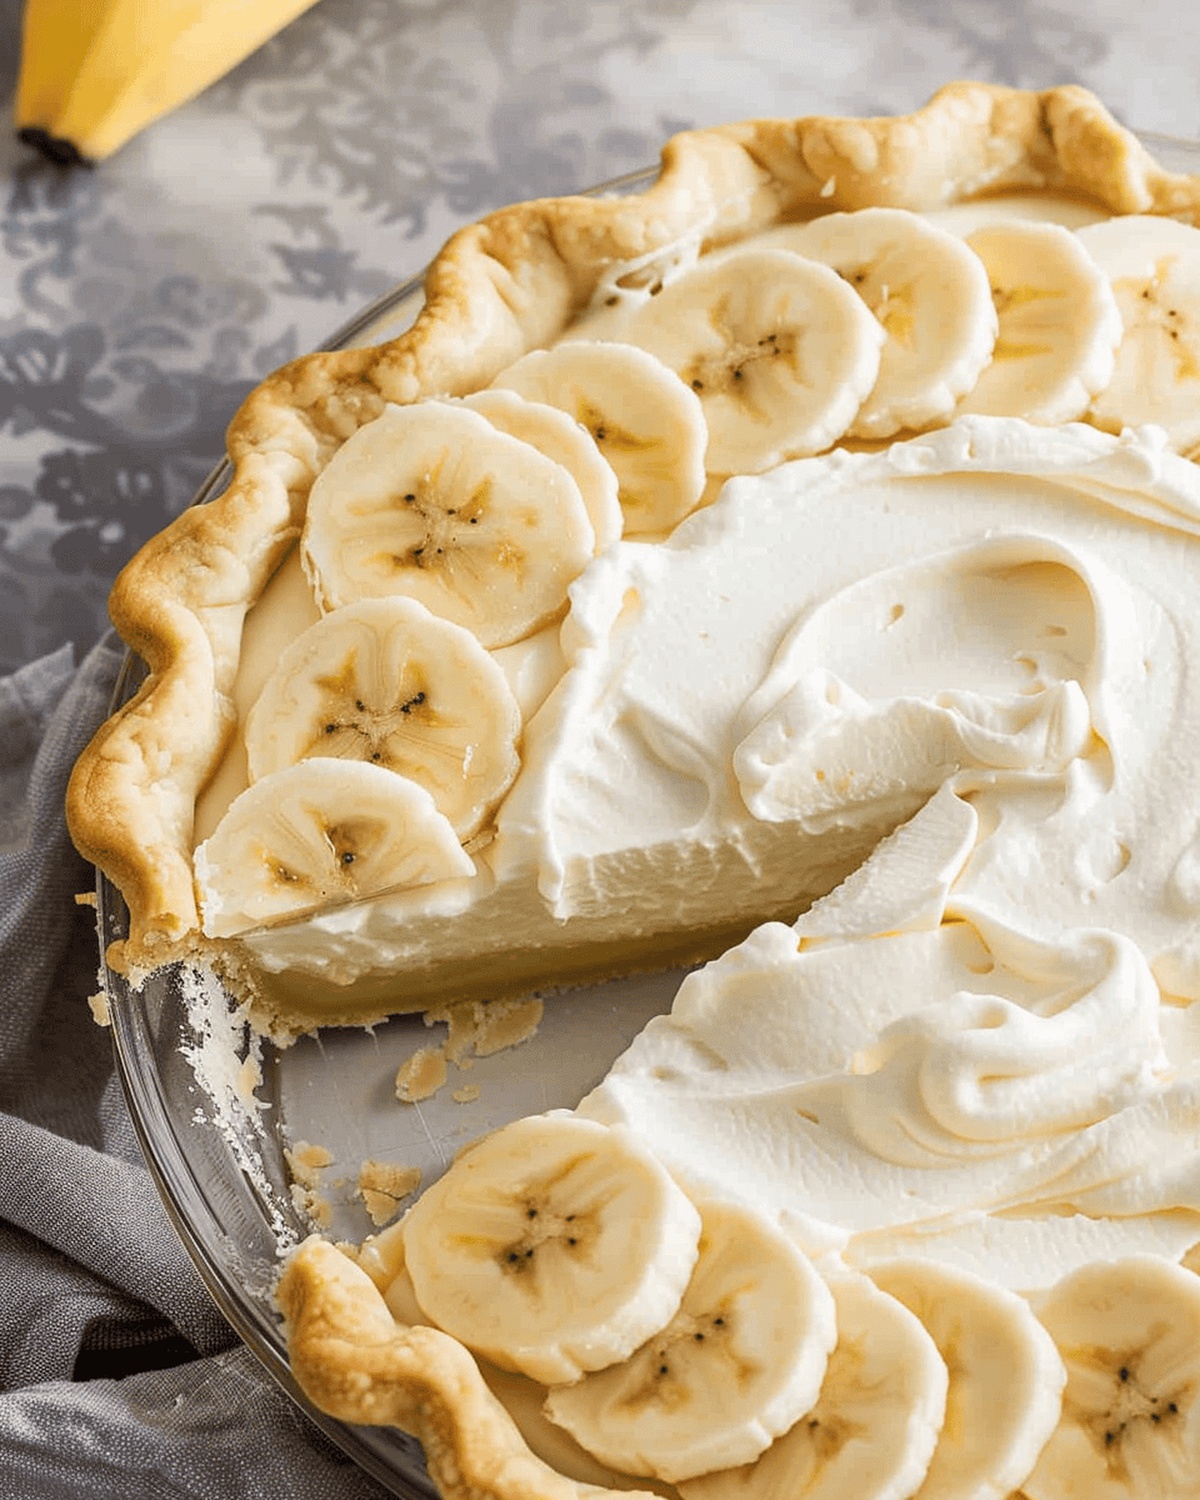
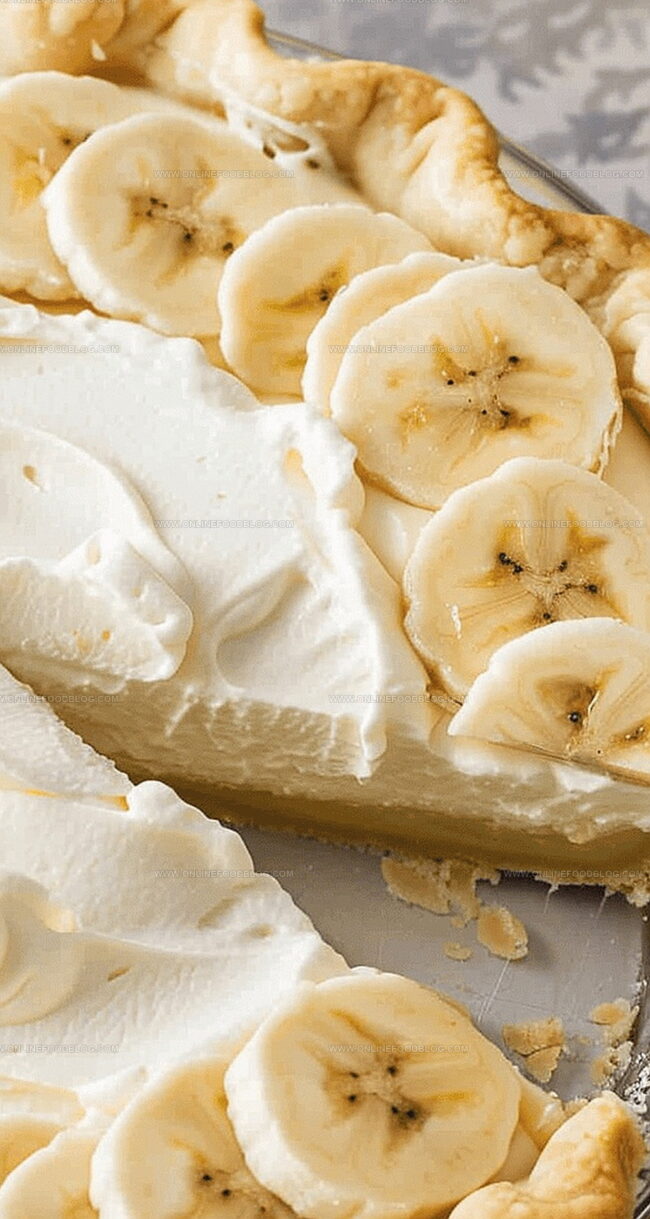
Layer sliced bananas into the cooled crust, then pour the silky custard over them. Chill thoroughly to allow the pie to set completely, creating a dreamy dessert that’s both creamy and refreshing.
Top with fluffy whipped cream just before serving. Each slice promises a perfect balance of creamy custard, fresh bananas, and a crisp, buttery crust that will have everyone asking for seconds.
Topping Variations to Try
Serve That Slice with a Side of Wow
Store This Cream Pie Without Losing Texture
Print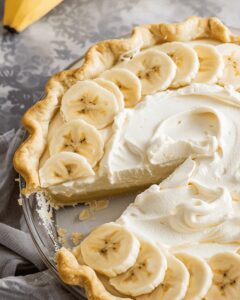
Silky Banana Cream Pie Recipe
- Total Time: 55 minutes
- Yield: 9 1x
Description
Grandma’s classic banana cream pie delights dessert enthusiasts with creamy layers of sweet bananas and silky custard. Crisp graham cracker crust and fluffy whipped cream complete this nostalgic American dessert you’ll savor with pure comfort.
Ingredients
- 4 bananas, sliced
- 3 whole eggs (or substitute 6 yolks)
- 2 cups (480 ml) half and half (or substitute whole milk)
- ½ cup (100 g) granulated sugar
- 1 ¼ cups (156 g) all-purpose flour
- ½ cup (113 g) cold butter, cut into cubes
- 3 tbsps corn starch
- ¼ cup (60 ml) cold water
- 1 tbsp vanilla extract
- 2 tbsps smooth peanut butter (optional)
- 1 tsp salt
- 1 tsp sugar
- Sweetened whipped cream for serving
Instructions
- Pastry Preparation: Pulse flour, salt, and sugar in a food processor. Add chilled butter cubes and pulse until mixture resembles coarse crumbs. Gradually introduce cold water, pulsing until dough forms a cohesive disc.
- Dough Chilling: Wrap dough in plastic and refrigerate for at least 1 hour to ensure optimal texture.
- Crust Formation: Preheat oven to 425°F. Roll out pastry on wax paper, draping over a 9-inch pie plate. Trim and crimp edges, then pierce bottom and sides with a fork.
- Blind Baking: Line crust with parchment paper, fill with pie weights, and bake for 10 minutes until edges turn golden. Remove weights and continue baking 8-10 minutes until bottom is beautifully bronzed.
- Custard Creation: In a saucepan, whisk half and half, sugar, cornstarch, and eggs until smooth. Cook over medium heat, stirring constantly to prevent scorching, until mixture thickens dramatically (12-15 minutes).
- Filling Finesse: Remove custard from heat, strain if desired, and fold in peanut butter and vanilla extract. Gently incorporate sliced bananas.
- Pie Assembly: Pour filling into cooled crust, ensuring even distribution of bananas.
- Chilling and Serving: Refrigerate pie for minimum 4 hours or overnight. Top with freshly whipped cream just before serving.
Notes
- Chill Dough Thoroughly: Cold butter and minimal handling create a flaky, tender pie crust that melts in your mouth.
- Prevent Soggy Crust: Blind baking helps create a crisp base that won’t turn mushy when adding creamy filling.
- Constant Stirring Matters: Continuous whisking prevents lumps and ensures a smooth, silky custard texture.
- Banana Placement Tip: Fold bananas gently to maintain their shape and prevent browning before adding to the filling.
- Prep Time: 20 minutes
- Cook Time: 35 minutes
- Category: Desserts
- Method: Baking
- Cuisine: American
Nutrition
- Serving Size: 9
- Calories: 307
- Sugar: 19 g
- Sodium: 122 mg
- Fat: 17 g
- Saturated Fat: 10 g
- Unsaturated Fat: 7 g
- Trans Fat: 0 g
- Carbohydrates: 37 g
- Fiber: 1 g
- Protein: 4 g
- Cholesterol: 93 mg
Mia Reynolds
Food Writer & Home Cooking Specialist
Expertise
Easy Home Baking, Recipe Writing and Storytelling, Local and Seasonal Ingredients, Baking for Beginners
Education
New England Culinary Institute (NECI), Montpelier, Vermont
Community College of Vermont, Winooski, Vermont
Mia Reynolds fell in love with baking as a teenager experimenting in her family kitchen. Her passion took her to New England Culinary Institute, where she learned practical pastry techniques, and later to Community College of Vermont to deepen her understanding of food management.
Mia combines clear, simple baking instructions with heartwarming stories, making home baking approachable for everyone.