Irresistible Banana Cheesecake Recipe for Sweet Bliss
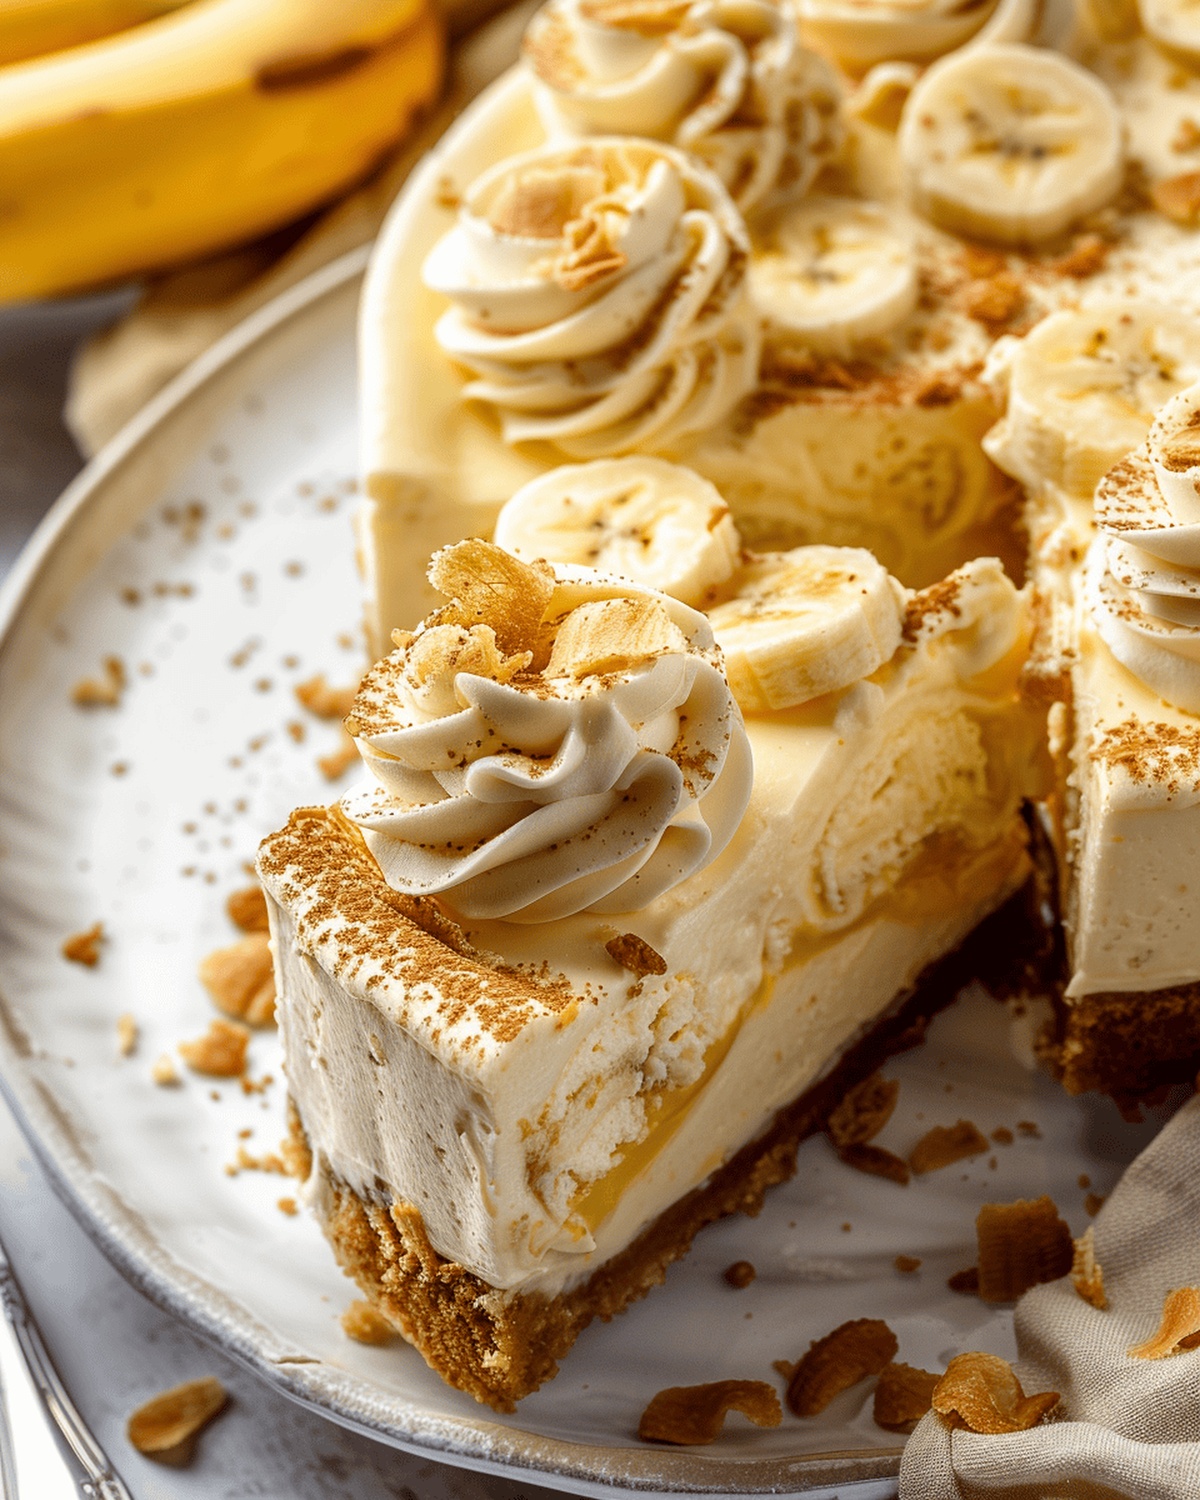
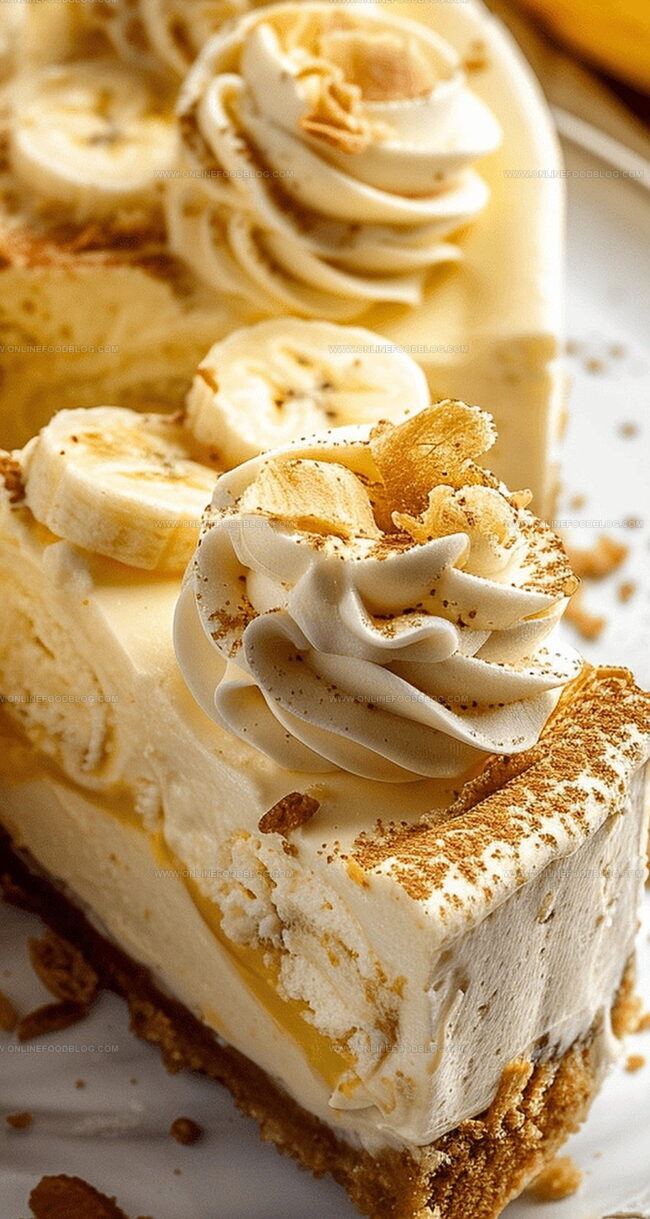
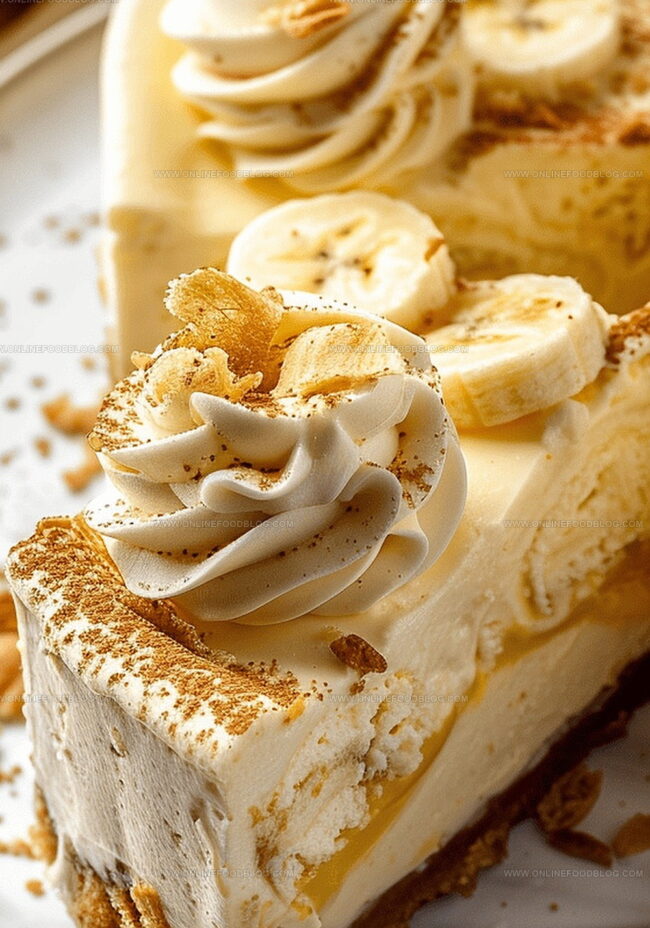
Creamy, dreamy banana cheesecake brings a burst of tropical sweetness to your dessert table.
Rich cream cheese blends perfectly with ripe, mashed bananas for an irresistible treat.
The silky smooth texture melts on your tongue, creating a heavenly experience.
Warm vanilla notes dance through each decadent bite, complementing the natural banana flavor.
This dessert strikes a delightful balance between tangy and sweet, promising pure indulgence.
Chocolate cookie crust adds a delicious crunch that elevates every single slice.
You’ll love how simple ingredients come together to create something truly magical.
Dive into this delectable banana cheesecake and treat yourself to a slice of pure comfort.
Quick Recipe Overview
Banana Cheesecake: Must-Have Ingredients
For Crust:For Cheesecake Base:For Banana Components:For Topping Elements:Kitchen Tools for Creamy Banana Cheesecake
Step-by-Step Baking for Banana Cheesecake
Slice bananas and sprinkle with golden-brown sugar. Roast in a hot oven until caramelized and soft, creating a rich, sweet essence. Let the bananas cool and develop deeper flavors.
Crush vanilla wafers into fine crumbs and blend with melted butter. Press the mixture firmly into a round baking pan, creating a sturdy base that will hold the creamy filling.
Whip cream cheese until smooth and light. Gradually fold in ripe roasted bananas, creating a luxurious mixture. Gently incorporate eggs one by one, ensuring a velvety texture without overbeating.
Pour the luscious batter into the prepared crust. Strategically place fresh banana slices throughout the layers. Bake in a warm water bath, allowing the cheesecake to set slowly and prevent cracking.
Prepare a cloud-like cream topping by whipping heavy cream with a touch of sweetness. Create soft peaks that will crown the decadent dessert with elegance.
Once completely cooled, spread a delicate layer of vanilla pudding across the surface. Top with the whipped cream, creating swirls and peaks that promise indulgence.
Flavor Combinations for Banana Cheesecake
How to Serve Banana Cheesecake Like a Pro
Keeping Banana Cheesecake Fresh in the Fridge
Print
Silky Banana Cheesecake Recipe
- Total Time: 6 hours 30 minutes
- Yield: 13 1x
Description
Creamy banana cheesecake blends sweet, tropical flavors with classic New York style. Smooth cream cheese and ripe bananas create a luxurious dessert you’ll savor to the last delightful bite.
Ingredients
- 32 oz (900g) full-fat block cream cheese, room temperature
- 4 large eggs, room temperature
- 8 oz (226g) full-fat sour cream, room temperature
- 1 to 2 medium bananas
- 2 medium bananas (for roasting)
- 1.5 cups (155g) Nilla Wafer crumbs (about 32–34 cookies)
- 1 cup (200g) granulated sugar
- 0.5 box (1.7 oz/48g) instant vanilla pudding
- 4 tbsps (57g) unsalted butter, melted
- 1 cup (240 ml) cold milk
- 0.5 cup (120 ml) heavy cream
- 1 tbsp firmly packed light brown sugar
- 0.25 cup (50g) granulated sugar
- 1 tbsp vanilla extract
- 0.5 tbsp granulated sugar
- 0.5 tsp vanilla extract
Instructions
- Caramelize Bananas: Slice ripe bananas, arrange on a lined baking sheet, dust with brown sugar, and roast at 400ºF until golden-brown and caramelized.
- Prepare Crust: Crush Nilla wafers into fine crumbs, mix with melted butter and sugar. Press evenly into a springform pan, then prebake at 325ºF until lightly golden.
- Create Cheesecake Batter: Whip cream cheese until smooth, gradually add sugar, then incorporate sour cream, roasted mashed bananas, and vanilla extract. Gently fold in eggs one at a time, maintaining a delicate consistency.
- Assemble and Bake: Layer batter in the crust, interspersing with fresh banana slices. Place the pan in a water bath and bake until the center has a subtle wobble, indicating perfect creamy texture.
- Prepare Toppings: Whisk pudding mix with milk until thickened, then chill. Separately, beat heavy cream with sugar and vanilla to create medium-stiff peaks.
- Finish and Decorate: Once completely cooled, spread chilled vanilla pudding over the cheesecake. Top with whipped cream, garnishing with additional banana slices or crushed Nilla wafers for a delightful textural contrast.
Notes
- Caramelize Bananas Carefully: Roast ripe bananas with brown sugar to intensify their natural sweetness and create a deeper flavor profile for the cheesecake.
- Master Crust Technique: Press Nilla wafer crumbs firmly and evenly to prevent crumbling and ensure a sturdy, crisp foundation for the dessert.
- Prevent Cheesecake Cracking: Use a water bath and gentle folding technique to maintain a smooth, creamy texture and avoid unsightly surface cracks.
- Layering Matters: Strategically place fresh banana slices between cheesecake batter layers to distribute fruit flavor and create beautiful visual interest.
- Prep Time: 30 minutes
- Cook Time: 2 hours
- Category: Desserts
- Method: Baking
- Cuisine: American
Nutrition
- Serving Size: 13
- Calories: 348
- Sugar: 29 g
- Sodium: 200 mg
- Fat: 22 g
- Saturated Fat: 13 g
- Unsaturated Fat: 7 g
- Trans Fat: 0 g
- Carbohydrates: 31 g
- Fiber: 1 g
- Protein: 5 g
- Cholesterol: 90 mg
Mia Reynolds
Food Writer & Home Cooking Specialist
Expertise
Easy Home Baking, Recipe Writing and Storytelling, Local and Seasonal Ingredients, Baking for Beginners
Education
New England Culinary Institute (NECI), Montpelier, Vermont
Community College of Vermont, Winooski, Vermont
Mia Reynolds fell in love with baking as a teenager experimenting in her family kitchen. Her passion took her to New England Culinary Institute, where she learned practical pastry techniques, and later to Community College of Vermont to deepen her understanding of food management.
Mia combines clear, simple baking instructions with heartwarming stories, making home baking approachable for everyone.