Fluffy No Knead Seeded Oat Bread Recipe – Bake Magic
Baking bread at home feels magical when you master this no knead seeded oat bread recipe that simplifies the entire process.
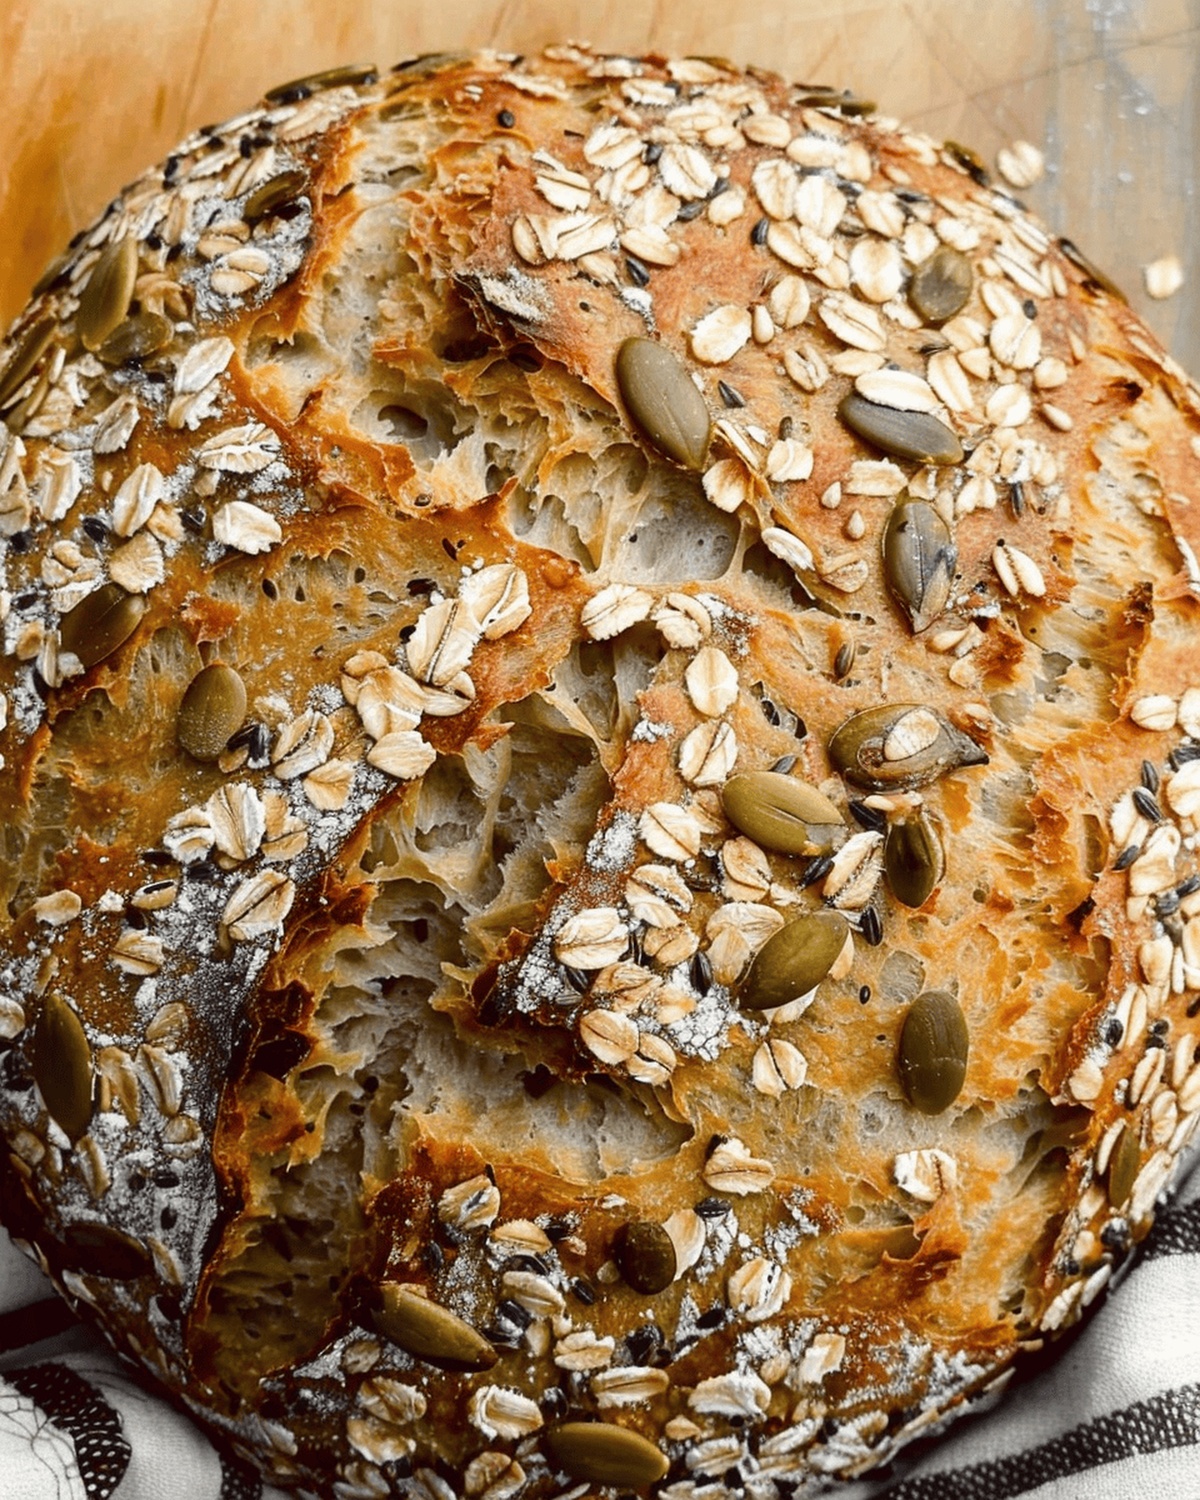
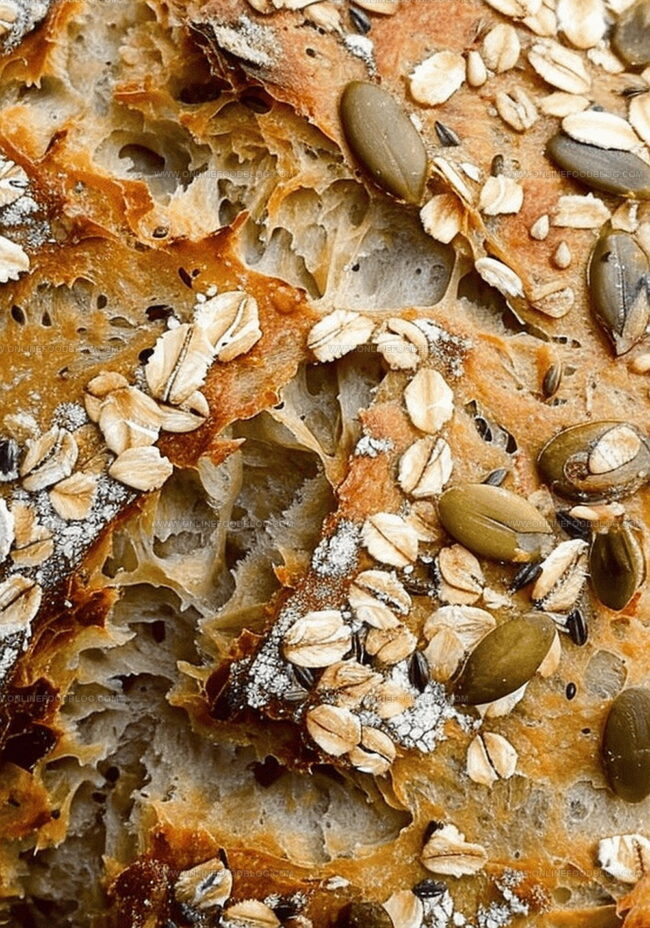
Crusty outer layers and soft inner crumb make this loaf irresistible to bread lovers.
The mix of hearty oats and crunchy seeds creates a delightful texture that elevates every slice.
Minimal effort combines with maximum flavor in this foolproof method.
Home bakers can easily mix ingredients without complex kneading techniques.
Professional-quality results emerge from a simple Dutch oven baking approach.
The aroma of freshly baked bread will fill your kitchen with warmth and comfort.
Quick Recipe Overview

Ingredients for No Knead Seeded Oat Bread
For Dry Base:For Flavor Enhancers:For Moisture and Binding:Tools Needed for No Knead Bread
Instructions for Making Seeded Oat Bread
Grab a spacious bowl and blend flour with yeast until smoothly combined. Add hearty oats, crunchy seeds, and a pinch of salt. The mixture should feel light and textured.
Warm some water and drizzle honey into it. Pour this golden liquid over the dry ingredients. Use a wooden spoon to create a soft, sticky dough that holds together like a cozy blanket.
Cover the bowl completely and let the dough relax at room temperature. Give it three hours to grow and develop deep, rich flavors. The dough will nearly double in size.
Pop the dough into the refrigerator for at least 12 hours. This slow rest allows complex tastes to emerge and develop character.
Heat the oven to a toasty 425°F. Dust a baking sheet with a light layer of flour. Gently shape the chilled dough into a rustic round using floured hands.
Sprinkle a mix of seeds across the dough’s surface. Press them gently so they nestle into the soft surface.
Let the dough rest for 45 minutes, allowing it to relax and expand slightly. Create a few artistic slashes across the top with a sharp knife.
Slide the bread into the oven. After 40 minutes, you’ll have a golden loaf with a crispy exterior. The bread is ready when it sounds hollow when tapped on the bottom.
Add-Ins and Seed Options for Custom Flavor
Serving No Knead Bread with Butter or Jam
Best Storage for Moist Oat Bread
Print
Rustic Seeded Oat Bread
- Total Time: 3 hours 55 minutes plus optional chilling
- Yield: 13 1x
Description
Hearty no knead seeded oat bread brings rustic charm to home baking with minimal effort. Whole grains and seeds create a robust loaf you’ll savor with simple spreads or alongside soups and salads.
Ingredients
- 3 cups (390g) bread flour
- 1 cup (85g) old-fashioned whole rolled oats
- 2 tsps (6g) platinum yeast from Red Star instant yeast
- 1 and ½ cups (360ml) warm water (about 95°F or 35°C)
- 2 tbsps (43g) honey
- 2 tsps coarse salt
- ¼ cup (30g) unsalted pumpkin seeds (pepitas)
- ¼ cup (30g) sunflower seeds, salted or unsalted
- 2 tbsps (18g) flax seeds or sesame seeds
- 1 tbsp (5g) old-fashioned whole rolled oats
- 1 tbsp (8g) pumpkin seeds (pepitas)
- 1 tbsp (8g) sunflower seeds
- 1 tsp flax seeds or sesame seeds
- Cornmeal for dusting pan (optional)
Instructions
- Dry Mixture Preparation: Whisk flour, yeast, oats, seeds, and salt in a large mixing bowl until uniformly combined.
- Liquid Integration: Dissolve honey into warm water, then pour over dry ingredients. Fold with a spatula until the mixture becomes a cohesive, sticky mass.
- Fermentation Stage: Shape the dough into a loose ball within the bowl, cover, and let rest at room temperature for three hours, allowing significant expansion.
- Flavor Development: Refrigerate the dough for 12-36 hours to enhance complexity and develop deeper taste profiles.
- Oven Preparation: Preheat oven to 425°F, positioning a baking sheet with a light flour or cornmeal dusting to prevent sticking.
- Dough Shaping: Using flour-dusted hands, gently form the chilled dough into a rounded loaf directly on the prepared baking surface. Sprinkle additional seeds on top, pressing lightly to adhere.
- Proofing Interval: Allow the dough to rest, uncovered, for 45 minutes to prevent surface drying.
- Surface Scoring: Create decorative cuts across the loaf using a sharp blade to control expansion.
- Steam Technique (Optional): Place a metal pan filled with boiling water on the lower oven rack to generate steam and enhance crust development.
- Baking Finalization: Bake until the bread achieves a golden-brown exterior and produces a hollow sound when tapped, approximately 40 minutes.
Notes
- Slow Fermentation Magic: Extended refrigeration develops deeper, more complex flavors, transforming simple ingredients into an artisan-style bread with rich taste profiles.
- Moisture Management: Use wet hands or a flexible spatula when handling dough to prevent sticking and maintain delicate gluten structure without overworking the mixture.
- Steam Technique Boost: Adding boiling water to the oven creates professional bakery-like crust with enhanced crispness and beautiful golden-brown coloration.
- Seed Selection Strategy: Choose fresh, high-quality seeds like sunflower, pumpkin, or flax to maximize nutritional value and provide delightful textural contrast in each slice.
- Prep Time: 15 minutes
- Cook Time: 40 minutes
- Category: Breakfast, Lunch, Snacks
- Method: Baking
- Cuisine: American
Nutrition
- Serving Size: 13
- Calories: 175
- Sugar: 2g
- Sodium: 140mg
- Fat: 6g
- Saturated Fat: 1g
- Unsaturated Fat: 4g
- Trans Fat: 0g
- Carbohydrates: 27g
- Fiber: 3g
- Protein: 5g
- Cholesterol: 0mg
Mia Reynolds
Food Writer & Home Cooking Specialist
Expertise
Easy Home Baking, Recipe Writing and Storytelling, Local and Seasonal Ingredients, Baking for Beginners
Education
New England Culinary Institute (NECI), Montpelier, Vermont
Community College of Vermont, Winooski, Vermont
Mia Reynolds fell in love with baking as a teenager experimenting in her family kitchen. Her passion took her to New England Culinary Institute, where she learned practical pastry techniques, and later to Community College of Vermont to deepen her understanding of food management.
Mia combines clear, simple baking instructions with heartwarming stories, making home baking approachable for everyone.