Homemade Sub Rolls Recipe: Fresh & Fluffy Bread Delight
Crisp, golden sub rolls straight from your oven will revolutionize your sandwich game with this handmade sub rolls recipe.
Bakery-quality bread doesn’t require professional skills or complicated techniques.
Warm, fragrant dough rises with simple ingredients you already have in your kitchen.
Professional bakers know the secret to perfect texture lies in precise mixing and gentle kneading.
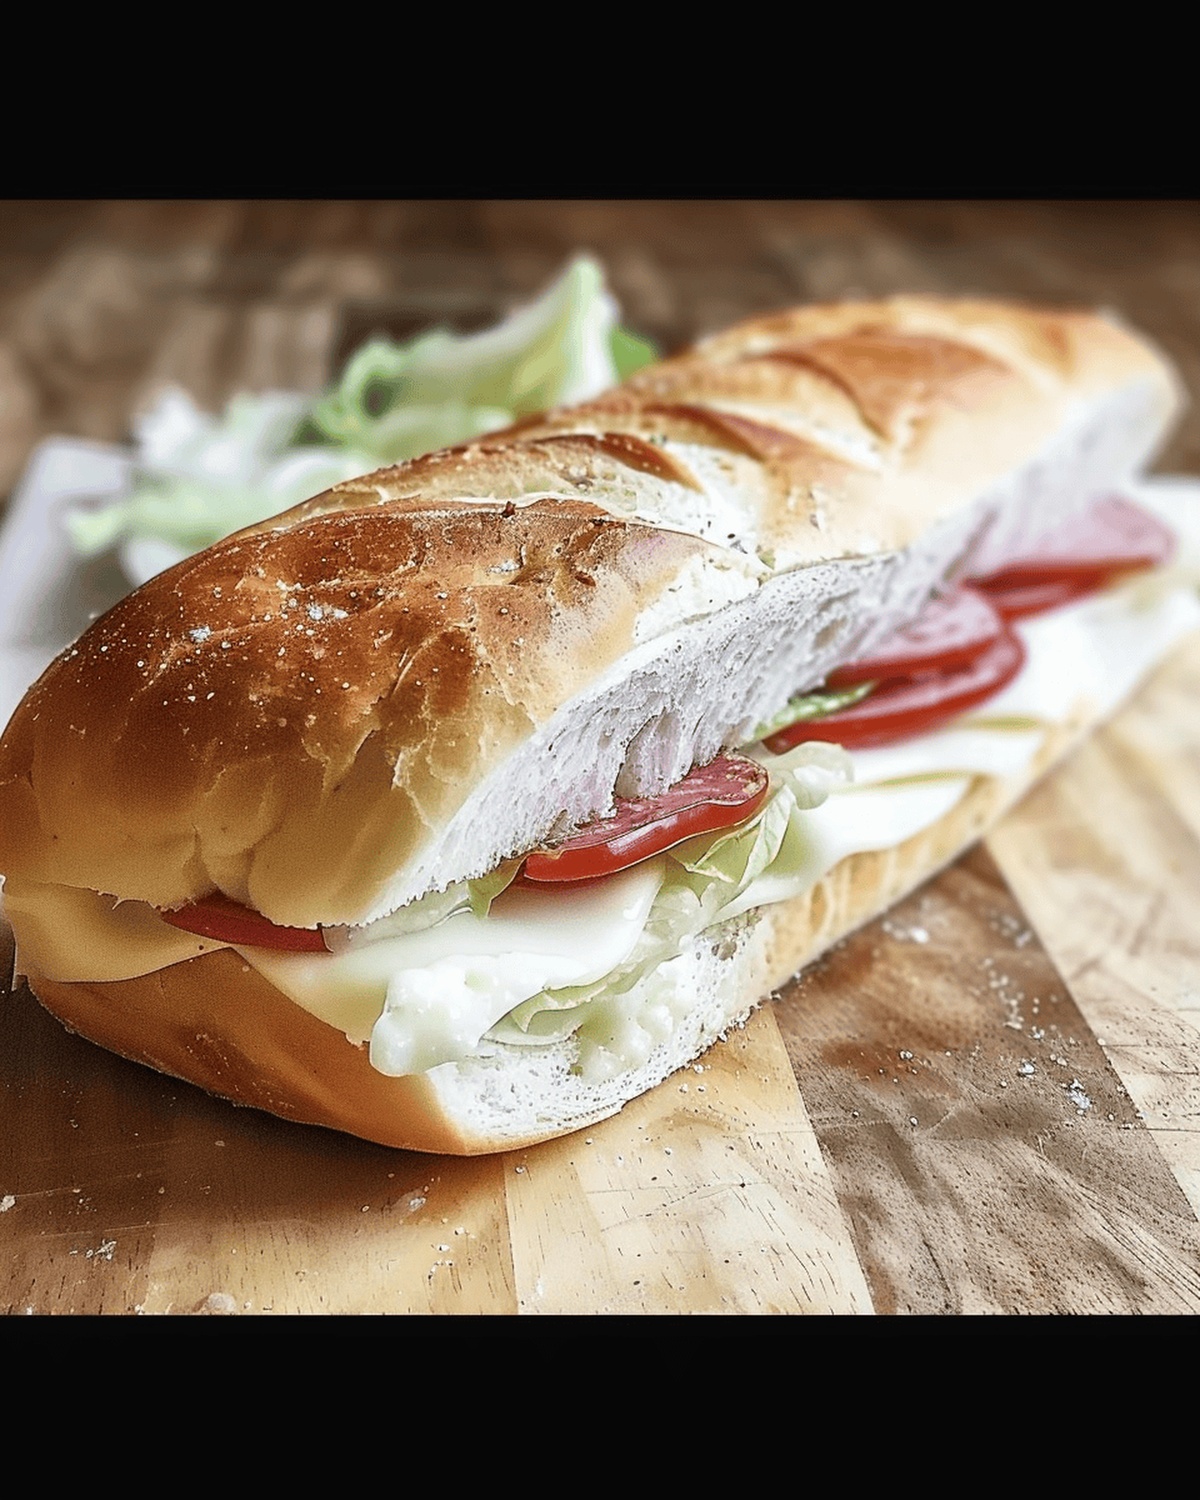
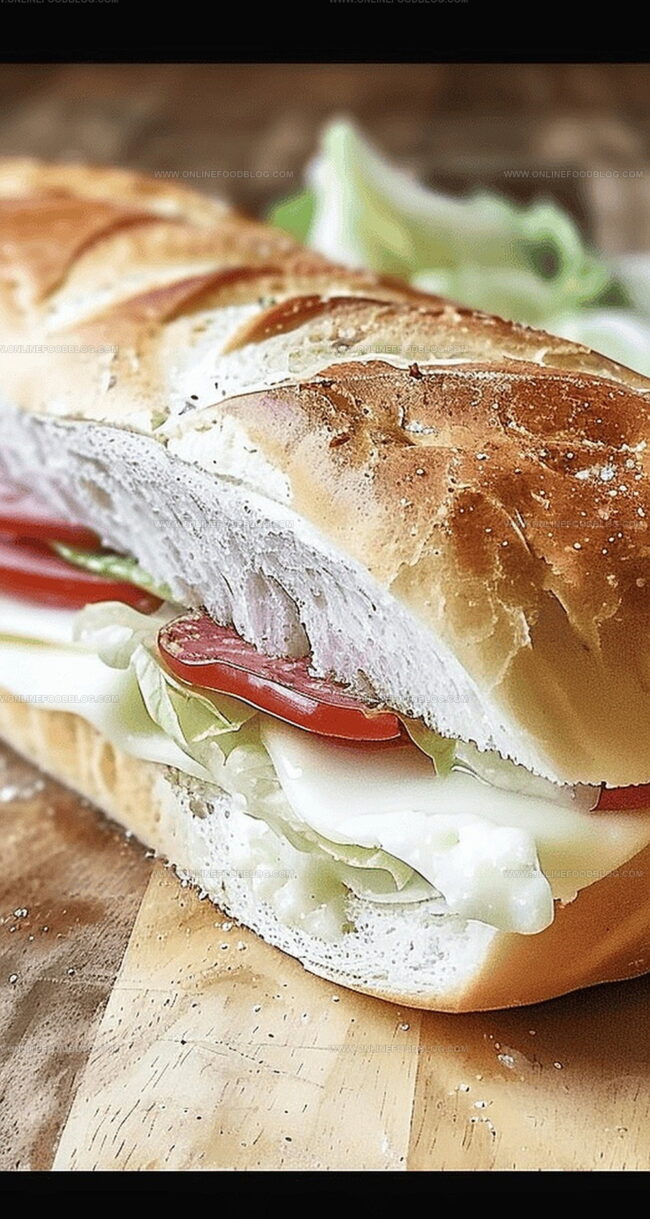
Each roll emerges with a delightfully crusty exterior and soft, pillowy interior that makes store-bought versions feel bland.
Homemade bread connects us to generations of traditional baking techniques.
These sub rolls promise to become your new weekend baking adventure, delivering restaurant-worthy results right on your countertop.
Quick Recipe Overview
Ingredient List for Handmade Sub Rolls
For Activation And Texture:For Structure And Binding:For Richness And Flavor:Tools & Prep Needs for Sub Rolls
How to Bake Handmade Sub Rolls

Blend warm milk with sugar and yeast, allowing the mixture to become bubbly and alive with potential.
Combine bread flour and salt in a mixer, creating a blank canvas for delicious bread.
Merge yeast mixture with flour, kneading until a soft, pillowy texture emerges. Incorporate butter gradually, transforming the dough into a smooth, silky masterpiece.
Let the dough rest and expand, growing into a puffy, promising shape that hints at the deliciousness to come.
Divide the dough into six portions, gently rolling each into elegant rectangles. Carefully roll and seal each piece into a graceful loaf.
Allow loaves to rise again, then brush with an egg wash and make gentle scoring marks. Bake until the rolls turn a beautiful golden brown, filling the kitchen with an irresistible aroma.
Remove from the oven when rolls reach a perfect internal temperature, signaling they’re ready to be devoured and enjoyed.
Flavor Suggestions for Sub Rolls
Serving Ideas for Sub Rolls
Storing Freshly Made Sub Rolls
Print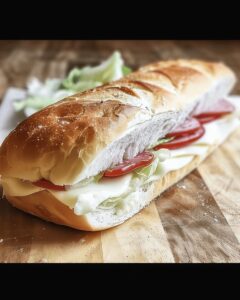
Rustic Handmade Sub Rolls
- Total Time: 2 hours 20 minutes
- Yield: 9 1x
Description
Homemade classic sub rolls showcase delicious bakery skills with minimal ingredients. Crisp crusts and tender interiors invite sandwich lovers to craft memorable meals perfect for gatherings and quick lunches.
Ingredients
- 3 cups (450g) bread flour
- 1 cup (245g) whole milk
- 2 eggs, beaten
- 2 ½ tbsps (30g) granulated sugar
- 3 tbsps (42g) unsalted butter
- 2 tsp (11g) active dry yeast
- 2 tsp (12g) fine sea salt
- 1 egg white, beaten
- 1 tbsp water
Instructions
- Yeast Activation: Whisk warm milk, sugar, and yeast until frothy and bubbly, allowing the mixture to bloom for 8 minutes.
- Dry Ingredient Preparation: Sift bread flour into a stand mixer bowl, incorporating salt to create a uniform dry base.
- Dough Formation: Combine activated yeast mixture and beaten eggs with flour, mixing on low speed to develop a cohesive, slightly rough-textured dough.
- Butter Integration: Knead cold, cubed butter into the dough gradually, transforming it into a smooth, elastic consistency with no visible butter fragments.
- Initial Proofing: Shape dough into a compact, taut ball and place in a greased bowl, covering with a clean kitchen towel. Allow to rise in a warm environment until volume doubles.
- Shaping Rolls: Deflate dough and divide into six equal portions. Roll each into a rectangle, then tightly roll from the long edge, ensuring seams are meticulously sealed.
- Final Proofing and Preparation: Arrange rolls seam-side down on a parchment-lined baking sheet, spacing them adequately. Preheat oven to 400°F while rolls proof for 30 minutes.
- Finishing and Baking: Brush rolls with egg white wash and score three shallow lines across the top. Bake until golden-brown and internal temperature reaches 195-200°F, approximately 15-20 minutes.
Notes
- Yeast Activation Timing: Ensure the yeast mixture becomes frothy and bubbly within 8 minutes, indicating active and healthy yeast for optimal bread rise.
- Dough Kneading Technique: Work butter gradually into the dough, avoiding visible chunks and developing a smooth, elastic texture for tender sub rolls.
- Proofing Environment: Choose a consistently warm, draft-free space to help the dough rise evenly and double in volume for light, airy texture.
- Scoring Precision: Make shallow, consistent cuts across roll tops to control bread expansion and create an attractive professional bakery-style appearance.
- Prep Time: 2 hours
- Cook Time: 20 minutes
- Category: Lunch, Dinner, Snacks
- Method: Baking
- Cuisine: American
Nutrition
- Serving Size: 9
- Calories: 227
- Sugar: 3.3g
- Sodium: 280mg
- Fat: 5.2g
- Saturated Fat: 2.6g
- Unsaturated Fat: 1.8g
- Trans Fat: 0g
- Carbohydrates: 36.9g
- Fiber: 1.4g
- Protein: 7.2g
- Cholesterol: 47mg
Mia Reynolds
Food Writer & Home Cooking Specialist
Expertise
Easy Home Baking, Recipe Writing and Storytelling, Local and Seasonal Ingredients, Baking for Beginners
Education
New England Culinary Institute (NECI), Montpelier, Vermont
Community College of Vermont, Winooski, Vermont
Mia Reynolds fell in love with baking as a teenager experimenting in her family kitchen. Her passion took her to New England Culinary Institute, where she learned practical pastry techniques, and later to Community College of Vermont to deepen her understanding of food management.
Mia combines clear, simple baking instructions with heartwarming stories, making home baking approachable for everyone.