Quick Homemade Artisan Bread Recipe: Bake Like a Pro Today
Bread baking becomes a delightful adventure with this effortless artisan bread recipe that transforms simple ingredients into a rustic masterpiece.
Home cooks adore how minimal effort yields such incredible results.
No kneading required means anyone can master this technique.
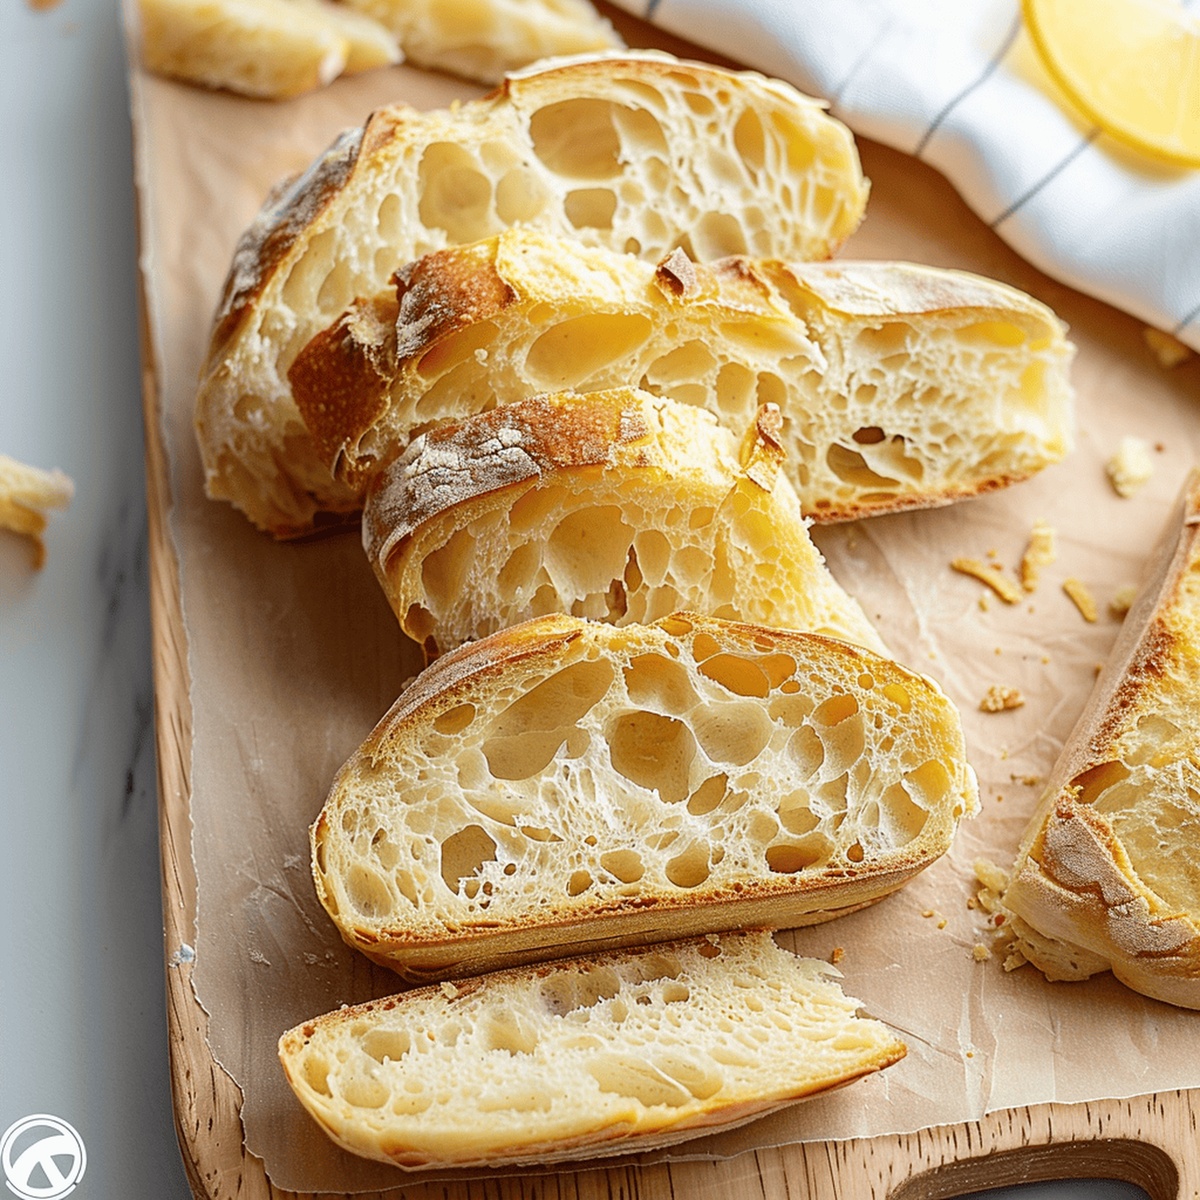
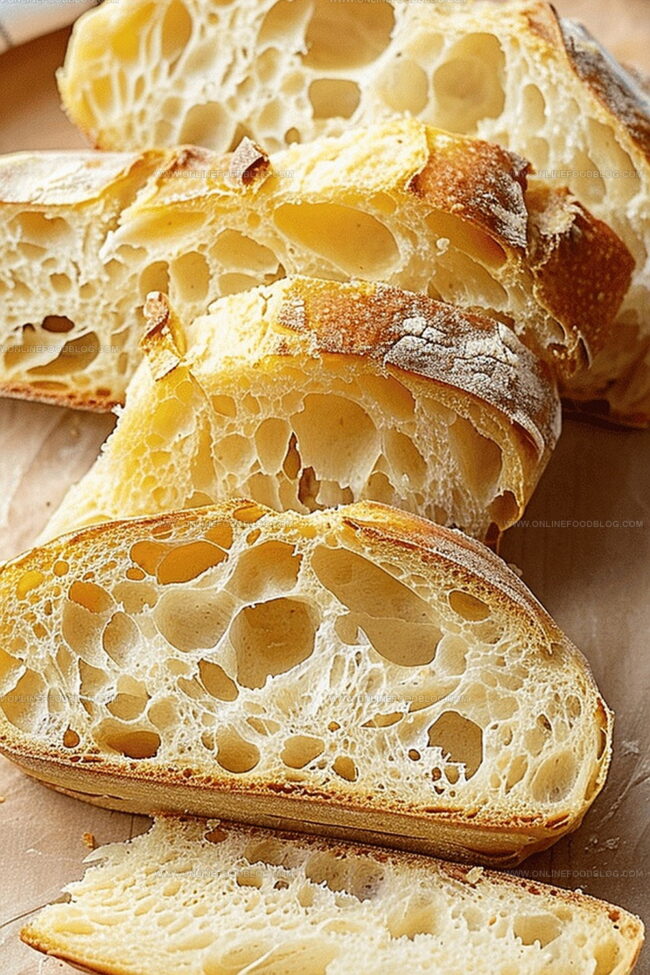
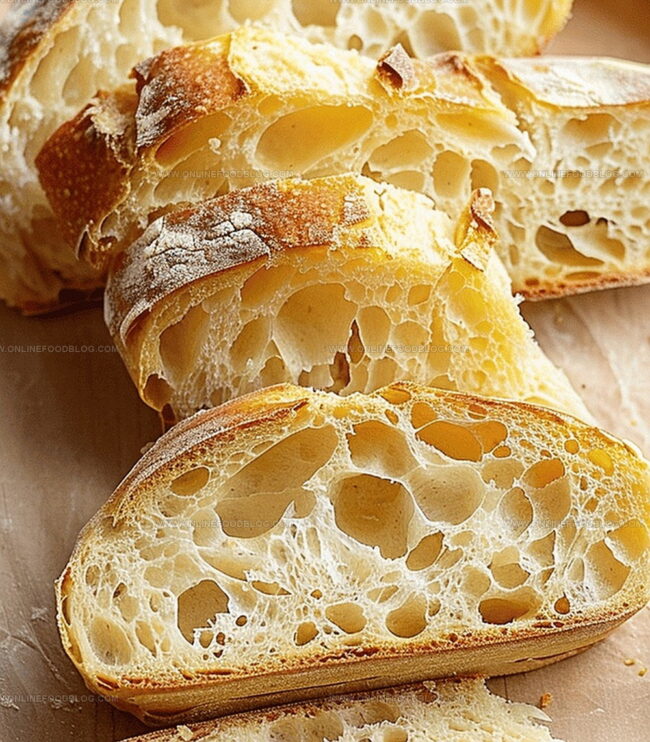
The golden, crispy crust promises a sensory experience that rivals professional bakery offerings.
Each slice carries a rich, complex flavor that speaks to traditional baking methods.
With just a few basic pantry staples, you’ll create a loaf that looks and tastes like it emerged from a European countryside kitchen.
Grab your mixing bowl and let’s make bread magic happen.
Quick Recipe Overview
What You’ll Need to Make Artisan Bread at Home
For Bread Base:For Activation and Moisture:For Finishing and Baking:Tools That Help Shape Artisan Bread Beautifully
Step-by-Step Instructions for Artisan Bread Perfection
Wake up the yeast by mixing it with warm water and a touch of sugar. Let the mixture bubble and come alive for a few minutes.
Bring together flour and salt in a spacious mixing bowl. Pour in the awakened yeast and a splash of olive oil, then blend until a shaggy, sticky mixture forms.
Shape the dough into a loose ball and give it a light spray. Cover and let it rest in a cozy spot, allowing it to grow and develop flavor for a couple of hours.
For deeper taste, you can let the dough chill in the refrigerator for a few days.
Heat the oven with a Dutch oven inside, creating a perfect baking environment.
Gently fold the dough on a floured surface, creating a beautiful round loaf. Let it rest and gather its strength.
Carefully transfer the dough into the scorching hot Dutch oven. Bake covered, then uncover and finish with a golden touch of butter.
Allow the bread to cool completely before cutting into its crispy, aromatic goodness.
Tweaks & Techniques to Elevate Your Artisan Bread
Serving Suggestions for Freshly Baked Artisan Bread
Storing Artisan Bread to Keep It Rustic & Tender
Print
Rustic Artisan Bread Recipe
- Total Time: 1 hour 10 minutes
- Yield: 9 1x
Description
Homemade artisan bread delights with crisp exterior and tender crumb. Rustic Mediterranean techniques create memorable loaves perfect for sharing with friends and family.
Ingredients
- 3 cups (360 g) bread flour
- 1 ½ cups (355 ml) water (barely warm)
- 2 tsp instant yeast
- 2 tsp sugar
- 2 tsp salt
- 1 tbsp olive oil
- 1 tbsp butter
Instructions
- Yeast Activation: Whisk active dry yeast, granulated sugar, and lukewarm water (105-110°F) until frothy and effervescent, allowing 5 minutes for complete transformation.
- Dough Formation: Blend bread flour and kosher salt in a spacious bowl, creating a central well. Introduce frothy yeast mixture and extra virgin olive oil, gently integrating with a silicone spatula until a rustic, slightly tacky dough emerges.
- Proofing Process: Shape dough into a loose sphere, lightly spray with non-stick cooking spray, and cover with plastic wrap and kitchen towel. Place in a warm, undisturbed location for 2-3 hours until voluminous and puffy. Optional flavor enhancement includes refrigeration up to 72 hours for deeper fermentation.
- Preparation and Preheating: Position cast-iron Dutch oven inside oven, preheating to 425°F. Transfer risen dough onto flour-dusted parchment paper, delicately folding edges to create a taut round loaf.
- Baking Technique: Rest shaped dough for 45 minutes to develop structure. Carefully lower into scorching Dutch oven using parchment paper. Cover and bake 40 minutes to establish a robust crust.
- Finishing Touch: Remove lid, brush surface with melted unsalted butter, and continue baking 10-12 minutes until achieving a rich golden-brown exterior. Cool completely on a wire rack before slicing to preserve internal moisture.
Notes
- Yeast Activation Precision: Ensure water temperature is exactly 105-110°F to activate yeast without killing it, which guarantees perfect dough rise.
- Dough Hydration Secret: The slightly tacky texture indicates ideal moisture content for a soft, airy bread interior with beautiful crumb structure.
- Long Fermentation Magic: Refrigerating dough up to 72 hours develops complex flavor profiles and improves bread’s digestibility through natural fermentation.
- Temperature Control Technique: Using a preheated cast-iron Dutch oven creates professional-level steam environment, resulting in crispy exterior and tender crumb.
- Prep Time: 15 minutes
- Cook Time: 55 minutes
- Category: Snacks, Dinner
- Method: Baking
- Cuisine: European
Nutrition
- Serving Size: 9
- Calories: 160
- Sugar: 1 g
- Sodium: 290 mg
- Fat: 4.5 g
- Saturated Fat: 1 g
- Unsaturated Fat: 3.5 g
- Trans Fat: 0 g
- Carbohydrates: 30 g
- Fiber: 1 g
- Protein: 5 g
- Cholesterol: 5 mg
Mia Reynolds
Food Writer & Home Cooking Specialist
Expertise
Easy Home Baking, Recipe Writing and Storytelling, Local and Seasonal Ingredients, Baking for Beginners
Education
New England Culinary Institute (NECI), Montpelier, Vermont
Community College of Vermont, Winooski, Vermont
Mia Reynolds fell in love with baking as a teenager experimenting in her family kitchen. Her passion took her to New England Culinary Institute, where she learned practical pastry techniques, and later to Community College of Vermont to deepen her understanding of food management.
Mia combines clear, simple baking instructions with heartwarming stories, making home baking approachable for everyone.