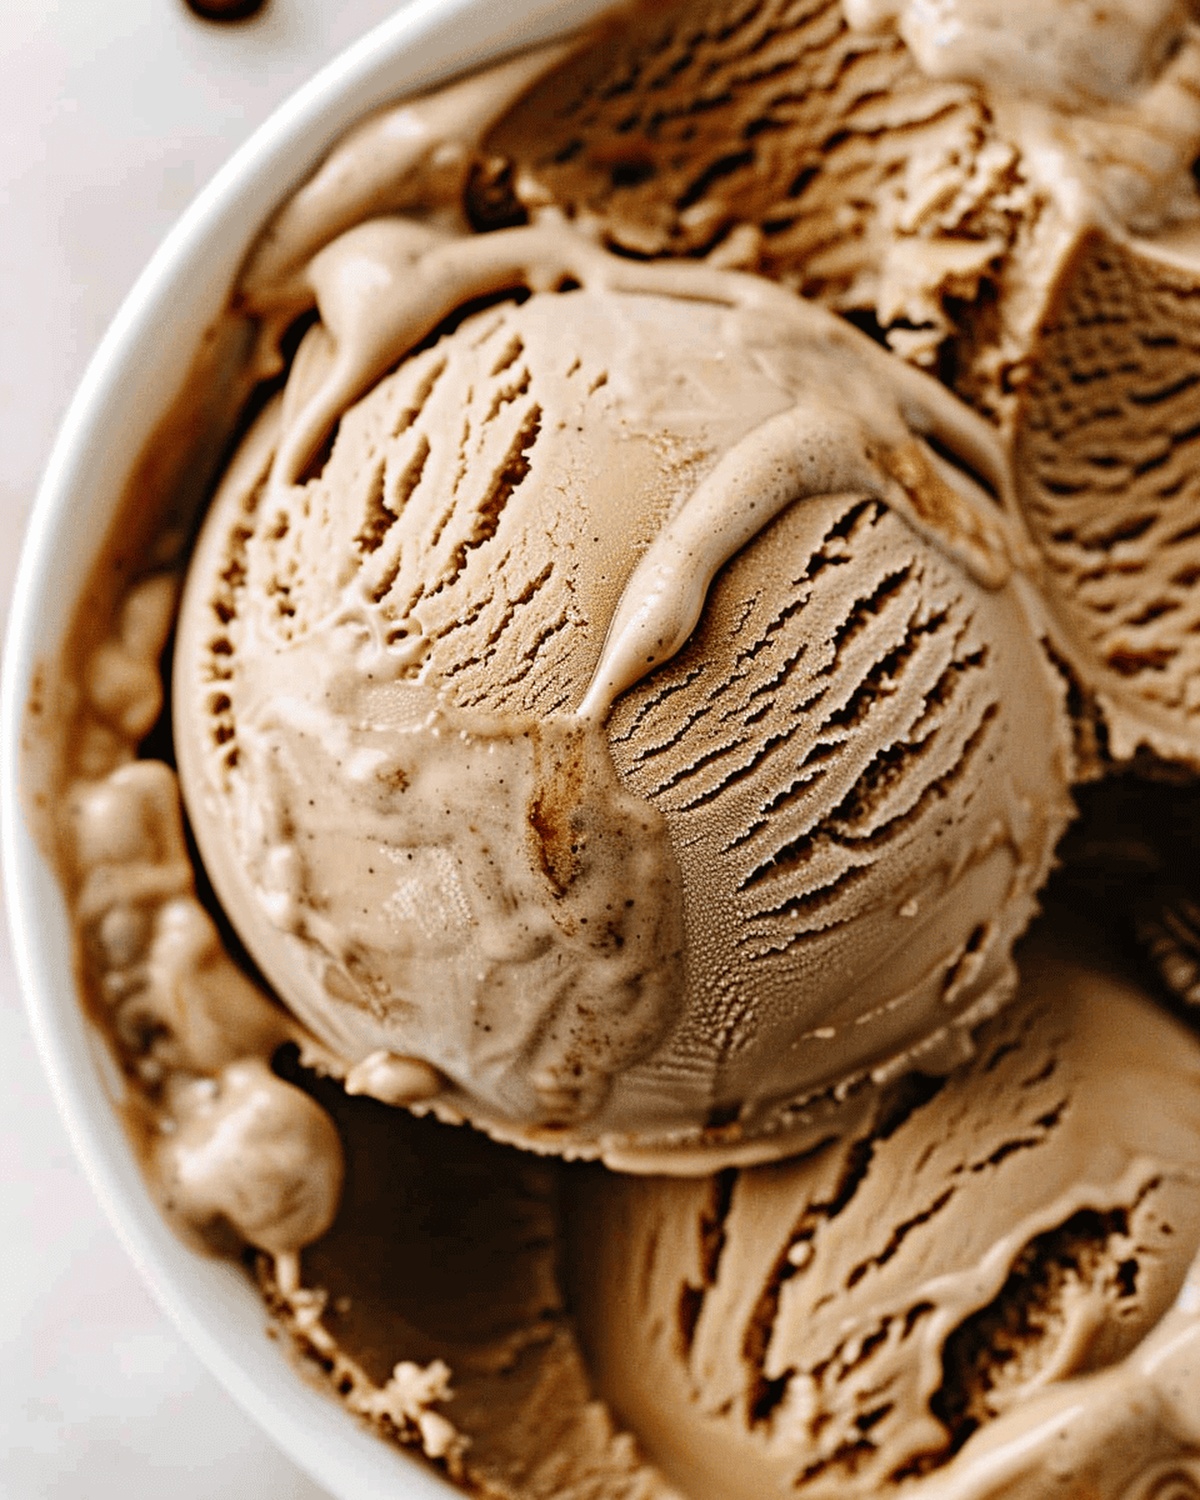
Dreamy Homemade Coffee Ice Cream Recipe for Sweet Fans
Creamy, dreamy coffee ice cream beckons with its rich, velvety allure on a warm summer afternoon.
This homemade coffee ice cream recipe promises a delightful burst of caffeinated sweetness that will make your taste buds dance.
No store-bought version can match the depth of flavor in this perfectly crafted dessert.
Deep coffee notes blend seamlessly with smooth, luxurious cream, creating a decadent treat that’s both indulgent and refreshing.
Each spoonful carries the bold essence of freshly brewed espresso, softened by silky custard.
The simple ingredients and straightforward method ensure anyone can master this delectable dessert.
Grab a scoop and savor the ultimate coffee lover’s frozen delight.
Quick Recipe Overview
Ingredients for Making Coffee Ice Cream
For Base Ingredients:For Sweetening and Flavoring:For Finishing Touches:What You Need to Churn or Freeze It Smooth
Step-by-Step for Homemade Coffee Ice Cream
Coffee Bliss Adventure
Get your trusty ice cream maker ready and chill it according to the machine’s guidance. This ensures a smooth, creamy journey ahead.
Blend cream, milk, egg yolks, sugar, coffee essence, and a pinch of salt in a saucepan. Gently warm the mixture, stirring lovingly without letting it boil. Watch for that perfect moment when the liquid transforms into a silky, smooth custard.
Transfer the warm custard to a bowl, letting it cool naturally. Pro tip: use a strainer for extra smoothness. Create an ice bath to speed up the cooling process, covering the custard to prevent any unwanted skin formation.
Allow the custard to chill completely in the refrigerator. This waiting period helps develop those deep, rich coffee flavors.
Pour the chilled mixture into your ice cream maker. Let the machine work its wonder, transforming the liquid into a dreamy, creamy delight. Watch as it slowly firms up to the perfect consistency.
Transfer the churned ice cream to a freezer-safe container. Let it set completely, allowing the flavors to fully develop and the texture to become delightfully scoopable.
Scoop out your homemade coffee masterpiece. Dress it up with your favorite toppings or enjoy it in its pure, creamy glory. Your coffee ice cream adventure is complete!
Espresso Additions & Chocolate Stir-Ins
How to Serve Coffee Ice Cream Like a Pro
Storing Tips to Prevent Ice Crystals
Print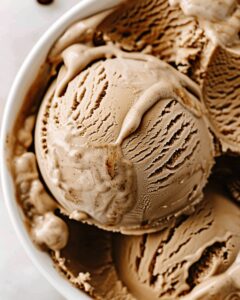
Rich Coffee Ice Cream Recipe
- Total Time: 11-13 hours
- Yield: 5 1x
Description
Silky coffee ice cream offers a rich, creamy journey through robust espresso notes and luxurious dairy. Cool dessert enthusiasts will savor this indulgent Italian-inspired treat that promises intense flavor with each delightful spoonful.
Ingredients
- 2 cups (473 ml) heavy cream
- 1 cup (237 ml) whole milk
- 1 cup (200 g) granulated sugar
- 5 large egg yolks
- 1 ½ to 3 oz (44 to 89 ml) cold brew coffee concentrate
- 1 tsp pure vanilla extract
- ¼ tsp salt
Instructions
- Maker Preparation: Activate ice cream maker according to manufacturer’s guidelines, ensuring optimal freezing performance.
- Base Creation: Combine heavy cream, milk, egg yolks, sugar, coffee concentrate, and salt in a saucepan, whisking to form a harmonious mixture.
- Custard Development: Gently heat the blend over low-medium temperature, stirring consistently to prevent scorching and facilitate ingredient integration, cooking for 8-10 minutes until the mixture coats a spoon’s back with a silky consistency.
- Flavor Enhancement: Remove from heat, fold in vanilla extract, then strain through a fine-mesh sieve into a clean bowl to eliminate potential lumps.
- Cooling Process: Establish an ice bath, submerge the custard bowl to rapidly reduce temperature, then cover surface with plastic wrap to prevent skin formation.
- Chilling Phase: Refrigerate the covered custard for 2 hours, allowing flavor refinement and texture stabilization.
- Churning Technique: Pour chilled custard into pre-frozen ice cream maker, churning until it achieves a firm soft-serve consistency.
- Freezing Finalization: Transfer churned ice cream to a freezer-safe container, freeze for 8-10 hours until completely firm.
- Serving Suggestion: Present in chilled bowls or waffle cones, optionally garnishing with chocolate shavings or caramel drizzle.
Notes
- Chill Equipment Thoroughly: Ensure ice cream maker and storage container are pre-frozen to prevent unwanted ice crystal formation and guarantee smooth, creamy texture.
- Monitor Custard Carefully: Watch temperature closely while heating to prevent curdling; gentle, consistent stirring prevents egg yolks from scrambling and maintains silky consistency.
- Strain for Smoothness: Passing custard through fine-mesh sieve removes potential egg bits and ensures ultra-refined, luxurious ice cream texture.
- Patience Matters: Allow sufficient cooling and freezing time; rushed chilling compromises flavor development and desired creamy mouthfeel.
- Prep Time: 20 minutes
- Cook Time: 20 minutes
- Category: Desserts, Snacks, Drinks
- Method: Simmering
- Cuisine: American
Nutrition
- Serving Size: 5
- Calories: 384
- Sugar: 40 g
- Sodium: 0.05 g
- Fat: 30 g
- Saturated Fat: 18 g
- Unsaturated Fat: 12 g
- Trans Fat: 0 g
- Carbohydrates: 42 g
- Fiber: 0 g
- Protein: 4 g
- Cholesterol: 187 mg
Mia Reynolds
Food Writer & Home Cooking Specialist
Expertise
Easy Home Baking, Recipe Writing and Storytelling, Local and Seasonal Ingredients, Baking for Beginners
Education
New England Culinary Institute (NECI), Montpelier, Vermont
Community College of Vermont, Winooski, Vermont
Mia Reynolds fell in love with baking as a teenager experimenting in her family kitchen. Her passion took her to New England Culinary Institute, where she learned practical pastry techniques, and later to Community College of Vermont to deepen her understanding of food management.
Mia combines clear, simple baking instructions with heartwarming stories, making home baking approachable for everyone.