Dreamy Chocolate Espresso Cookies Recipe: Bake Magic Today
Dark, rich chocolate meets bold espresso in these irresistible chocolate espresso cookies that promise an intense flavor explosion.
Coffee lovers will swoon over the deep, robust notes dancing through each decadent bite.
These cookies deliver a sophisticated twist on the classic chocolate chip experience.
The deep espresso powder weaves magic into every morsel, creating a complex and indulgent treat.
Bakers seeking a grown-up dessert that packs serious flavor will fall head over heels for this recipe.
Soft, chewy, and incredibly aromatic, these cookies elevate your baking game with minimal effort.
Grab your mixing bowl and get ready to impress everyone with this game-changing cookie sensation.
Quick Recipe Overview
Chocolate Espresso Cookies – Ingredient Essentials
For Cookie Base:For Dry Ingredients:For Coating and Finishing:Tools to Bake Chocolate Espresso Cookies Right
Directions for Chocolate Espresso Cookie Perfection
Blend softened butter and brown sugar in a stand mixer until creamy and airy, creating a smooth base for the cookies.
Add egg to the butter mixture, then gently fold in melted chocolate, ensuring a rich and even distribution.
Combine flour, cocoa, espresso powder, baking powder, and salt in a separate bowl, creating a fragrant and complex dry mix.
Mix dry ingredients into wet ingredients at low speed, adding milk to create a slightly sticky dough. Shape into a disk and chill in the refrigerator for about 45 minutes to firm up.
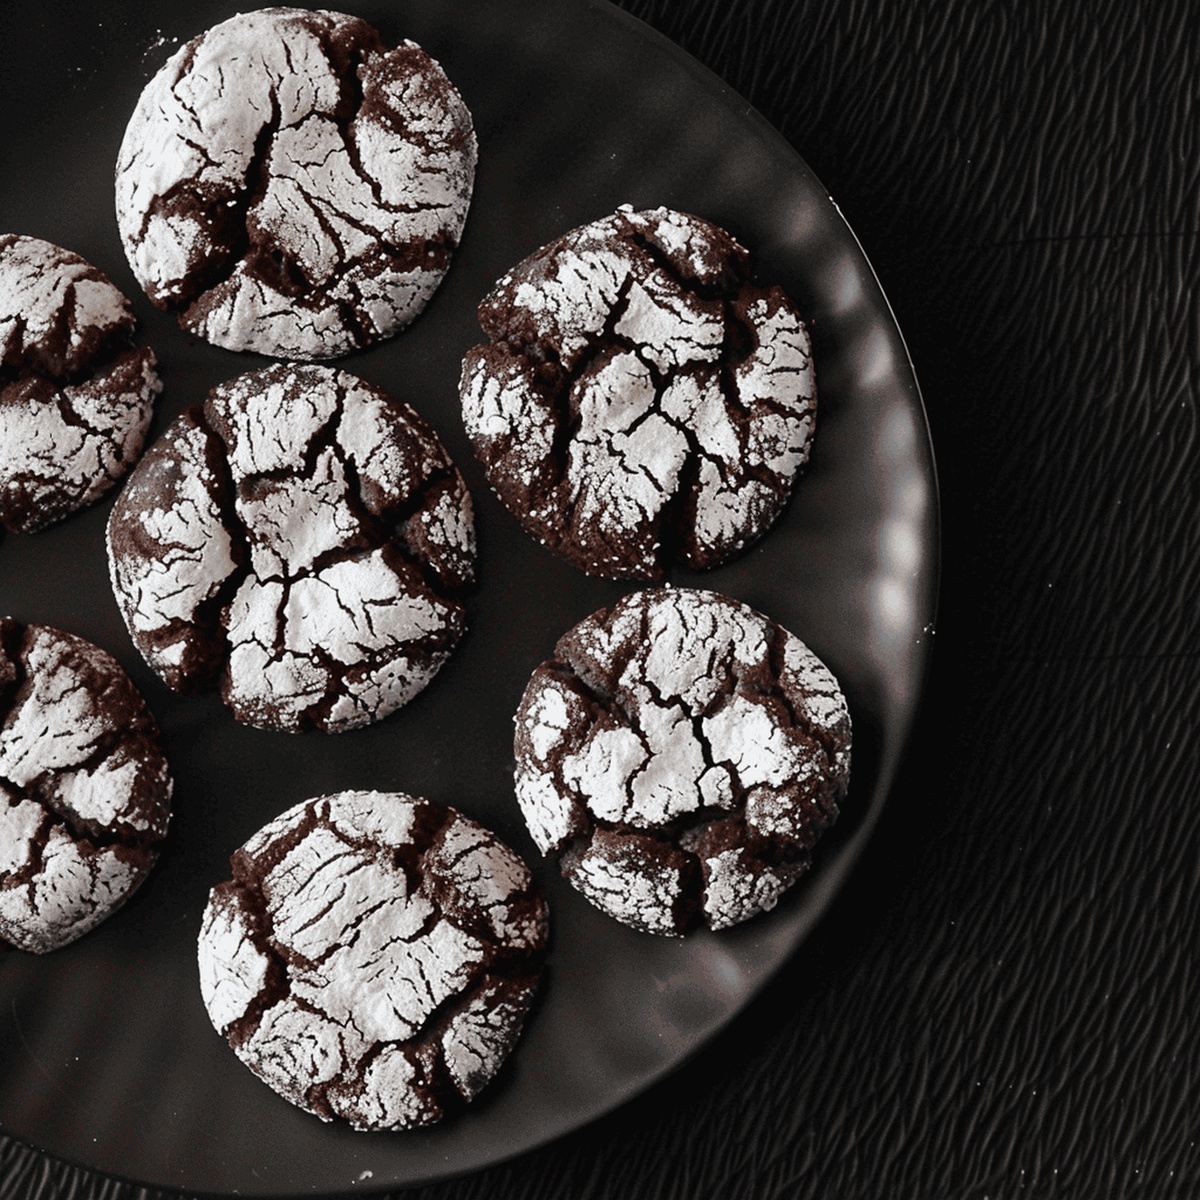
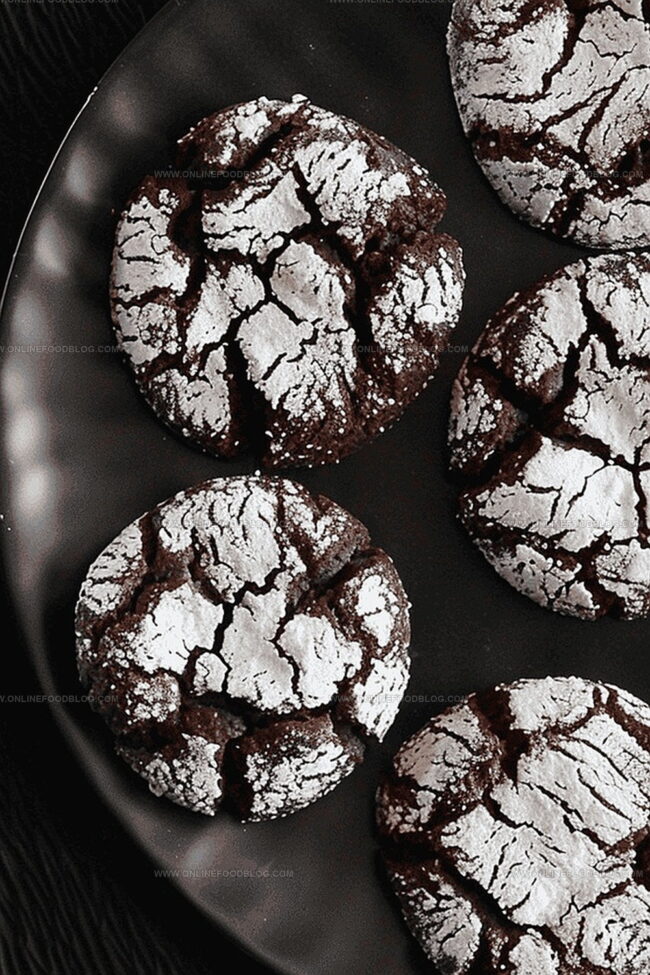
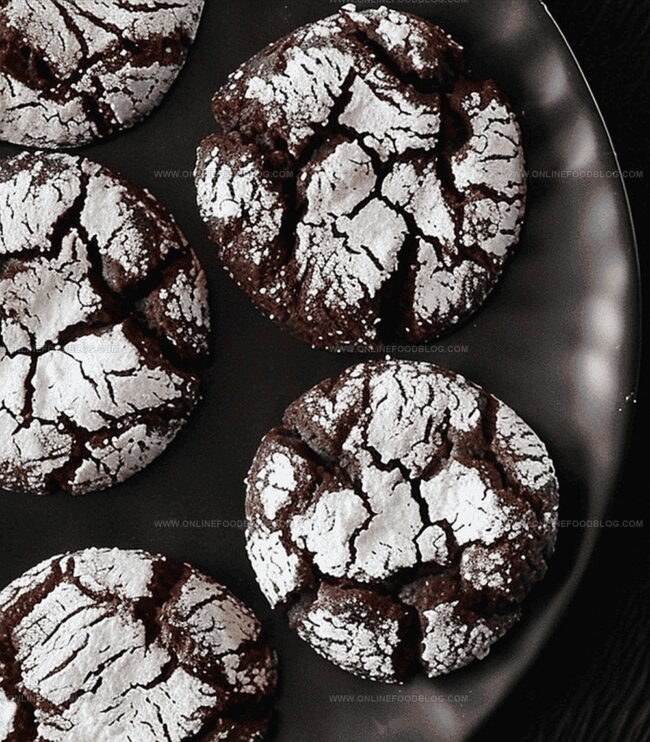
Remove chilled dough and roll into small balls. Generously coat each ball in powdered sugar, ensuring complete coverage for a beautiful crackled appearance.
Preheat oven to 350°F. Place sugar-coated dough balls on parchment-lined baking sheets, spacing them apart. Bake for 12-15 minutes until cookies spread and develop elegant cracks.
Transfer cookies to a wire rack to cool completely. Store in an airtight container for up to a week or freeze for longer preservation.
Tips to Enhance Chocolate Espresso Cookie Flavor
Serving Chocolate Espresso Cookies with Style
How to Store Chocolate Espresso Cookies Freshly
Print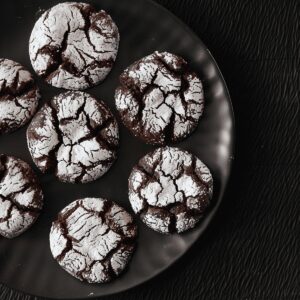
Rich Chocolate Espresso Cookies
- Total Time: 1 hour 15 minutes
- Yield: 13 1x
Description
Midnight chocolate espresso cookies deliver rich, intense flavors from deep cocoa and bold espresso notes. Coffee-loving bakers will savor these sophisticated dark chocolate treats with complex layers of sweetness and depth.
Ingredients
- 1 large egg
- ⅔ cup (150 mL) packed brown sugar
- 4 oz (125 g) semisweet chocolate, melted and cooled
- ¼ cup (60 mL) butter
- ½ cup (125 mL) all-purpose flour
- ¼ cup (60 mL) unsweetened cocoa powder
- 4 tsp (20 mL) instant espresso coffee granules
- 1 tsp (5 mL) baking powder
- 1 tbsp (15 mL) milk
- Pinch of salt
- Icing sugar, for dredging
Instructions
- Creaming: Utilize a stand mixer with paddle attachment to whip butter and brown sugar into a fluffy, light consistency. Seamlessly integrate egg, then fold in cooled melted chocolate until homogeneous.
- Dry Ingredient Preparation: Sift flour, cocoa powder, instant espresso powder, baking powder, and salt through a fine-mesh strainer, ensuring even distribution and eliminating potential lumps.
- Dough Formation: Merge dry ingredients into wet mixture at low speed, creating a slightly tacky dough. Incorporate milk and mix until ingredients are thoroughly integrated, developing a smooth texture.
- Chilling: Form dough into a compact disk, wrap securely in plastic wrap, and refrigerate for 45 minutes to enhance flavor development and facilitate easier handling.
- Oven Preparation: Heat oven to 350°F (180°C). Line baking sheets with parchment paper and set aside a plate with icing sugar for coating cookies.
- Shaping and Coating: Roll chilled dough into uniform 1-inch balls, generously coating each in icing sugar to create a dramatic white-on-dark crackled appearance.
- Baking: Arrange sugar-dusted balls on prepared sheets, maintaining 2-inch spacing. Bake 12-15 minutes until cookies expand and display distinctive surface fractures, revealing rich chocolate undertones.
- Cooling and Storage: Delicately transfer baked cookies to a wire rack. Allow complete cooling before storing in an airtight container, maintaining freshness for up to one week or freezing for extended enjoyment.
Notes
- Chill Dough Properly: Refrigerating for 45 minutes helps prevent spreading and intensifies flavor development, ensuring a rich, compact cookie texture.
- Sugar Coating Technique: Roll cookies completely in icing sugar for a beautiful crackled appearance and delicate sweet exterior that contrasts with intense chocolate espresso profile.
- Espresso Powder Impact: Use high-quality instant espresso powder to enhance chocolate depth without adding excess liquid, creating sophisticated flavor complexity.
- Baking Precision: Watch cookies closely during final 2-3 minutes of baking to prevent overdrying; surface cracks should look distinct but not burnt for optimal texture and taste.
- Prep Time: 60 minutes
- Cook Time: 15 minutes
- Category: Desserts, Snacks
- Method: Baking
- Cuisine: American
Nutrition
- Serving Size: 13
- Calories: 180
- Sugar: 12 g
- Sodium: 50 mg
- Fat: 8 g
- Saturated Fat: 5 g
- Unsaturated Fat: 3 g
- Trans Fat: 0 g
- Carbohydrates: 25 g
- Fiber: 1 g
- Protein: 2 g
- Cholesterol: 20 mg
Mia Reynolds
Food Writer & Home Cooking Specialist
Expertise
Easy Home Baking, Recipe Writing and Storytelling, Local and Seasonal Ingredients, Baking for Beginners
Education
New England Culinary Institute (NECI), Montpelier, Vermont
Community College of Vermont, Winooski, Vermont
Mia Reynolds fell in love with baking as a teenager experimenting in her family kitchen. Her passion took her to New England Culinary Institute, where she learned practical pastry techniques, and later to Community College of Vermont to deepen her understanding of food management.
Mia combines clear, simple baking instructions with heartwarming stories, making home baking approachable for everyone.