Cozy Japanese Tuna Onigiri Recipe: Simple Joy in Every Bite
Savory and compact, these Japanese tuna onigiri pack a delightful punch of flavor that transports you straight to the streets of Tokyo.
Rice-wrapped tuna blends seamlessly with traditional Japanese seasoning, creating a handheld meal that’s both convenient and satisfying.
Sushi-inspired techniques merge with home cooking simplicity in this quick recipe.
Perfect for lunch boxes, picnics, or a speedy snack, these triangular rice balls offer a taste of authentic Japanese cuisine.
Soft rice hugs a zesty tuna filling that promises to tantalize your taste buds.
The combination of tender fish and perfectly seasoned rice makes these onigiri an irresistible treat you’ll want to master.
Get ready to roll up your sleeves and dive into this delectable Japanese culinary adventure.
Quick Recipe Overview
What You’ll Need for 15-Min. Tuna Onigiri
For Base:For Filling:For Wrapping:Kitchen Tools to Prep Japanese Rice Balls
Instructions for Assembling Quick Tuna Onigiri
Rice Foundation
Prepare soft, warm rice seasoned with a light touch of sesame fragrance. The rice should be sticky enough to hold its shape but not too wet.
Tuna Heart
Create a savory center using flaky tuna mixed with creamy mayonnaise. This will become the delicious core of your Japanese rice ball.
Seaweed Wrap
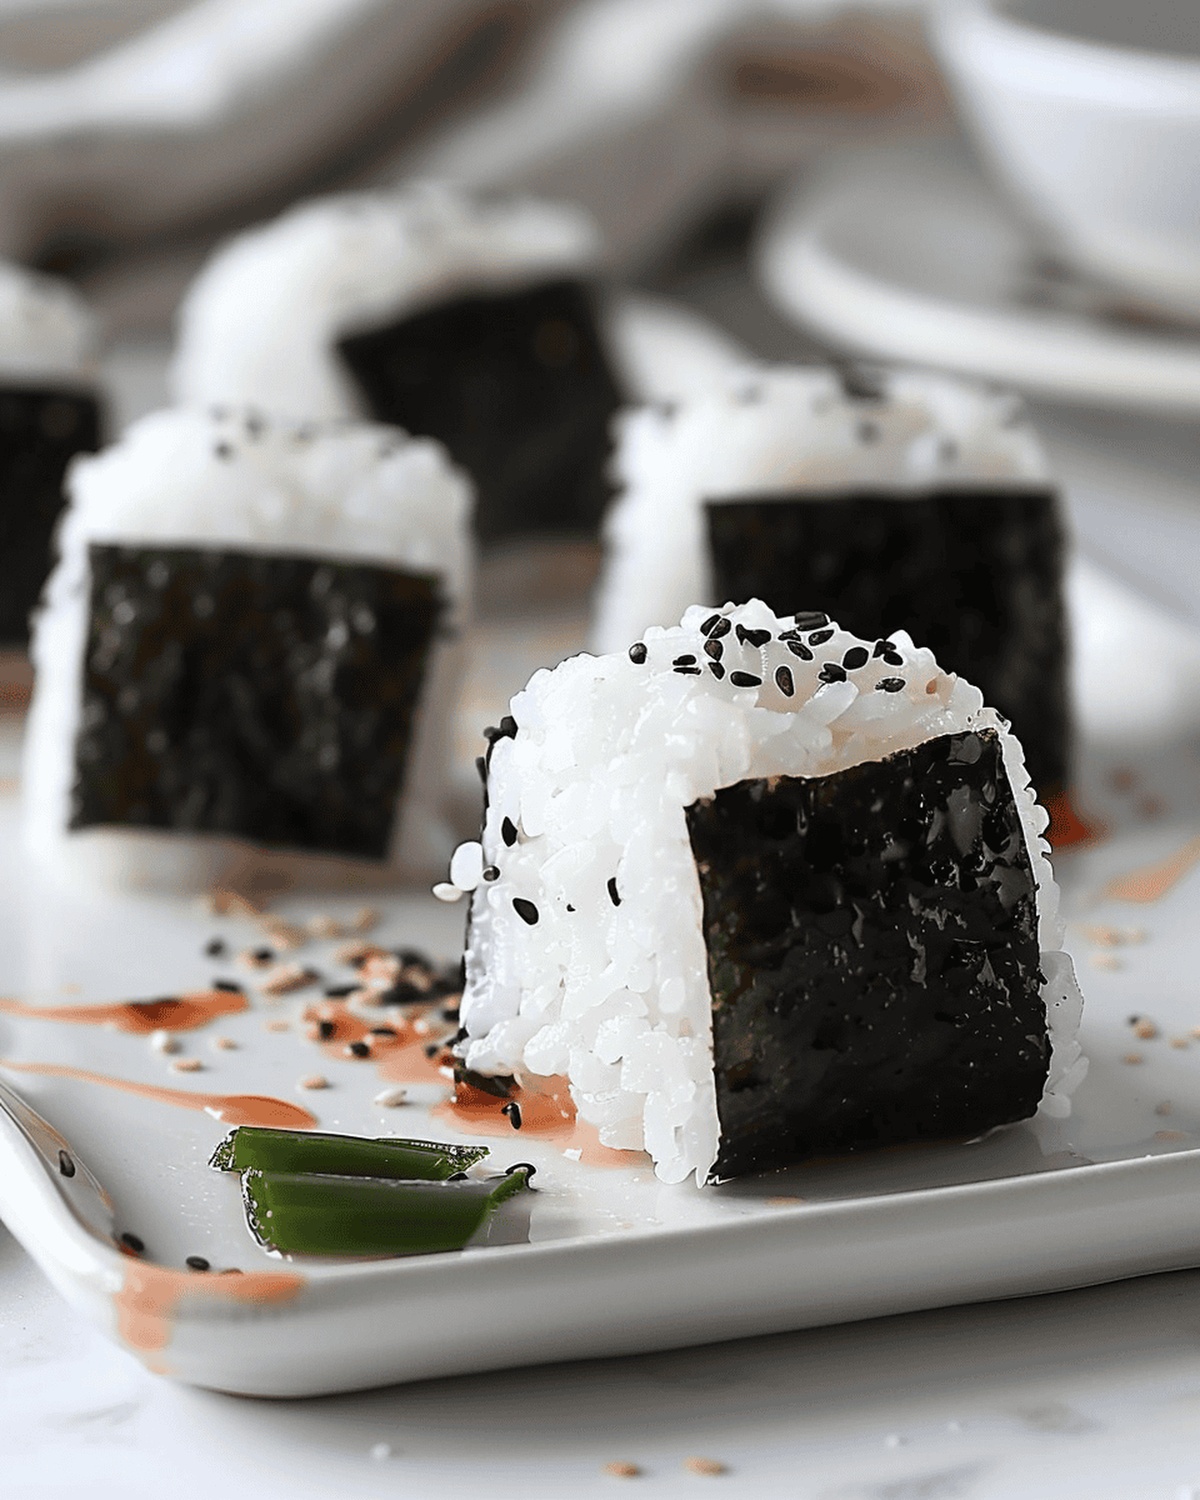
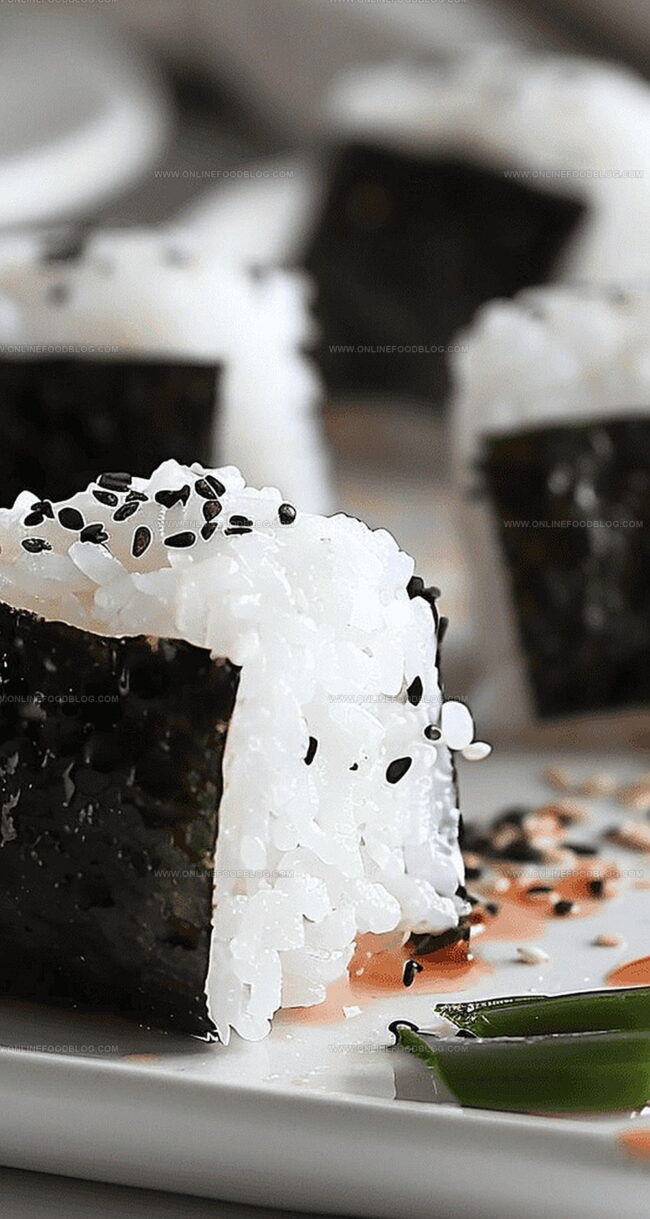
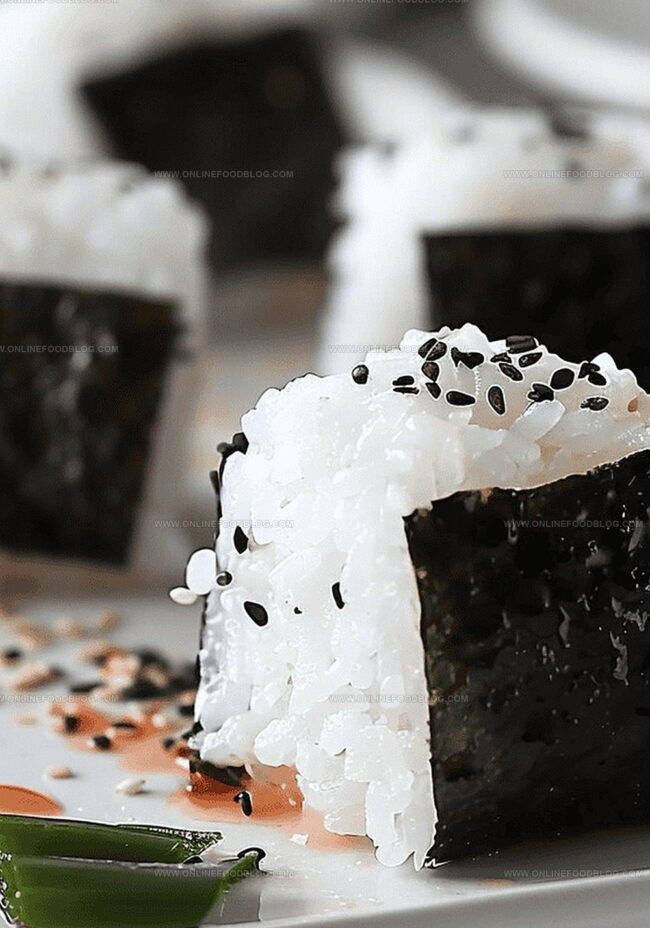
Carefully select delicate nori strips to provide a crisp, ocean-inspired exterior. These thin sheets will add a traditional touch and extra flavor.
Shape Creation
Use plastic wrap as your helper to form a perfect triangular or round shape. Gently fold the rice around the tuna filling, ensuring the mixture is completely enclosed.
Final Touch
Unwrap your onigiri and let it rest briefly. The seaweed strip can be added as a decorative and functional base, making it easy to hold without sticky fingers.
Tuna Mix Tips and Rice Wrapping Ideas
How to Serve Onigiri Fresh or on the Go
How to Store Rice Balls Without Drying Out
Print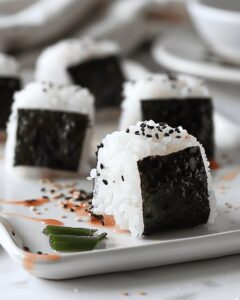
Quick Japanese Tuna Onigiri
- Total Time: 15min
- Yield: 3 1x
Description
Sushi-inspired Japanese tuna onigiri delivers quick comfort through simple ingredients. Home cooks discover delightful rice triangles filled with savory protein, perfect for quick meals or lunch boxes.
Ingredients
- 2 cups cooked short grain rice
- 5.29 oz (150 g) canned tuna, drained
- 0.5 tablespoons salt
- 1 tablespoon sesame oil
- 2 tablespoons mayonnaise (Kewpie mayo)
- 0.5 sheet nori, cut into 2 strips
Instructions
- Prepare Surface: Lay out plastic wrap on a clean workspace to facilitate rice shaping and handling.
- Season Rice: Combine warm rice with sesame oil and salt, mixing thoroughly to distribute flavors evenly.
- Prepare Filling: Blend drained tuna with mayonnaise to create a smooth, creamy mixture.
- Shape Rice Base: Form circular rice portions about half an inch thick on the plastic wrap, creating gentle indentations for the tuna filling.
- Assemble Onigiri: Carefully mold rice around the tuna center, using the plastic wrap to twist and shape into compact triangular or round formations.
- Finish and Wrap: Unwrap the plastic, refine the onigiri’s shape, and wrap thin nori strips around each rice ball (optionally toasting the nori beforehand for enhanced crispness).
- Serve: Present immediately while rice remains warm, offering a delightful Japanese-inspired snack with optimal texture and flavor.
Notes
- Prep Like a Pro: Use plastic wrap to prevent sticky rice and create perfectly shaped onigiri without messy hands.
- Flavor Boost: Season rice with sesame oil and salt while it’s warm to ensure deep, even flavor penetration.
- Tuna Trick: Drain canned tuna completely to prevent watery filling and mix with mayonnaise for creamy consistency.
- Nori Ninja: Toast seaweed strips briefly to elevate texture and release subtle nutty aromas before wrapping onigiri.
- Prep Time: 10min
- Cook Time: 5min
- Category: Breakfast, Lunch, Snacks
- Method: Blending
- Cuisine: Japanese
Nutrition
- Serving Size: 3
- Calories: 270
- Sugar: 1g
- Sodium: 580mg
- Fat: 13g
- Saturated Fat: 2g
- Unsaturated Fat: 8g
- Trans Fat: 0g
- Carbohydrates: 30g
- Fiber: 1g
- Protein: 10g
- Cholesterol: 15mg
Mia Reynolds
Food Writer & Home Cooking Specialist
Expertise
Easy Home Baking, Recipe Writing and Storytelling, Local and Seasonal Ingredients, Baking for Beginners
Education
New England Culinary Institute (NECI), Montpelier, Vermont
Community College of Vermont, Winooski, Vermont
Mia Reynolds fell in love with baking as a teenager experimenting in her family kitchen. Her passion took her to New England Culinary Institute, where she learned practical pastry techniques, and later to Community College of Vermont to deepen her understanding of food management.
Mia combines clear, simple baking instructions with heartwarming stories, making home baking approachable for everyone.