The Ultimate Pineapple Bliss Bars Recipe for Sweet Tropical Joy
Sweet pineapple bliss bars promise a tropical escape from mundane desserts.
Tropical flavors dance across your palate with each delectable bite.
Creamy textures meld perfectly with bright, tangy fruit notes that awaken your senses.
Layers of golden goodness create a symphony of taste and indulgence.
Soft, rich ingredients combine to redefine simple components into an extraordinary treat.
Delightful hints of sunshine and warmth radiate from these irresistible confections.
Bakers seeking a crowd-pleasing dessert will find pure magic in this simple yet sophisticated recipe.
What Makes Pineapple Bliss Bars So Addictive
Ingredients for Pineapple Bliss Bars
Crust Ingredients:Filling Ingredients:Finishing Ingredients:How to Make Pineapple Bliss Bars at Home
Step 1: Warm Up the Oven
Preheat the oven to 350°F. Grab a 9×13 inch baking dish and lightly grease it with butter or cooking spray.
Step 2: Create the Crumbly Crust
Gather your crust ingredients:Mix the flour and sugar in a large bowl. Use a pastry cutter or your fingers to work the butter into the dry ingredients until it looks like coarse crumbs. Press this mixture evenly into the prepared baking dish.
Step 3: Bake the Crust
Slide the crust into the preheated oven and bake for 15 minutes until it turns a beautiful golden color. The kitchen will start smelling amazing!
Step 4: Whip Up the Creamy Filling
While the crust bakes, prepare the filling ingredients:Combine all these ingredients in a mixing bowl. Whisk until the mixture becomes smooth and creamy, with no lumps.
Step 5: Layer and Bake
Pour the luscious pineapple filling over the golden crust. Return the dish to the oven and bake for 25-30 minutes. You’ll know it’s done when the filling is set and looks slightly firm.
Step 6: Cool and Finish
Remove from the oven and let the bars cool completely at room temperature. This helps the bars set perfectly.
Step 7: Add the Final Touch
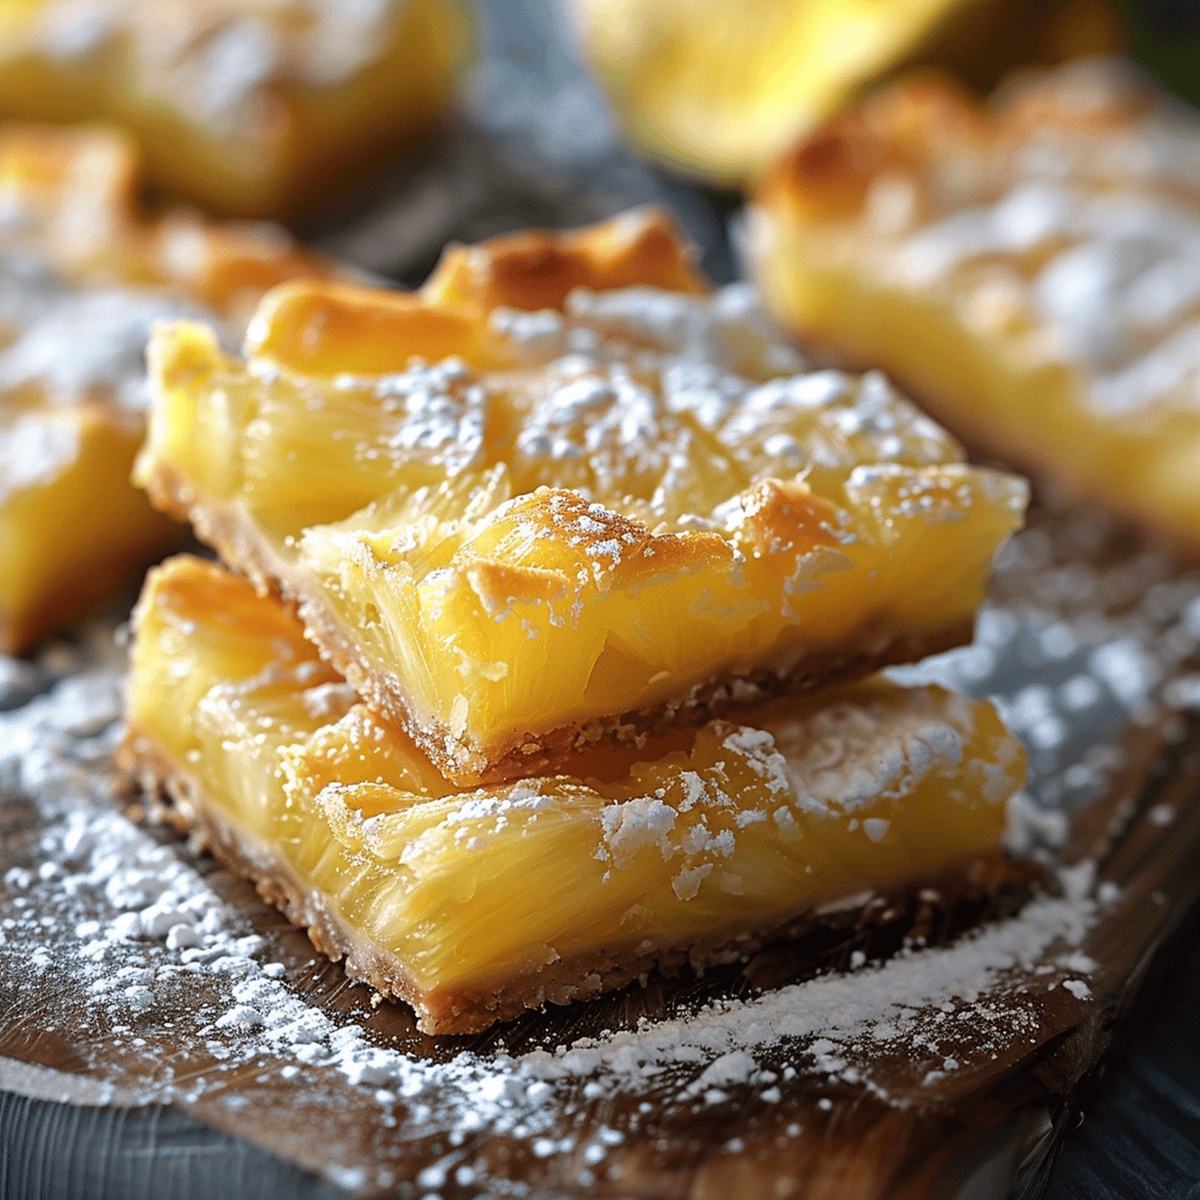
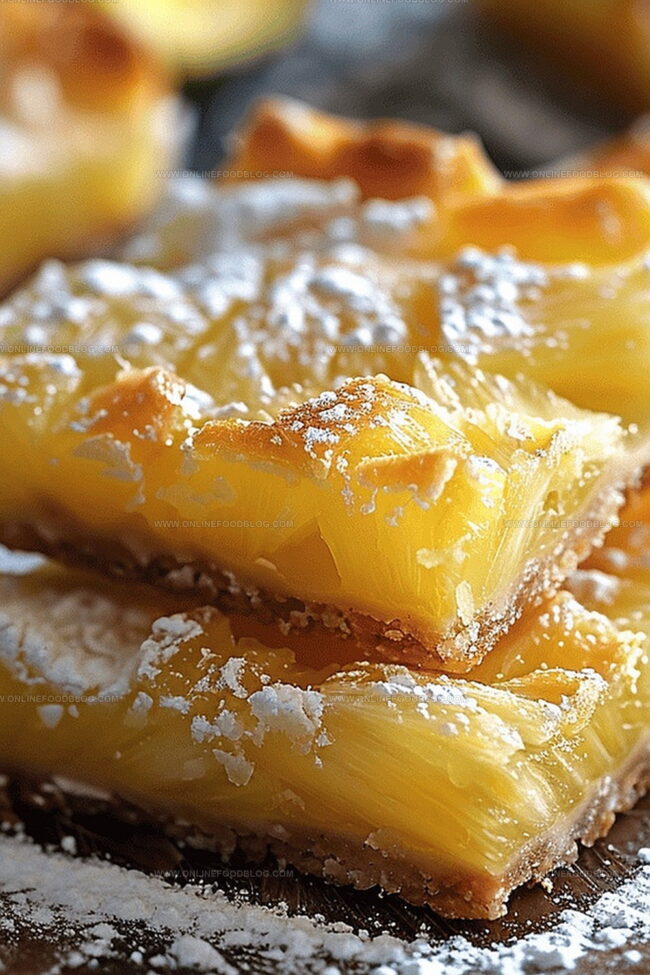
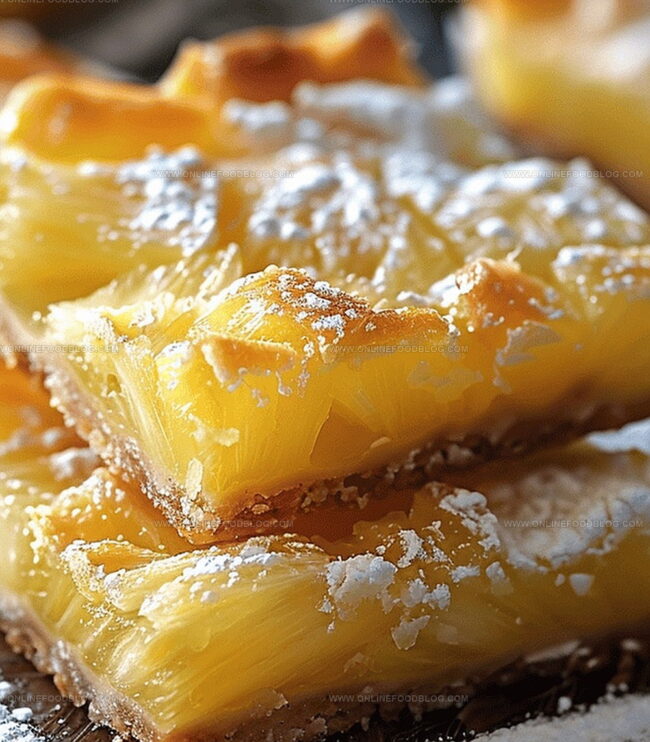
Once cooled, dust the top with a light sprinkle of powdered sugar. Use a sharp knife to cut into delightful bars.
Pro Tips:Enjoy your tropical escape in every bite!
Smart Tips for Perfect Pineapple Bliss Bars
How to Store and Reheat Pineapple Bliss Bars
Best Pairings for Pineapple Bliss Bars
Pineapple Bliss Bars Flavor Variations
Print
Pineapple Bliss Bars Recipe
- Total Time: 55 minutes
- Yield: 12 1x
Description
Pineapple Bliss Bars deliver tropical paradise with creamy coconut layers and tangy pineapple essence. Sweet crumble base meets luscious filling, promising a delightful escape that whisks you straight to Hawaiian shores with each delectable bite.
Ingredients
Main Ingredients:
- 2 cups (470 milliliters) all-purpose flour
- 1 can (20 ounces / 567 grams) crushed pineapple, well-drained
- 1 cup (240 milliliters) sour cream
- 2 large eggs
Sweeteners and Sugars:
- ½ cup (100 grams) granulated sugar
- ¼ cup (50 grams) granulated sugar
- Powdered sugar for dusting
Fats and Flavor Enhancers:
- ½ cup (113 grams) unsalted butter, softened
- 1 teaspoon vanilla extract
Instructions
- Preheat the oven to 350°F (175°C) and prepare a 9 x 13 inch (23 x 33 centimeter) baking dish with a light grease coating to prevent sticking.
- Create the crust by combining all-purpose flour and granulated sugar in a mixing bowl, then methodically incorporate cold butter using a pastry cutter or fork until the mixture resembles coarse, uneven crumbs.
- Firmly press the crumbly crust mixture evenly across the bottom of the prepared baking dish, ensuring a uniform layer that will provide a sturdy foundation for the dessert.
- Bake the crust for 15 minutes, watching carefully until the edges turn a delicate golden brown, which indicates it is perfectly pre-baked and ready for the filling.
- While the crust bakes, prepare the creamy filling by thoroughly draining the canned pineapple chunks to remove excess liquid.
- In a separate mixing bowl, whisk together sour cream, granulated sugar, large eggs, and pure vanilla extract until the mixture achieves a smooth, consistent texture without any lumps.
- Gently fold the drained pineapple chunks into the cream mixture, distributing them evenly throughout the filling.
- Once the crust is golden, carefully remove it from the oven and pour the pineapple-cream filling over the entire surface, spreading it uniformly with a spatula.
- Return the baking dish to the oven and bake for an additional 25-30 minutes, checking the center for a slight wobble that indicates the filling is perfectly set but not overcooked.
- Remove from the oven and allow the dessert to cool completely at room temperature, which helps the filling firm up and makes cutting easier.
- Once cooled, dust the top generously with powdered sugar using a fine-mesh sieve for an elegant, professional finish.
- Slice into rectangular bars, ensuring clean cuts with a sharp knife, and serve at room temperature for the best flavor and texture.
Notes
- Chill these bars completely before cutting to achieve clean, precise edges and prevent crumbling.
- Ensure pineapple is thoroughly drained to avoid excess moisture that could make the crust soggy.
- Use room temperature ingredients for a smoother, more consistent filling texture.
- Double-line the baking pan with parchment paper for easy removal and minimal cleanup.
- Store leftovers in an airtight container in the refrigerator for up to 4 days to maintain freshness and flavor.
- For an extra touch, consider toasting coconut flakes as a garnish to enhance the tropical pineapple essence.
- Prep Time: 10 minutes
- Cook Time: 45 minutes
- Category: Desserts, Snacks
- Method: Baking
- Cuisine: American
Nutrition
- Serving Size: 12
Lucas Bennett
Founder & Recipe Creator
Expertise
Simple Everyday Recipes, Sustainable Cooking Practices, Creative Meal Planning, Recipe Testing and Improvement
Education
Fox Valley Technical College, Appleton, Wisconsin
Lake Superior College, Duluth, Minnesota
Lucas Bennett’s cooking journey started in his parents’ kitchen, where he learned to prepare tasty, no-fuss meals from scratch. His culinary passion led him to Fox Valley Technical College, where he gained practical cooking skills.
He then expanded his focus on sustainability at Lake Superior College. Today, Lucas shares easy, approachable recipes designed to make cooking enjoyable and stress-free for everyone.