Easy Chocolate Pudding Recipe: Dreamy Dessert Idea
Silky chocolate pudding reinvents ordinary dessert moments into pure indulgence.
Rich, velvety textures beckon with irresistible smoothness that melts on your tongue.
Home cooks crave comfort through decadent sweet experiences that feel both nostalgic and luxurious.
Creamy desserts like this connect us to childhood memories of warmth and satisfaction.
Smooth chocolate essence carries deep, complex flavor profiles that surprise and delight sophisticated palates.
Ingredients carefully selected ensure a magical balance between sweetness and intense cocoa depth.
This recipe promises an extraordinary journey into dessert perfection that anyone can master.
All About the Charm of Perfect Chocolate Pudding
What You Need for Perfect Chocolate Pudding
Raspberry Layer Ingredients:Chocolate Layer Ingredients:Garnish Ingredients:Making Perfect Chocolate Pudding at Home
Step 1: Prepare Muffin Tin Setup
Place a muffin tin on your work surface. Carefully position 6 wine glasses diagonally in the tin’s cups.
Step 2: Create Raspberry Gelatin Base
In a small-medium bowl:Stir slowly until completely dissolved. Add cold water and mix thoroughly. Let the mixture cool until half-set (thick but not firm). Options for cooling:Step 3: Enhance Raspberry Layer
Fold in whipped cream until well combined. Gently pour the mixture into each wine glass.
Step 4: Chill Raspberry Layer
Carefully lift the muffin tin and transfer to the refrigerator. Chill for at least 2 hours until fully set.
Step 5: Prepare Chocolate Layer
In a small-medium saucepan:Sprinkle gelatin over milk and let sit for 2 minutes. Whisk in cold water.
Step 6: Cook Chocolate Mixture
Add to the pan:Cook over medium-low heat for 8-12 minutes. The mixture should coat the back of a spoon easily. Remove from heat and let cool completely.
Step 7: Layer Chocolate Topping
Remove glasses from refrigerator. Pour chocolate mixture over the raspberry layer, completely covering it.
Step 8: Final Chilling
Return glasses to refrigerator. Chill for at least 1 hour until chocolate layer is set.
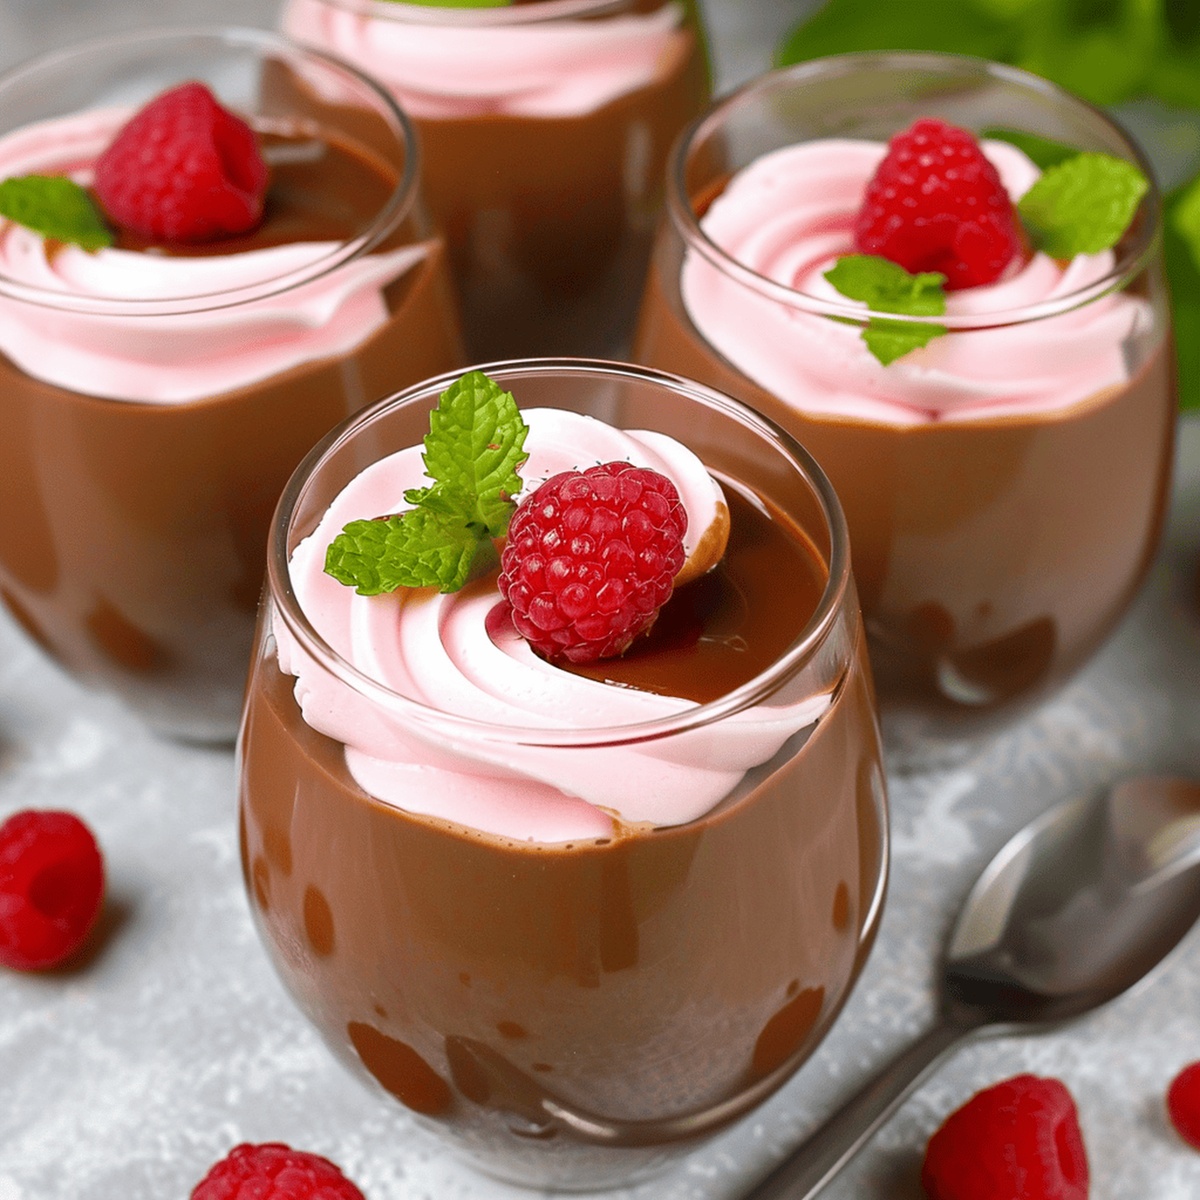
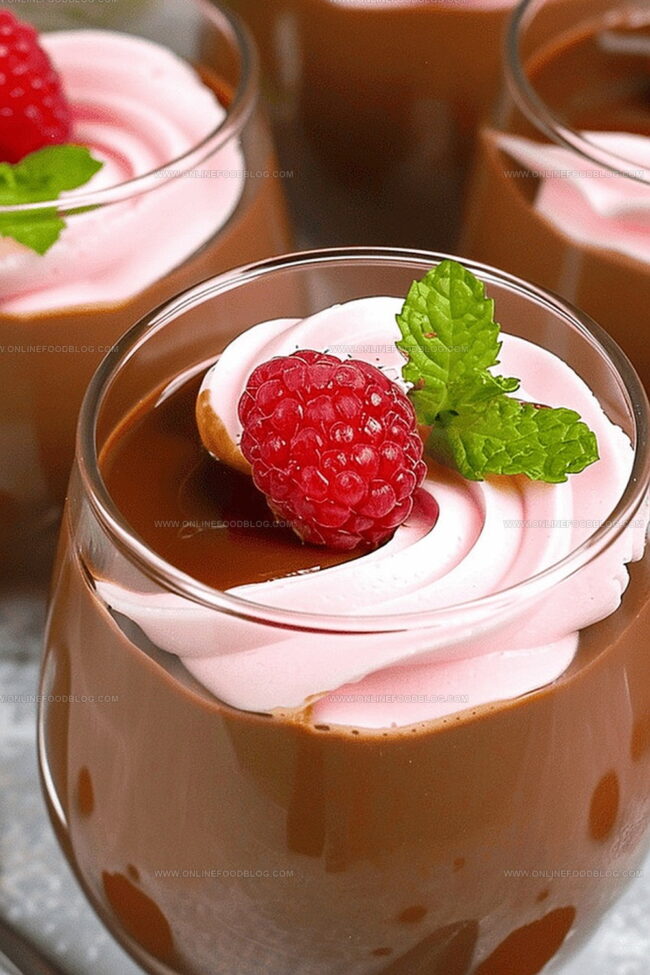
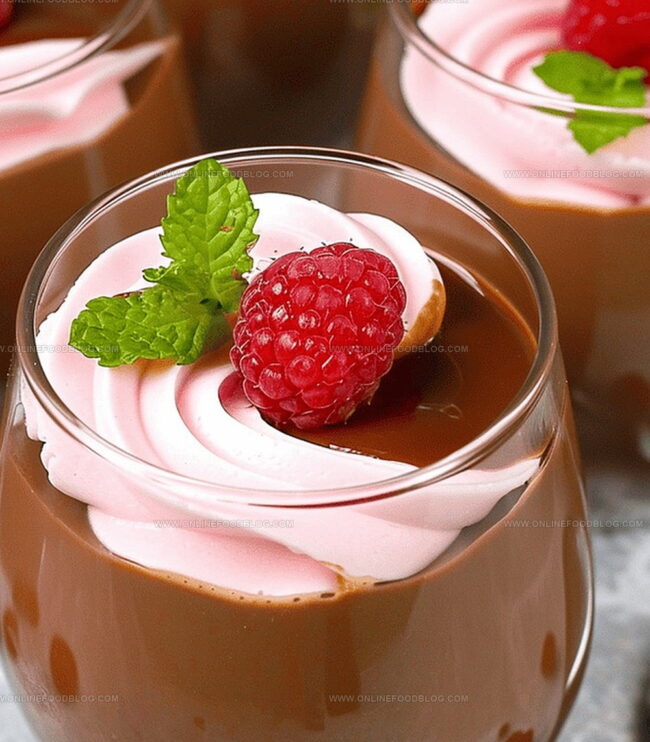
Step 9: Garnish and Serve
Optional garnishes:Serve chilled and enjoy the luxurious dessert!
Tricks for the Creamiest Chocolate Pudding
Best Practices to Store and Reheat Chocolate Pudding
What Complements Perfect Chocolate Pudding
Ways to Add a Twist to Chocolate Pudding
Print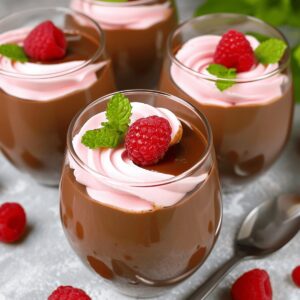
Perfect Chocolate Pudding Recipe
- Total Time: 40 minutes
- Yield: 8 1x
Description
Smooth chocolate pudding delivers pure comfort from classic American kitchens. Rich cocoa notes and silky texture invite delightful spoonfuls of pure dessert happiness for anyone craving sweet indulgence.
Ingredients
Main Ingredients:
- ½ cup unsweetened chocolate, chopped or chocolate chips
- ⅔ cup granulated sugar
- 2 packets unflavored gelatin
Liquid Components:
- ½ cup half and half milk
- 2 cups cold water
- 1 cup boiling water
- ½ cup cold water
Topping and Flavor:
- 3 ounces (85 grams) raspberry jello
- 1 ½ cups whipped cream or cool whip
Instructions
- Prepare a muffin tin as a stabilizing base and arrange 6 wine glasses diagonally within the tin’s compartments.
- Dissolve gelatin by combining it with of boiling water, stirring gently until completely integrated.
- Incorporate of cold water into the gelatin mixture, blending thoroughly.
- Allow the mixture to cool and partially set, reaching a thick but not completely firm consistency, approximately 1 hour at room temperature or 5-10 minutes in the refrigerator.
- Once the gelatin reaches a semi-solid state, fold in whipped cream until uniformly distributed.
- Carefully pour the raspberry gelatin mixture into each wine glass, maintaining their positioned arrangement.
- Gently transfer the muffin tin with glasses to the refrigerator and chill for a minimum of 2 hours to ensure complete setting.
- For the chocolate layer, sprinkle gelatin over half and half milk in a small-medium saucepan and let rest for 2 minutes.
- Whisk in cold water, then introduce chocolate and sugar to the mixture.
- Cook over medium-low heat for 8-12 minutes, stirring constantly until the mixture can smoothly coat the back of a spoon.
- Remove from heat and allow the chocolate mixture to cool completely to room temperature.
- Extract the raspberry-layered glasses from the refrigerator and place on a flat surface.
- Slowly pour the cooled chocolate mixture over the raspberry layer, ensuring complete coverage.
- Return glasses to the refrigerator and chill for an additional hour to set the chocolate layer firmly.
- Before serving, optionally garnish with fresh raspberries and mint leaves for an elegant presentation.
Notes
- Technique Matters: Carefully tilt wine glasses diagonally in a muffin tin for perfect layered presentation that prevents mixture from sliding.
- Gelatin Precision: Allow gelatin to half-set before adding whipped cream, ensuring a smooth and stable texture without lumps.
- Temperature Control: Use fridge or room temperature to manage gelatin setting time, which directly impacts dessert consistency.
- Chocolate Coating Test: Cook chocolate mixture until it can smoothly coat the back of a spoon, indicating perfect thickness and rich flavor development.
- Layering Strategy: Pour chocolate layer gently over partially set raspberry layer to create clean, distinct color separation.
- Chill Factor: Allow sufficient chilling time between layers and after final pour to guarantee firm, elegant dessert structure.
- Prep Time: 15 minutes
- Cook Time: 25 minutes
- Category: Desserts, Snacks
- Method: Simmering
- Cuisine: American
Nutrition
- Serving Size: 8
- Calories: 185 kcal
- Sugar: 22 g
- Sodium: 45 mg
- Fat: 8 g
- Saturated Fat: 5 g
- Unsaturated Fat: 2 g
- Trans Fat: 0 g
- Carbohydrates: 26 g
- Fiber: 1 g
- Protein: 3 g
- Cholesterol: 15 mg
Lucas Bennett
Founder & Recipe Creator
Expertise
Simple Everyday Recipes, Sustainable Cooking Practices, Creative Meal Planning, Recipe Testing and Improvement
Education
Fox Valley Technical College, Appleton, Wisconsin
Lake Superior College, Duluth, Minnesota
Lucas Bennett’s cooking journey started in his parents’ kitchen, where he learned to prepare tasty, no-fuss meals from scratch. His culinary passion led him to Fox Valley Technical College, where he gained practical cooking skills.
He then expanded his focus on sustainability at Lake Superior College. Today, Lucas shares easy, approachable recipes designed to make cooking enjoyable and stress-free for everyone.