Zesty Orange Delight Curd: A Foolproof Sweet & Tangy Recipe
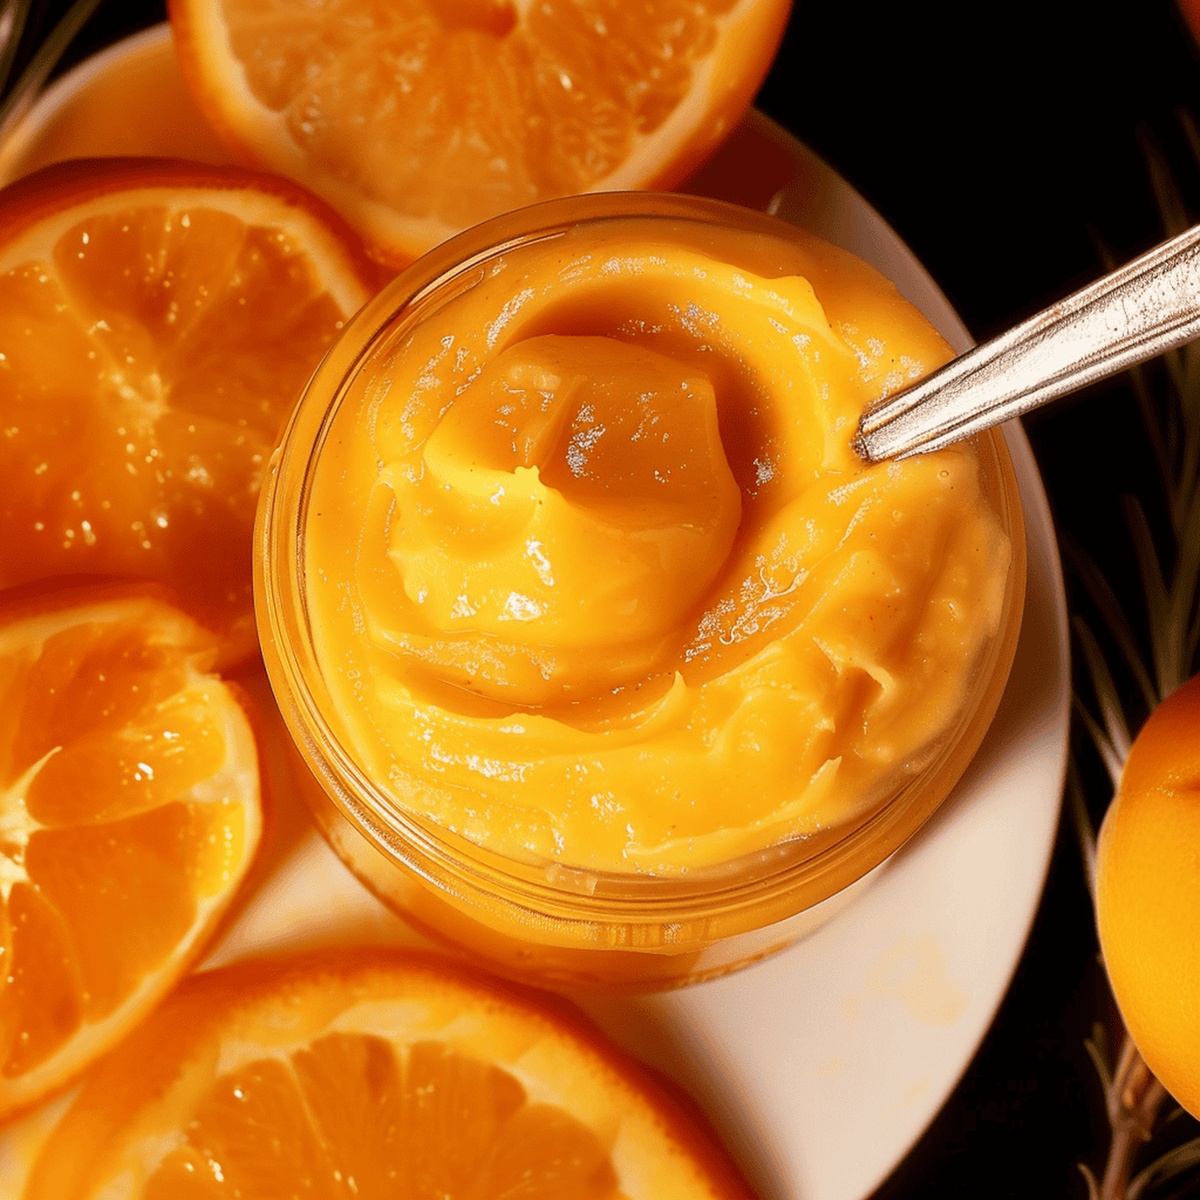
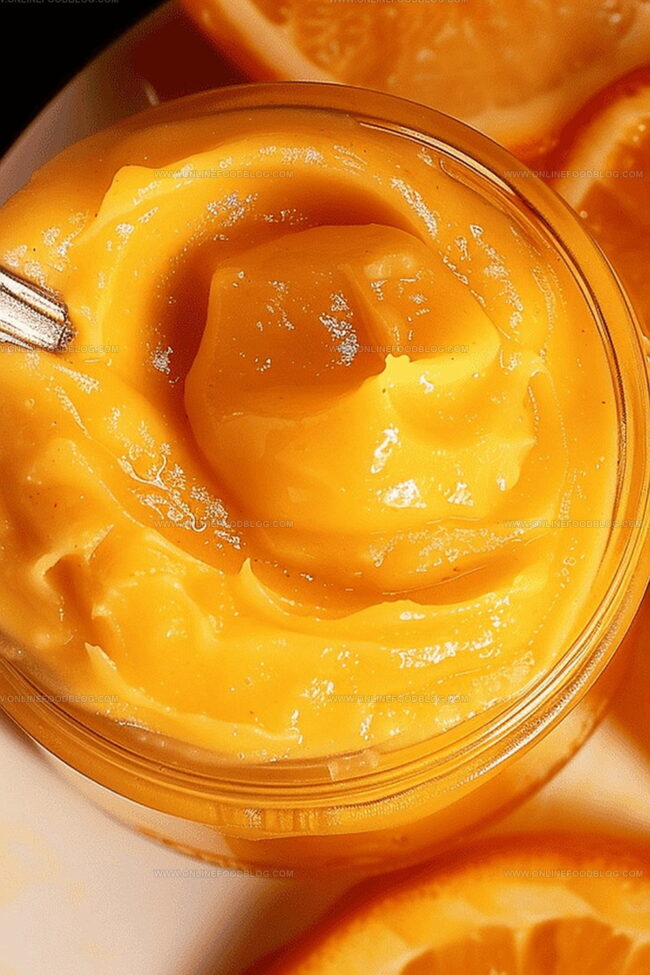
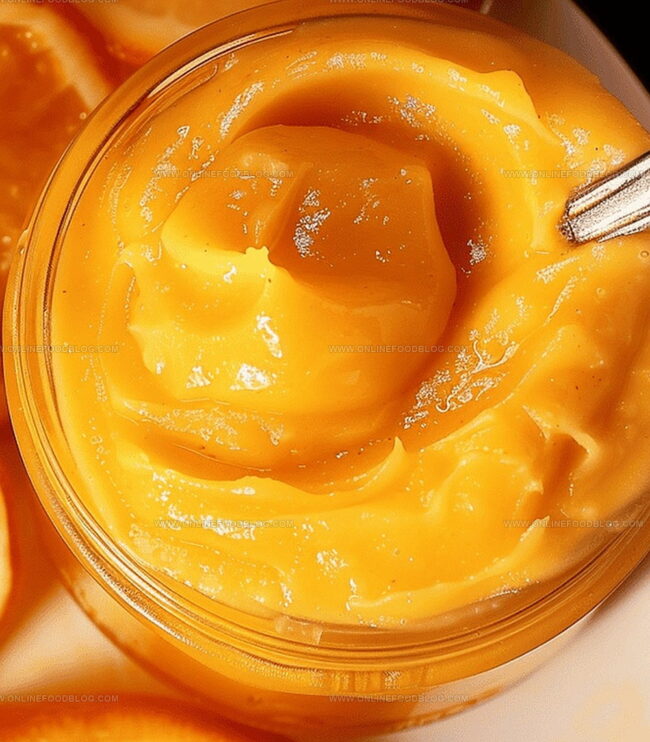
Sweet orange curd crafts ordinary desserts into extraordinary culinary experiences with its vibrant, silky-smooth texture.
This delectable spread captures the essence of sunshine in every spoonful, blending bright citrus notes with rich, creamy undertones.
Crafting homemade orange curd requires minimal ingredients but promises maximum flavor impact.
Professional and home bakers alike appreciate the versatility of this luxurious condiment that elevates everything from toast to elaborate pastries.
Its velvety consistency comes from carefully balanced egg yolks, butter, and fresh citrus juice, creating a harmonious blend of tangy and sweet.
The recipe represents a perfect balance between simplicity and gourmet sophistication, appealing to both novice and experienced cooks.
Prepare to embark on a delightful culinary journey that will tantalize your taste buds.
Orange Curd That Brightens Up Any Bite
What You Need for Zesty Curd
Citrus Base:Binding and Thickening Agents:Finishing and Enriching Components:How to Make Orange Curd at Home
Step 1: Zest The Oranges
Use a fine grater to carefully remove the orange zest, capturing only the bright outer layer of the orange peel.
Step 2: Create Orange Sugar Blend
In a mini food processor, combine:Pulse until the zest is finely chopped and thoroughly mixed with the sugar.
Step 3: Extract Orange Juice
Squeeze oranges to obtain of fresh orange juice.
Step 4: Prepare Curd Base
In a small pot, whisk together:Blend ingredients until completely smooth and well incorporated.
Step 5: Cook The Curd
Place the pot over medium heat, whisking constantly. Cook until the mixture:Step 6: Incorporate Butter
Remove from heat and transfer mixture to a bowl. Add chilled butter pieces, whisking continuously until butter melts completely and blends smoothly.
Step 7: Strain And Refine (Optional)
Strain the curd through a metal strainer to remove any zest pieces for a smoother texture.
Step 8: Add Color (Optional)
If desired, add a few drops of orange food coloring to enhance the vibrant appearance.
Step 9: Chill And Serve
Transfer the curd to a container and refrigerate for at least 1 hour before serving. The curd will continue to set and develop flavor during chilling.
Tips for Smooth, Tangy Results
Store Orange Curd for Later Delights
Pair It with Cakes, Tarts, or Toast
Ways to Change Up the Citrus Game
Print
Orange Delight Curd Recipe
- Total Time: 20 minutes
- Yield: 4 1x
Description
Silky Orange Delight Curd brings Mediterranean sunshine to your kitchen with its zesty, creamy essence. Smooth citrus notes and rich butter create a luxurious spread you’ll savor on scones, toast, or straight from the spoon.
Ingredients
Main Ingredients:
- 1–2 Oranges (any variety)
- 3 Large Egg Yolks
- 1 Large Egg
- 6 tablespoons (85 grams) Salted Butter (chilled and cut into pieces)
Sweeteners:
- ¾ cup (150 grams) Granulated Sugar
Additional Ingredients:
- ¾ teaspoon Citric Acid
- Orange food coloring (optional)
Instructions
- Carefully extract fragrant orange zest using a microplane grater, ensuring only the bright outer layer is collected.
- Pulse the zest with granulated sugar in a food processor until the mixture becomes a fine, aromatic blend.
- Extract fresh orange juice, measuring precisely to capture the fruit’s natural sweetness.
- In a sturdy saucepan, whisk together egg yolks, whole egg, orange-sugar mixture, freshly squeezed orange juice, and citric acid until smooth and uniform.
- Cook the mixture over medium heat, stirring continuously with a silicone whisk to prevent scorching, until the consistency transforms and thickens sufficiently to coat the back of a wooden spoon.
- Monitor the temperature carefully, aiming for 165°F (74°C) using a digital cooking thermometer to ensure perfect texture and food safety.
- Immediately remove from heat and transfer the hot mixture to a clean glass bowl.
- Incorporate chilled butter pieces gradually, whisking vigorously until completely melted and creating a silky, glossy texture.
- Optional: Strain the curd through a fine-mesh metal strainer to eliminate any zest fragments and achieve ultimate smoothness.
- For enhanced visual appeal, add a few drops of orange food coloring to create a vibrant, sunny hue.
- Carefully transfer the curd to a sealed glass container and refrigerate for a minimum of 1 hour to allow flavors to meld and texture to set.
Notes
- Zesting Technique: Use a fine grater to carefully remove only the bright orange outer layer of the peel, avoiding the bitter white pith underneath.
- Sugar Infusion: Blitzing zest with sugar releases intense citrus oils, creating a deeply aromatic base for the curd.
- Temperature Control: Maintain consistent medium heat and constant whisking to prevent egg scrambling and ensure smooth, silky texture.
- Doneness Check: Look for a thick, custard-like consistency that coats the back of a spoon and holds a clear path when a finger is drawn across.
- Butter Incorporation: Add cold butter in small pieces and whisk thoroughly to create a rich, glossy finish that enhances the curd’s luxurious mouthfeel.
- Storage Tip: Refrigerate for at least an hour to allow the curd to set and develop a more intense flavor profile.
- Prep Time: 10 minutes
- Cook Time: 10 minutes
- Category: Desserts, Snacks
- Method: Simmering
- Cuisine: Indian
Nutrition
- Serving Size: 4
- Calories: 320 kcal
- Sugar: 32 g
- Sodium: 180 mg
- Fat: 22 g
- Saturated Fat: 13 g
- Unsaturated Fat: 8 g
- Trans Fat: 0.5 g
- Carbohydrates: 28 g
- Fiber: 0.5 g
- Protein: 4 g
- Cholesterol: 185 mg
Lucas Bennett
Founder & Recipe Creator
Expertise
Simple Everyday Recipes, Sustainable Cooking Practices, Creative Meal Planning, Recipe Testing and Improvement
Education
Fox Valley Technical College, Appleton, Wisconsin
Lake Superior College, Duluth, Minnesota
Lucas Bennett’s cooking journey started in his parents’ kitchen, where he learned to prepare tasty, no-fuss meals from scratch. His culinary passion led him to Fox Valley Technical College, where he gained practical cooking skills.
He then expanded his focus on sustainability at Lake Superior College. Today, Lucas shares easy, approachable recipes designed to make cooking enjoyable and stress-free for everyone.