The Dreamiest No Bake Peanut Butter Pie Recipe Ever Created
Creamy, dreamy no bake peanut butter pie stands as a heavenly dessert that melts hearts faster than butter on a warm plate.
Sweet lovers understand the magnetic pull of this decadent treat that requires zero oven time.
Rich peanut butter revolutionizes simple ingredients into a luxurious experience that feels both indulgent and comforting.
Silky smooth textures promise a delightful escape from complicated baking processes, making this dessert accessible to novice and experienced cooks alike.
Cold and refreshing, this pie represents a perfect balance between simplicity and sophisticated flavor profiles.
The magic happens through strategic layering and strategic chilling, creating a dessert that looks impressive without demanding complicated techniques.
Each slice delivers a perfect combination of creamy filling and buttery crust that satisfies intense sweet cravings.
What Makes No Bake Peanut Butter Pie So Easy
What You Need for No Bake Peanut Butter Pie
Base Ingredients:Binding Ingredients:Crust Ingredients:Optional Toppings:Instructions for Assembling Peanut Butter Pie
Step 1: Whip Cream Cheese and Sugar
Grab a mixing bowl and combine powdered sugar with cream cheese. Blend these ingredients for 3-5 minutes until you get a smooth, creamy texture that looks absolutely irresistible.
Step 2: Add Peanut Butter Magic
Fold in the creamy peanut butter and continue mixing. Keep stirring until the mixture transforms into a texture similar to soft peanut butter cookie dough – pure deliciousness!
Step 3: Fold in Cool Whip
Gently incorporate the cool whip in two stages:Step 4: Fill the Crust
Carefully scoop your heavenly mixture into the graham cracker crust. Spread evenly to create a gorgeous, tempting surface.
Step 5: Chill and Serve
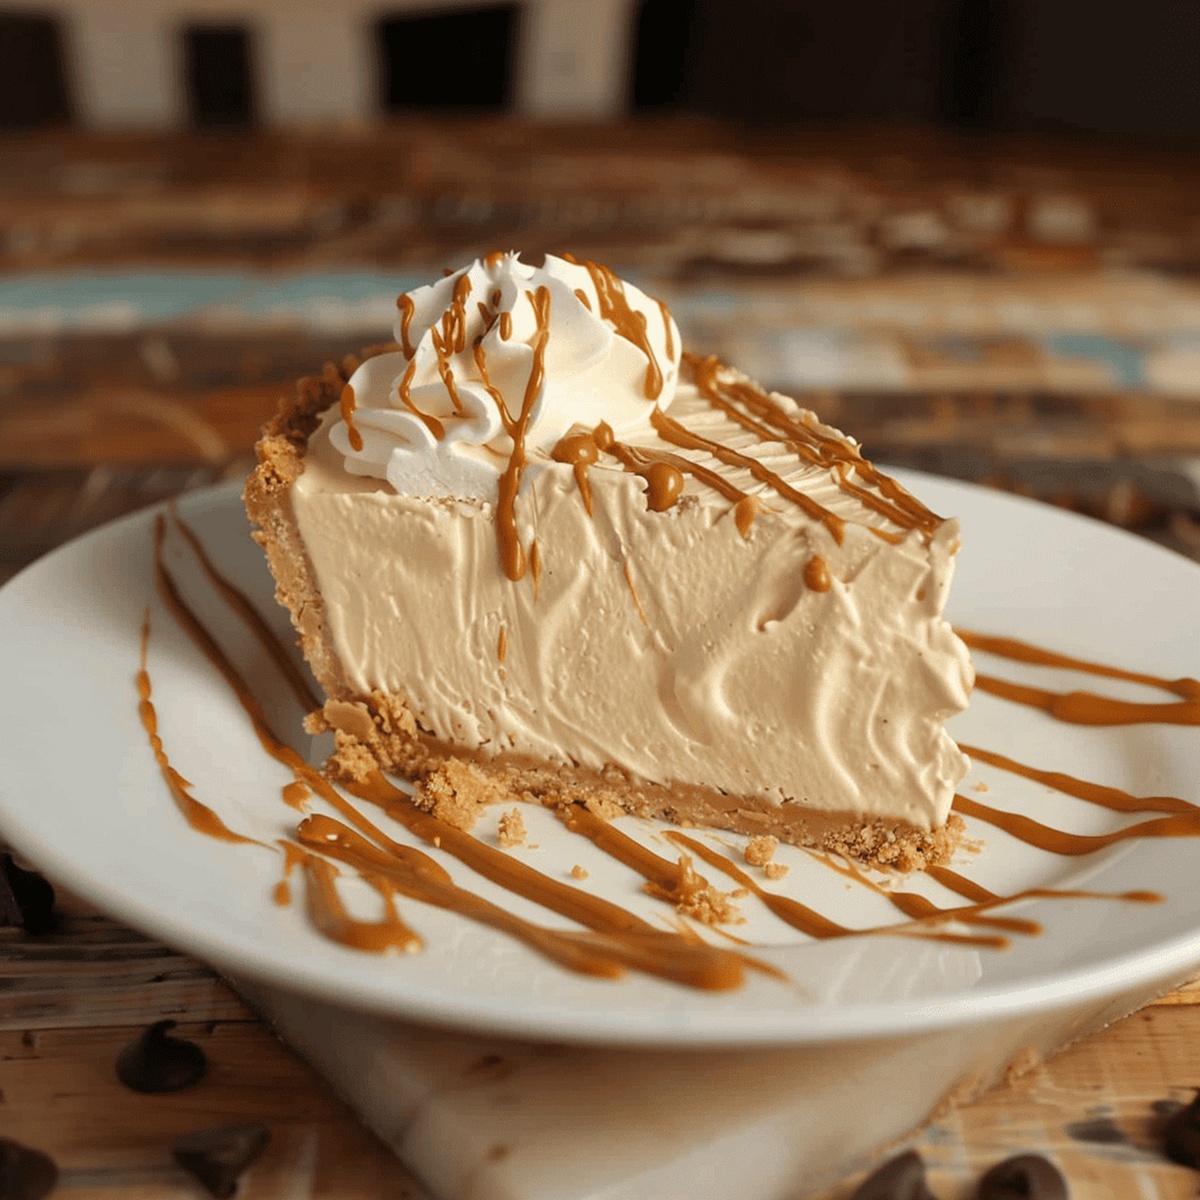
Refrigerate the pie for 1 hour to help it set and make slicing easier. For extra indulgence, drizzle melted peanut butter on top and sprinkle chocolate chips just before serving.
Enjoy your dreamy, no-bake peanut butter pie!
Tips for Perfect No Bake Peanut Butter Pie
How to Keep Peanut Butter Pie Fresh
Serving Suggestions for Peanut Butter Pie
Variations for No Bake Peanut Butter Pie
Print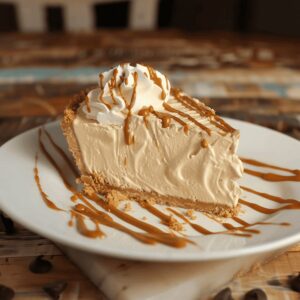
No Bake Peanut Butter Pie Recipe
- Total Time: 10 minutes
- Yield: 8 1x
Description
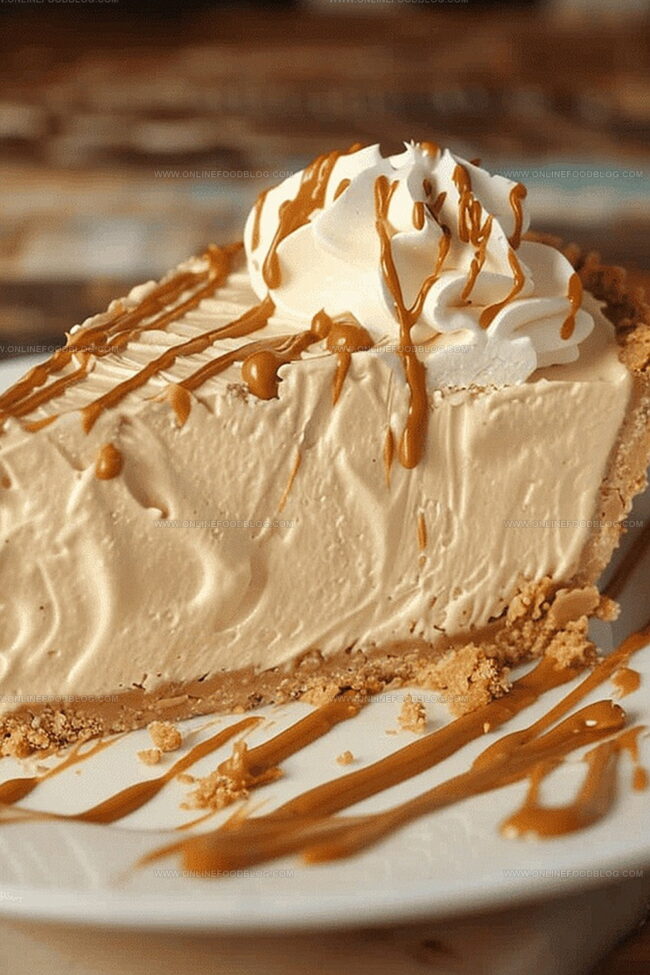
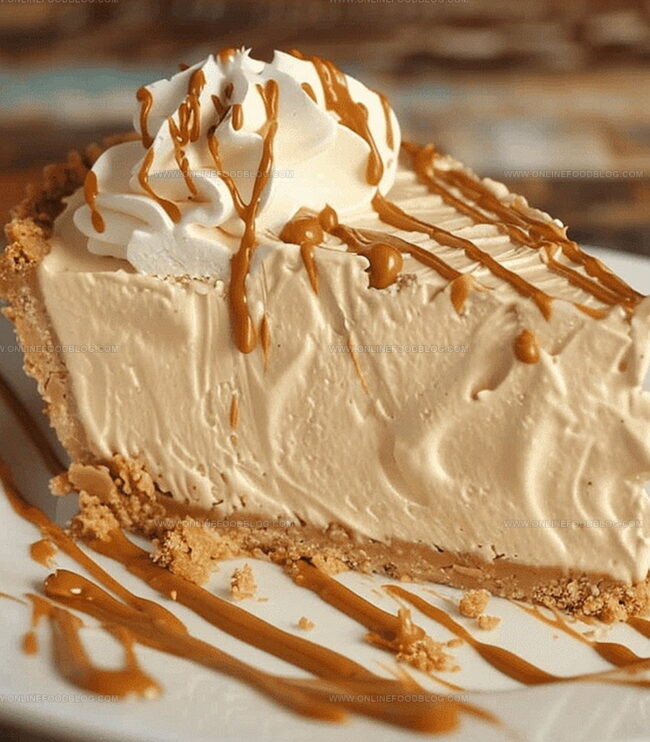
Creamy No Bake Peanut Butter Pie combines silky smooth filling with a crunchy graham cracker crust, delivering rich peanut butter flavor in a chilled dessert. Chocolate drizzle and whipped cream elevate this cool summer treat that beckons you to indulge in its irresistible sweetness.
Ingredients
Main Ingredients:
- 1 cup creamy peanut butter
- 8 ounces (226 grams) cream cheese
- 1 cup (240 milliliters) cool whip
Additional Ingredients:
- 1 cup (120 grams) powdered sugar
Crust:
- 1 graham cracker crust
Instructions
- In a spacious mixing bowl, blend powdered sugar and softened cream cheese using an electric mixer until achieving a smooth, uniform consistency (approximately 3-5 minutes).
- Introduce creamy peanut butter into the mixture, continuing to blend until the texture resembles a dense, rich peanut butter cookie dough.
- Gradually fold in whipped topping (cool whip) in two equal portions, ensuring thorough integration and maintaining a light, airy texture.
- Transfer the decadent filling into a prepared graham cracker crust, spreading evenly with a spatula to create a level surface.
- For optimal serving, refrigerate the pie for 60 minutes (1 hour) to allow the filling to set and enhance slicing precision.
- Optional: Before serving, enhance presentation by drizzling melted peanut butter across the pie’s surface and garnishing with a sprinkle of chocolate chips for added visual appeal and flavor complexity.
- Slice the chilled pie into 8 equal wedges (approximately 3.5 inches/9 centimeters wide) using a sharp knife for clean, precise cuts.
Notes
- Whip cream cheese and powdered sugar thoroughly to ensure a smooth, lump-free base for your pie filling.
- Mixing peanut butter until it resembles cookie dough texture guarantees rich, concentrated flavor in every bite.
- Fold cool whip gently to maintain its airy consistency and prevent deflating the mixture.
- Refrigerating for an hour helps the pie set, making clean and precise slices easier to achieve.
- Drizzle melted peanut butter or sprinkle chocolate chips just before serving for a professional and delectable presentation.
- Graham cracker crust provides a perfect sweet and crunchy foundation that complements the creamy filling beautifully.
- Prep Time: 10 minutes
- Cook Time: 0 minutes
- Category: Desserts, Snacks
- Method: Blending
- Cuisine: American
Nutrition
- Serving Size: 8
- Calories: 456 kcal
- Sugar: 28 g
- Sodium: 320 mg
- Fat: 34 g
- Saturated Fat: 14 g
- Unsaturated Fat: 16 g
- Trans Fat: 0.5 g
- Carbohydrates: 32 g
- Fiber: 2 g
- Protein: 10 g
- Cholesterol: 45 mg
Lucas Bennett
Founder & Recipe Creator
Expertise
Simple Everyday Recipes, Sustainable Cooking Practices, Creative Meal Planning, Recipe Testing and Improvement
Education
Fox Valley Technical College, Appleton, Wisconsin
Lake Superior College, Duluth, Minnesota
Lucas Bennett’s cooking journey started in his parents’ kitchen, where he learned to prepare tasty, no-fuss meals from scratch. His culinary passion led him to Fox Valley Technical College, where he gained practical cooking skills.
He then expanded his focus on sustainability at Lake Superior College. Today, Lucas shares easy, approachable recipes designed to make cooking enjoyable and stress-free for everyone.