Grill: High-heat outdoor or indoor grill for perfect burger searing.
Mixing bowl: Medium-sized bowl for combining ground beef and seasonings.
Spatula: Sturdy, flat utensil for flipping and handling burgers.
Measuring spoons: For accurately portioning seasonings.
Cutting board: Clean surface for meat preparation.
Tongs: Metal grilling tongs for safely turning burgers.
Making a Juicy Lucy – Instructions to Follow
Cheesy Burger Adventure
Meat Preparation Gather your ground beef and key spices for a flavor explosion that will make taste buds dance.
Patty Creation Carefully split the meat into generous portions, transforming each chunk into a canvas for delicious possibilities.
Cheese Surprise Nestle a folded cheese slice right in the heart of your meat patty, creating a hidden treasure waiting to melt.
Sealing the Magic Gently press and pinch the meat edges, ensuring the cheese remains completely hidden inside the burger.
Grill Mastery Cook your burger on a sizzling hot surface, flipping once to achieve a perfect golden-brown exterior while keeping the inner cheese molten and dreamy.
Flavor Finale Top your burger with favorite condiments and fresh ingredients that complement the rich, gooey center waiting to surprise everyone who takes a bite.
Tips & Filling Variations for a Juicy Lucy
Master the art of evenly distributing cheese without puncturing the patty’s delicate seal.
Handle ground beef gently to prevent tough burgers, using light touches when combining ingredients and forming patties.
Let burgers rest for 3-5 minutes after cooking to allow juices to redistribute, ensuring maximum flavor and moisture retention.
Experiment with different cheese types like sharp cheddar, pepper jack, or blue cheese to create unique flavor profiles that elevate your Juicy Lucy experience.
Use a meat thermometer to check internal temperature, aiming for 160°F for food safety while maintaining the burger’s juicy texture.
How to Serve a Juicy Lucy Right Off the Grill
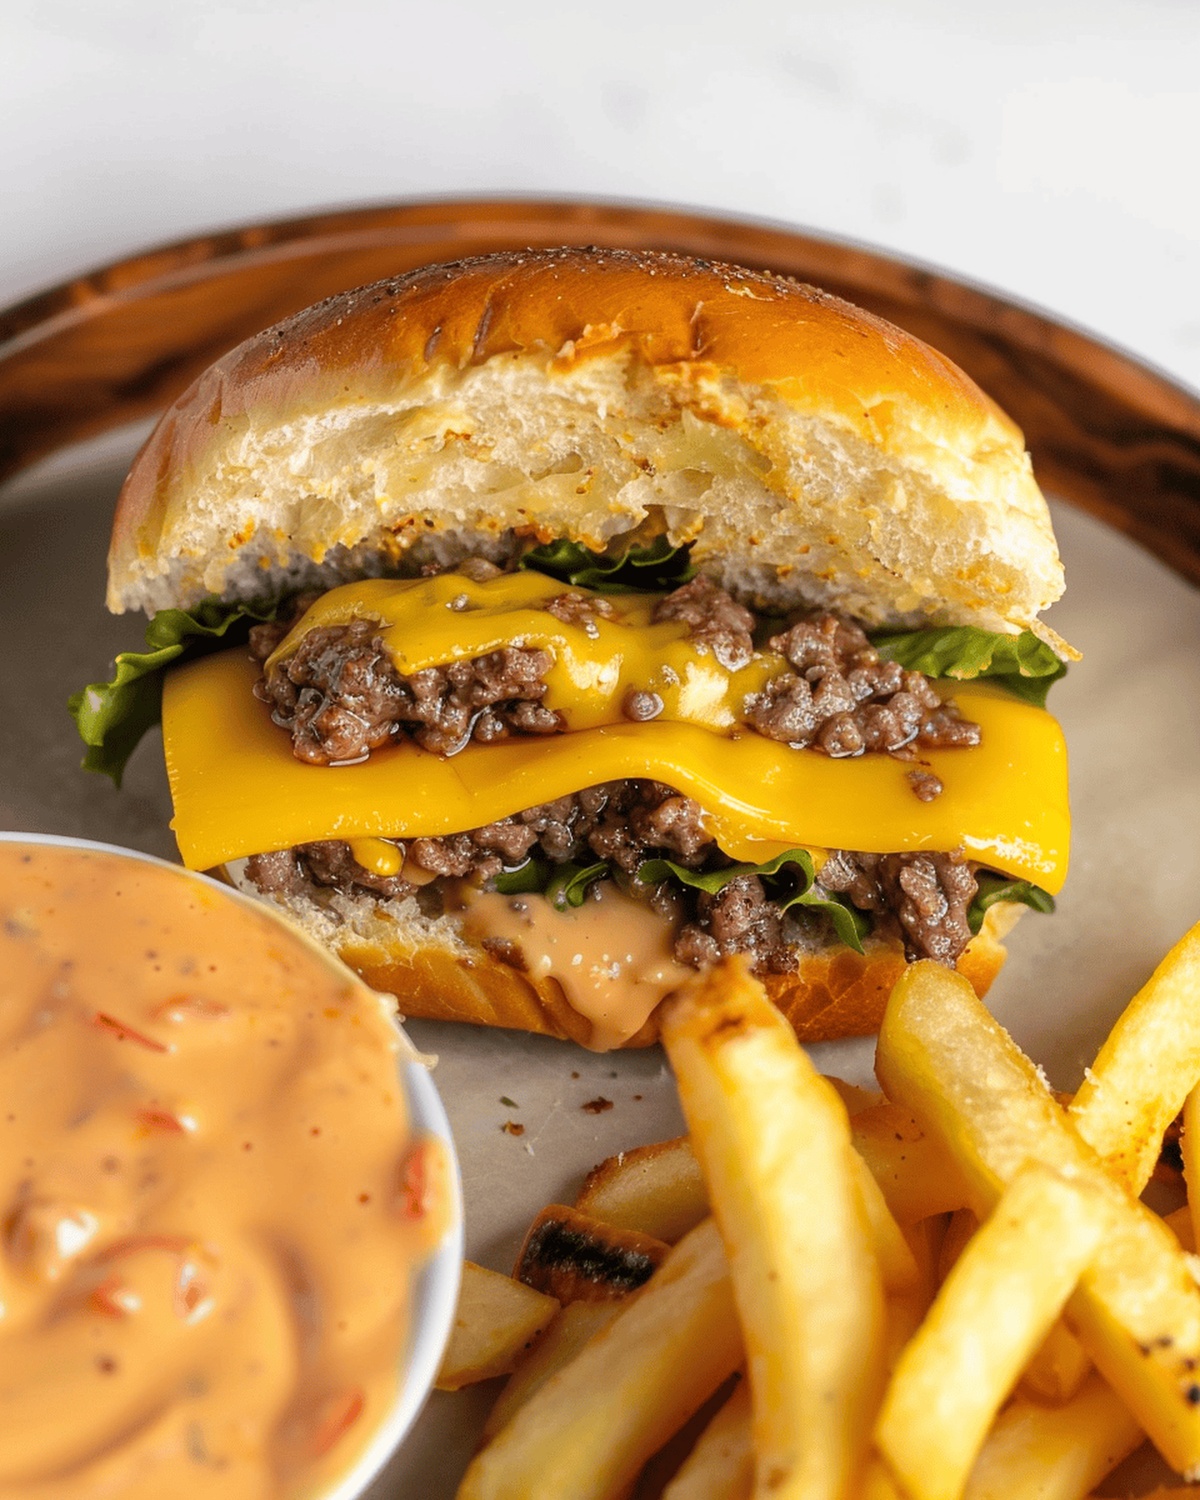
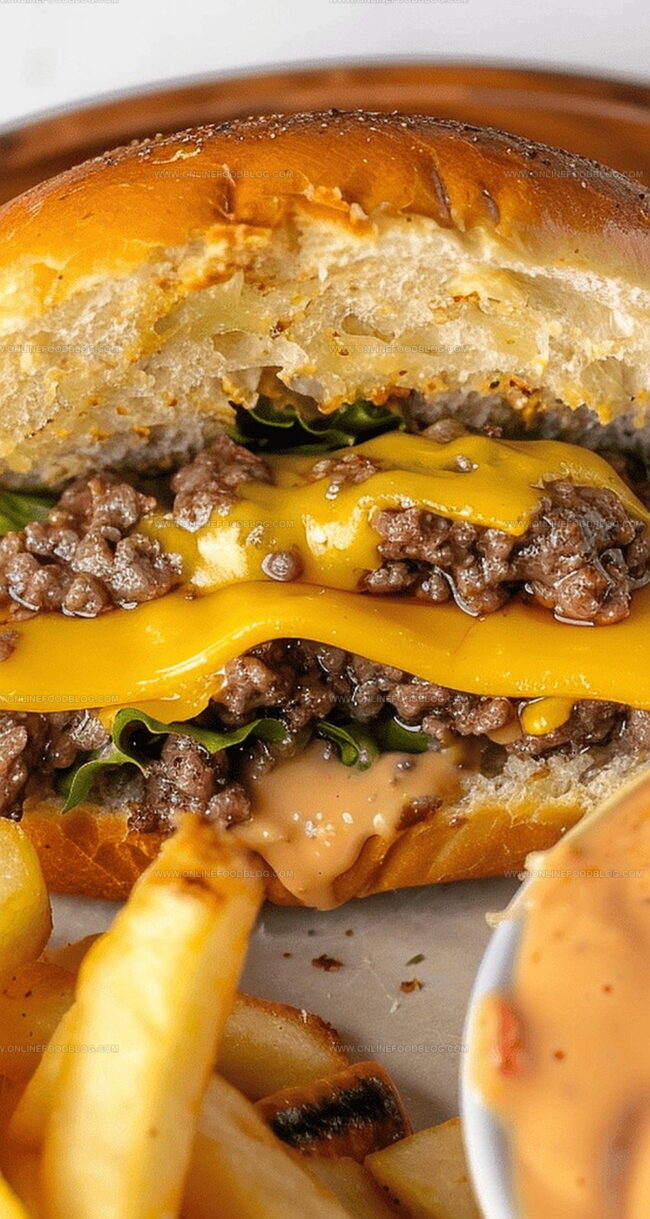
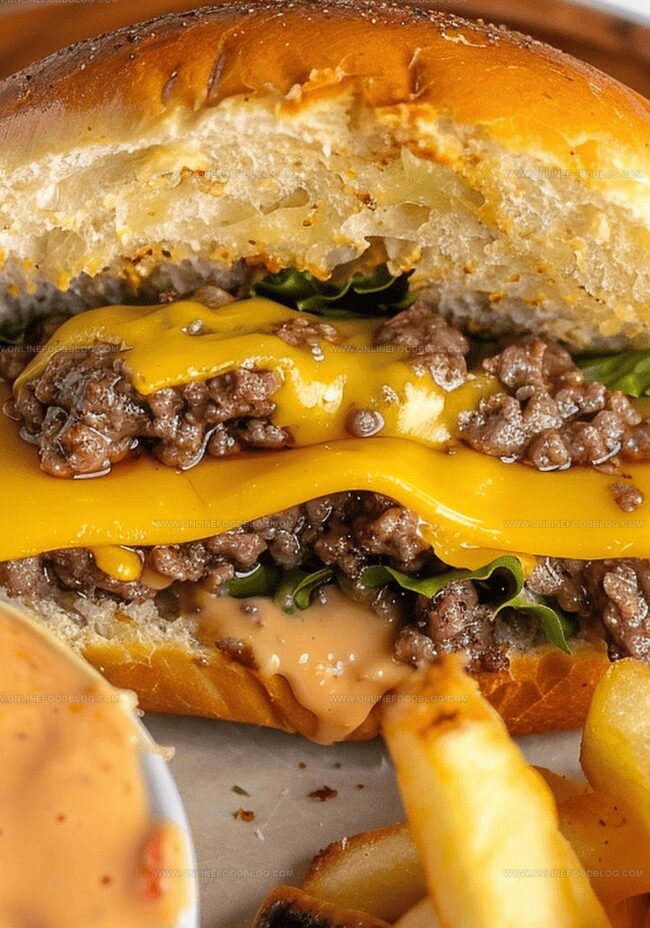
Cheese Burst Plating: Slice the Juicy Lucy in half to showcase the molten cheese center, creating a dramatic visual presentation that makes mouths water instantly.
Sidekick Sensations: Pair with crispy waffle fries, tangy coleslaw, or a zesty pickle spear to complement the rich, cheesy burger and add textural contrast.
Topping Playground: Load up with caramelized onions, crisp bacon bits, fresh lettuce, and a dollop of special sauce to elevate the classic burger experience and add layers of flavor.
Brew Buddies: Match with a cold craft beer or creamy milkshake to balance the burger’s intense cheesy goodness and create a complete meal that satisfies every craving.
Storing Extra Juicy Lucy Patties Safely
Burger Bliss Storage: Keep Flavors Fresh
• Refrigerator Magic: Store uncooked burger patties between sheets of parchment paper in an airtight container for up to 24 hours. Separate layers prevent sticking and maintain patty integrity.
• Freezer Friendly: Wrap individual stuffed patties tightly in plastic wrap, then place in freezer bags. Frozen burgers stay delicious for 2-3 months. Pro tip: Label with date for easy tracking.
• Leftover Love: Refrigerate cooked Juicy Lucy burgers in sealed containers for 3-4 days. Reheat gently in a skillet to maintain moisture and prevent cheese from separating.
• Meal Prep Genius: Prepare patty mixture and shape burgers in advance. Keep chilled and cook within 24 hours for maximum flavor and food safety. Quick weeknight dinner solution that saves precious time.
Crafting this Minneapolis-inspired classic juicy lucy burger promises a molten cheese center that oozes with each bite. Midwestern comfort meets culinary excitement when you embrace this irresistible cheeseburger challenge.
Ingredients
Scale
1 lb (454 g) ground beef
3 slices cheddar cheese
1 tbsp (15 ml) Worcestershire sauce
1 tsp (5 g) salt
½ tsp (2.5 g) garlic powder
½ tsp (2.5 g) onion powder
½ tsp (2.5 g) black pepper
Instructions
Meat Preparation: Thoroughly mix ground beef with Worcestershire sauce, garlic powder, onion powder, salt, and black pepper, gently combining seasoning elements for maximum flavor infusion.
Cheese Core Crafting: Fold cheese slices into compact quadrants, creating dense central filling that will become the molten heart of each burger patty.
Patty Formation: Divide seasoned meat into three portions, splitting each portion into two thin rounds, then strategically place cheese stack in the center of one patty half.
Sealing Technique: Carefully overlay the second meat round atop the cheese, meticulously crimping edges with fingertips to create a complete seal, preventing cheese leakage during cooking.
Grill Mastery: Preheat outdoor grill to medium-high temperature zone, positioning burger parcels on heated grates and cooking approximately 7 minutes per side until meat reaches optimal internal temperature.
Serving Presentation: Transfer juicy burgers to serving plate, complementing with fresh lettuce, ripe tomatoes, and preferred condiments to enhance the culinary experience.
Notes
Cheese Selection Matters: Choose high-melting cheeses like American or cheddar for the most dramatic molten core effect.
Seal Edges Carefully: Pinch burger edges thoroughly to prevent cheese leakage during grilling, which can cause flare-ups and lost cheesy goodness.
Temperature Control: Use a meat thermometer to ensure burgers reach 160°F internally for safe consumption without sacrificing juiciness.
Resting is Crucial: Let burgers rest 3-5 minutes after grilling to redistribute internal juices and prevent explosive cheese eruptions when first bitten.
Degree: Certificate in Food and Beverage Management
Focus: Essential knowledge of recipe development, ingredient sourcing, and food business basics.
Mia Reynolds fell in love with baking as a teenager experimenting in her family kitchen. Her passion took her to New England Culinary Institute, where she learned practical pastry techniques, and later to Community College of Vermont to deepen her understanding of food management.
Mia combines clear, simple baking instructions with heartwarming stories, making home baking approachable for everyone.

Mia Reynolds
Food Writer & Home Cooking Specialist
Expertise
Easy Home Baking, Recipe Writing and Storytelling, Local and Seasonal Ingredients, Baking for Beginners
Education
New England Culinary Institute (NECI), Montpelier, Vermont
Community College of Vermont, Winooski, Vermont
Mia Reynolds fell in love with baking as a teenager experimenting in her family kitchen. Her passion took her to New England Culinary Institute, where she learned practical pastry techniques, and later to Community College of Vermont to deepen her understanding of food management.
Mia combines clear, simple baking instructions with heartwarming stories, making home baking approachable for everyone.