Gooey Chocolate Lava Cakes Recipe: Melt Your Heart
Molten chocolate lava cakes dance with rich, gooey decadence that melts right through every chocolate lover’s heart.
These luxurious little desserts pack an incredible punch of intense chocolate flavor.
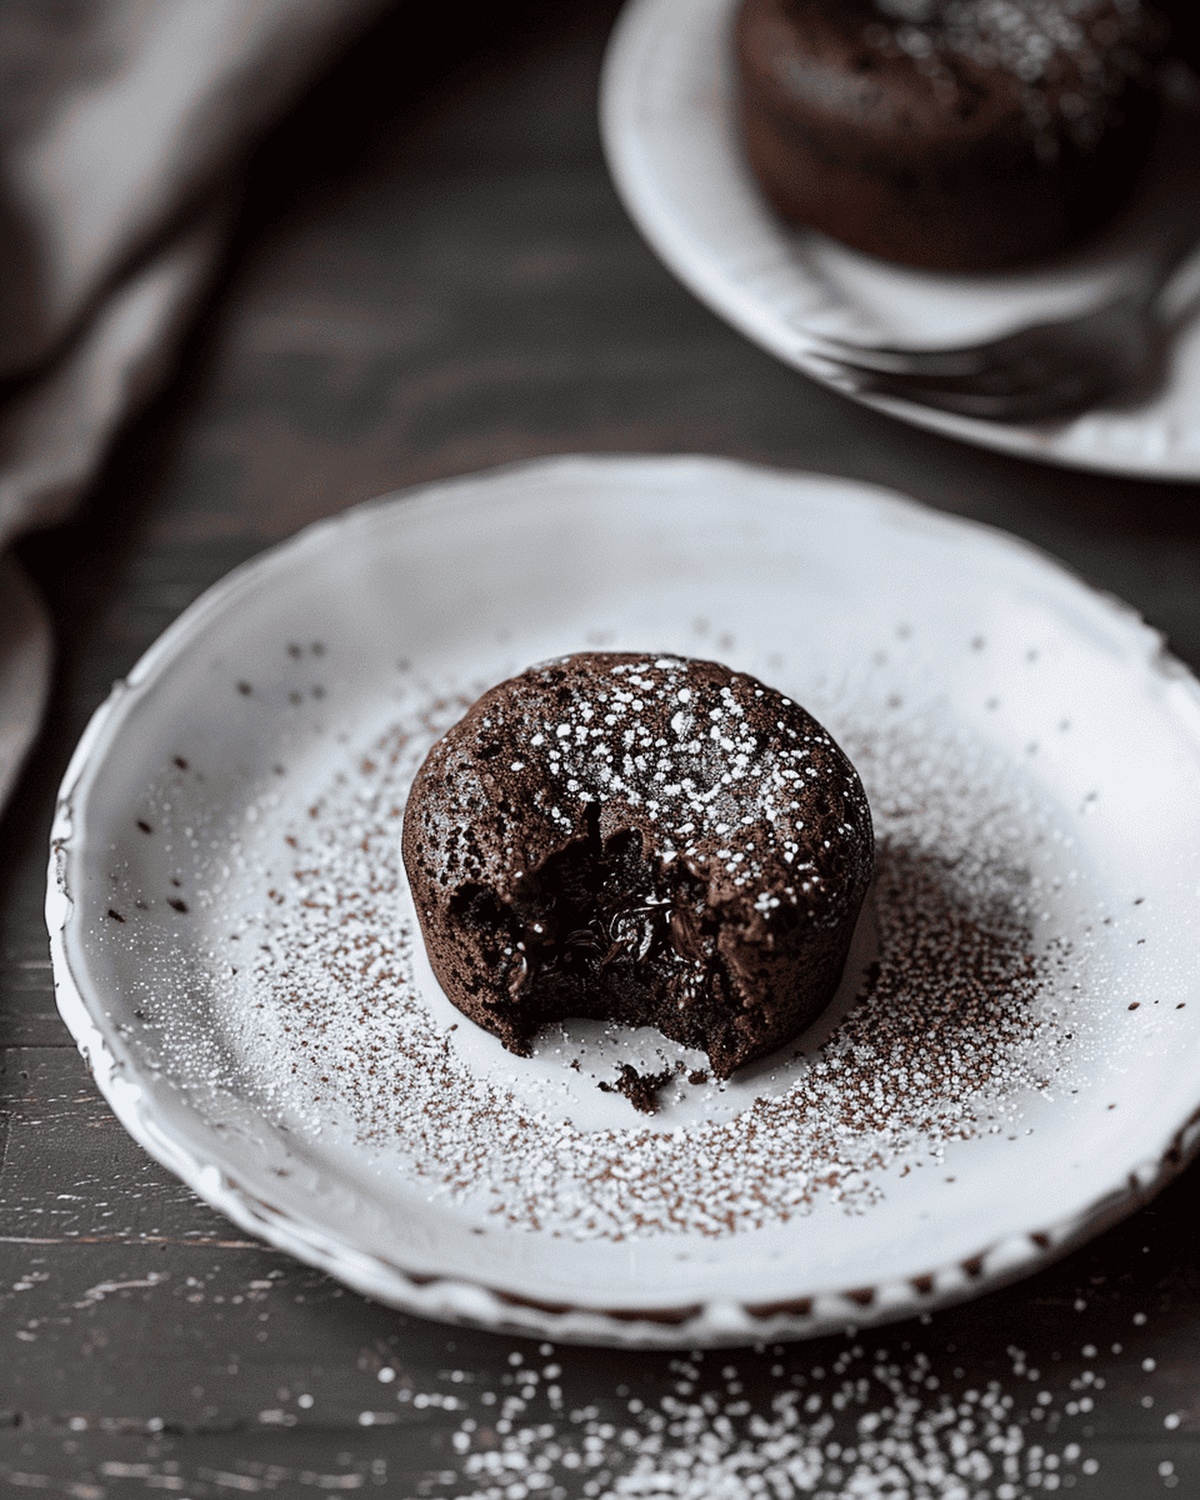
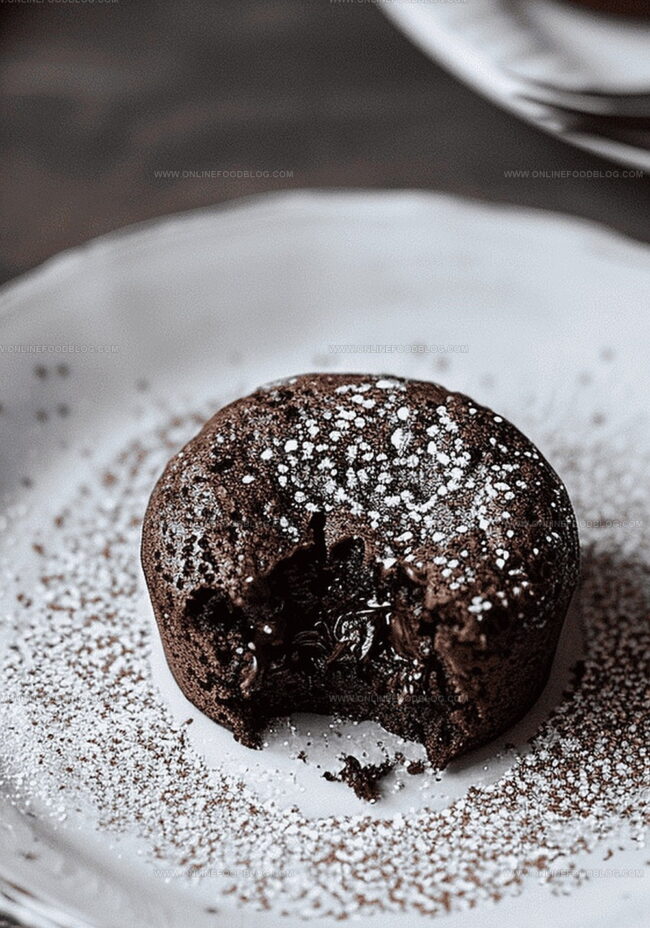
Served warm from the oven, each cake reveals a dramatic cascade of silky chocolate center when gently pierced.
Professional pastry chefs and home bakers alike adore this surprisingly simple yet stunning treat.
Elegant enough for a dinner party and easy enough for a spontaneous sweet craving, these lava cakes guarantee dessert perfection.
The secret lies in precise baking time and high-quality chocolate that creates that signature flowing center.
You’ll fall in love with how quickly and effortlessly these decadent delights come together in your kitchen.
Dive into this chocolate experience and prepare to be dazzled by pure dessert magic.
Quick Recipe Overview

Everything You Need for Decadent Lava Cakes
For Chocolate Base:For Binding and Structure:For Optional Finishing:Baking Tools to Master Decadent Lava Cakes
How to Make Decadent Lava Cakes with Gooey Centers
Gently transform chocolate chunks and butter into a silky smooth mixture using a double boiler or microwave technique. The key is slow, careful warming to prevent burning.
Whisk sugar and eggs together until the mixture becomes light and creamy, creating a beautiful pale canvas for your decadent dessert.
Slowly incorporate the melted chocolate into the egg mixture, stirring continuously to create a luxurious blend. Gently fold in flour and a subtle touch of salt, ensuring a perfect consistency.
Transfer the velvety batter into buttered ramekins and let them chill in the refrigerator. This cooling phase allows the flavors to meld and the texture to develop.
Heat the oven to a precise temperature. Bake the cakes until the edges become set while maintaining a molten, gooey center. Timing is crucial for that perfect lava cake experience.
Serve the cakes immediately after baking, while they’re warm and the chocolate center flows like liquid gold. Each bite promises a moment of pure culinary bliss.
Flavor Ideas and Add-Ons for Decadent Lava Cakes
Serving Tips for Warm Decadent Lava Cakes
How to Store and Reheat Decadent Lava Cakes
Print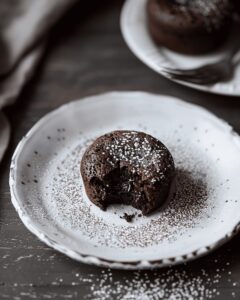
Molten Lava Cakes Recipe
- Total Time: 1 hour 25 minutes
- Yield: 3 1x
Description
Molten chocolate lava cakes from France deliver rich, intense chocolate pleasure with surprisingly simple ingredients. Chocolate lovers discover pure dessert magic when warm ganache flows dramatically across elegant ceramic plates.
Ingredients
- 135 gr (4.8 oz) dark chocolate (55 to 70% cocoa, according to your taste)
- 4 eggs
- 120 gr (4.2 oz) unsalted butter
- 140 gr (4.9 oz) sugar
- 45 gr (1.6 oz) flour
- 1 pinch salt (optional)
Instructions
- Chocolate Preparation: Melt chocolate and butter in a double boiler, stirring until smooth and glossy, avoiding any heat-induced scorching.
- Egg Mixture: Whip eggs and sugar together until the blend transforms into a pale, airy mixture with a luxurious, creamy consistency.
- Batter Fusion: Gently integrate the molten chocolate into the egg mixture, creating a harmonious, velvety batter with a glossy finish.
- Final Incorporation: Delicately fold flour and salt into the chocolate blend, maintaining the batter’s ethereal texture through minimal manipulation.
- Ramekin Filling: Distribute the chocolate mixture evenly into greased ramekins, ensuring uniformly smooth surfaces and precise portioning.
- Chilling Process: Refrigerate the prepared ramekins for one hour, allowing the batter to solidify and intensify its flavor complexity.
- Oven Preparation: Heat the oven to 200°C, establishing the ideal thermal environment for the lava cakes’ delicate structure.
- Baking Technique: Position ramekins centrally in the oven, baking for 9-10 minutes until edges set while preserving a molten, liquid center.
- Serving Presentation: Immediately extract from the oven and let rest briefly, then serve warm to showcase the cake’s decadent, flowing chocolate essence.
Notes
- Chocolate Quality Matters: Select high-quality dark chocolate with at least 60% cocoa content for a rich, intense flavor that elevates the entire dessert.
- Precise Timing is Critical: Baking duration is crucial; even 30 seconds can transform the cake from perfectly molten to completely set, so watch carefully during the final minutes.
- Ramekin Preparation Technique: Generously butter and lightly dust ramekins with cocoa powder instead of flour to prevent sticking and enhance the chocolate’s deep color.
- Temperature Control Secrets: Allow ingredients to reach room temperature before mixing to ensure smoother blending and more consistent texture in the final lava cake.
- Prep Time: 15 minutes
- Cook Time: 10 minutes
- Category: Desserts
- Method: Baking
- Cuisine: French
Nutrition
- Serving Size: 3
- Calories: 506
- Sugar: 46 g
- Sodium: 0 mg
- Fat: 33 g
- Saturated Fat: 20 g
- Unsaturated Fat: 13 g
- Trans Fat: 0 g
- Carbohydrates: 47 g
- Fiber: 1 g
- Protein: 8 g
- Cholesterol: 186 mg
Mia Reynolds
Food Writer & Home Cooking Specialist
Expertise
Easy Home Baking, Recipe Writing and Storytelling, Local and Seasonal Ingredients, Baking for Beginners
Education
New England Culinary Institute (NECI), Montpelier, Vermont
Community College of Vermont, Winooski, Vermont
Mia Reynolds fell in love with baking as a teenager experimenting in her family kitchen. Her passion took her to New England Culinary Institute, where she learned practical pastry techniques, and later to Community College of Vermont to deepen her understanding of food management.
Mia combines clear, simple baking instructions with heartwarming stories, making home baking approachable for everyone.