Chocolate Ice Cream Sandwiches Recipe with a Minty Twist
Minty chocolate ice cream sandwiches bring a delightful twist to classic summer treats, elevateing ordinary dessert moments into extraordinary experiences.
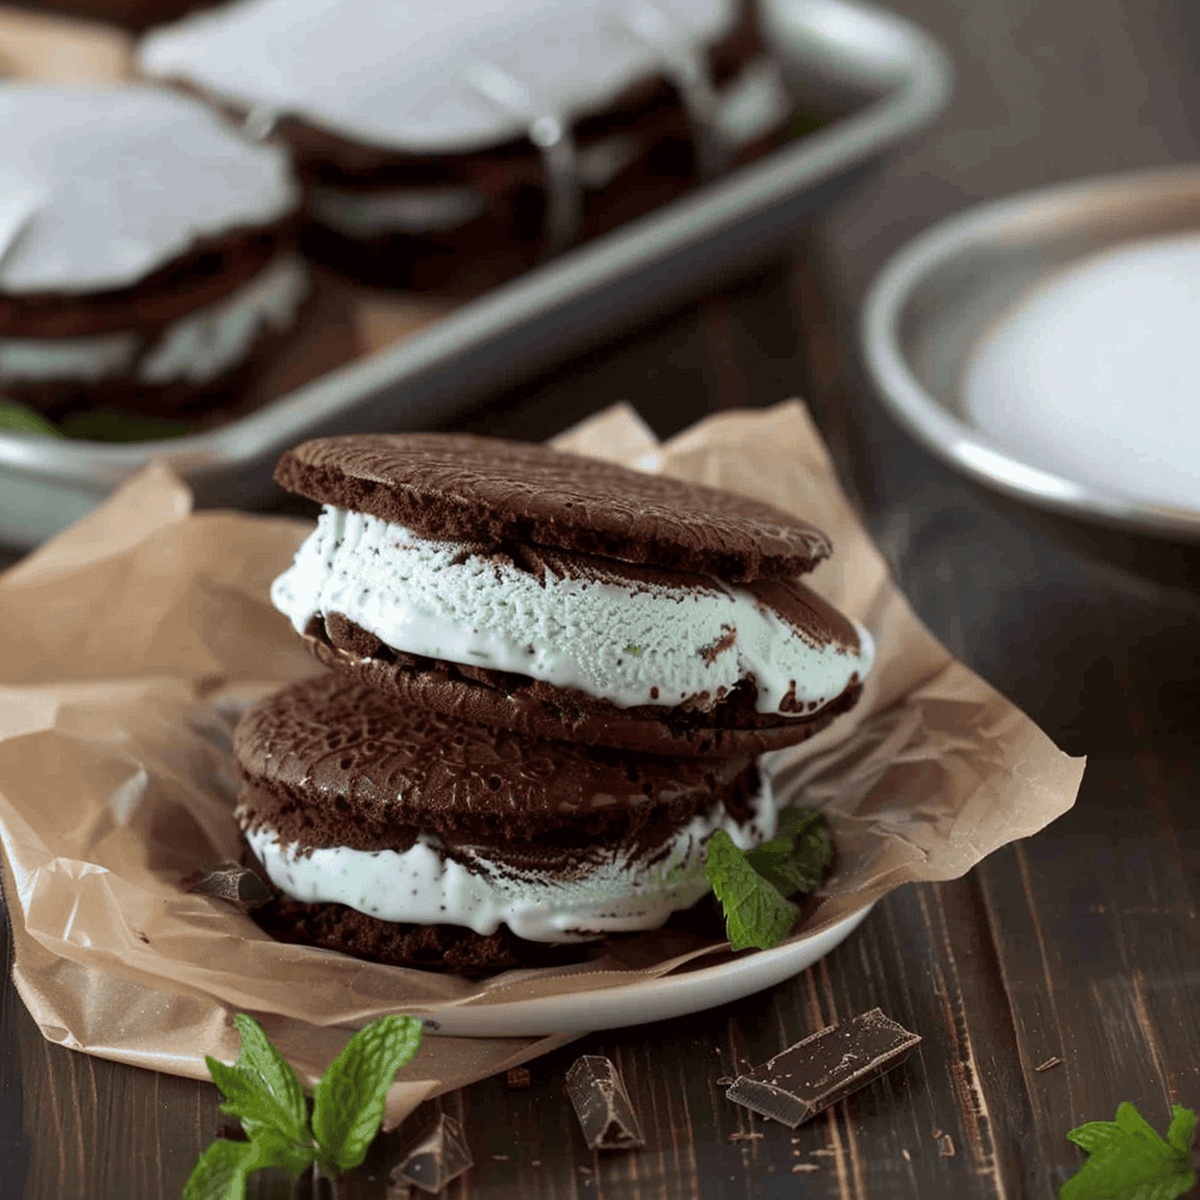
Cool mint and rich chocolate create a sensational flavor combination that dances across your palate with refreshing intensity.
These delectable sweets offer a perfect balance between creamy and crisp textures that surprise and delight.
Homemade versions elevate the standard store-bought snack, allowing you to craft something truly special in your own kitchen.
Each bite promises a harmonious blend of smooth chocolate and vibrant mint that feels both nostalgic and innovative.
Simple ingredients and straightforward techniques make this recipe accessible to bakers of all skill levels.
Crafting these sandwiches becomes an enjoyable culinary adventure that yields impressive results.
What’s Great About Minty Chocolate Sandwiches

Ingredients for Minty Chocolate Treats
Ice Cream Base:Chocolate Wafer Dry Ingredients:Cookie Wet Ingredients:Making Minty Ice Cream Sandwiches at Home

Step 1: Prepare Oven and Dry Ingredients
Preheat oven to 325°F. Grab a medium bowl and whisk together these ingredients:Step 2: Create Creamy Cookie Base
Using a stand mixer, cream butter and sugars until light and fluffy. Add eggs and extracts, mixing thoroughly until well combined.
Step 3: Form Cookie Dough
Gradually add dry ingredients to wet mixture, mixing until a sticky dough forms. Divide dough and roll between parchment paper sheets to 1/4-inch thickness.
Step 4: Chill Dough
Place rolled dough in freezer for 20 minutes to firm up.
Step 5: Cut and Bake Cookies
Use a 3-inch cookie cutter to shape cookies. Bake on parchment paper at 325°F for 7-8 minutes.
Step 6: Cool Cookies
Transfer cookies to a wire rack and let cool completely.
Step 7: Prepare Ice Cream Disks
Line a half-cup measure with plastic wrap. Pack with ice cream and freeze into disk shapes.
Step 8: Assemble Ice Cream Sandwiches
Place ice cream disk between two cooled chocolate cookies. Wrap each sandwich and store in freezer.
Tips for Nailing Minty Chocolate Sandwiches
Save Your Sandwiches for Later Like This
What to Serve with Minty Ice Cream Sandwiches
Remixing Your Minty Chocolate Sandwiches
Print
Minty Chocolate Ice Cream Sandwiches Recipe
- Total Time: 53 minutes
- Yield: 12 1x
Description
Cool mint meets rich chocolate in these irresistible ice cream sandwiches. Homemade cookies embrace creamy mint chocolate chip ice cream, creating a refreshing summer treat that delights with each indulgent bite.
Ingredients
Main Dry Ingredients:
- ⅓ cup white rice flour
- 2 tablespoons white rice flour
- ⅓ cup sweet rice flour
- ⅓ cup tapioca flour
- 2 tablespoons tapioca flour
- ½ cup gluten-free oat flour
- ½ cup Dutch-processed cocoa powder
- ½ teaspoon xanthan gum
- ¼ teaspoon baking powder
- ¼ teaspoon baking soda
- ½ teaspoon kosher salt
Sweeteners and Sugars:
- ¼ cup granulated sugar
- ½ cup light brown sugar
Wet Ingredients and Flavor Enhancers:
- 8 tablespoons unsalted butter
- 2 large eggs
- ½ teaspoon vanilla extract
- 1 teaspoon espresso powder
- ½ teaspoon peppermint extract
Sandwich Filling:
- 1.5 quarts (1.4 liters) mint chocolate chip ice cream
- 24 mint chocolate wafers
Instructions
- Prepare the oven by heating it to 325°F (165°C), ensuring a consistent temperature for baking the chocolate wafers.
- Combine all dry ingredients in a medium mixing bowl, whisking together all-purpose flour, gluten-free flour, xanthan gum, unsweetened cocoa powder, espresso powder, baking powder, baking soda, and salt until thoroughly integrated.
- Using a stand mixer, cream softened butter with granulated and brown sugars until light and fluffy, approximately 3-4 minutes.
- Incorporate eggs and vanilla and mint extracts into the butter mixture, blending until smooth and well-combined.
- Gradually add the dry ingredient mixture to the wet ingredients, mixing on low speed until a slightly sticky chocolate dough forms.
- Place the dough between two sheets of parchment paper and roll out to a uniform 1/4-inch (0.6 centimeters) thickness, then transfer to the freezer for 20 minutes to firm up.
- Remove chilled dough from freezer and use a 3-inch (7.6 centimeters) round cookie cutter to cut precise wafer shapes.
- Arrange wafers on a parchment-lined baking sheet, spacing them evenly, and bake for 7-8 minutes at 325°F (165°C) until edges are set.
- Transfer baked wafers to a wire cooling rack, allowing them to cool completely and crisp up.
- Line a half-cup (120 milliliters) measuring cup with plastic wrap, then fill with mint chocolate chip ice cream, pressing firmly to create compact disks.
- Freeze ice cream disks for at least 1 hour until solid and easily removable.
- Carefully place a frozen ice cream disk between two chocolate wafers, gently pressing to create a sandwich.
- Wrap each ice cream sandwich individually in plastic wrap and return to the freezer for storage and optimal texture.
Notes
- Precision matters when measuring ingredients to ensure the perfect balance of flavors and textures in these decadent ice cream sandwiches.
- Freezing the cookie dough before cutting helps maintain sharp edges and prevents spreading during baking, resulting in neat, professional-looking wafers.
- Pre-forming ice cream disks makes assembly quick and clean, allowing you to create uniform, elegant dessert treats with minimal mess.
- Use parchment paper for easy cookie removal and clean baking, preventing stuck-on cookies and simplifying the entire baking process.
- Chilling the assembled sandwiches helps the ice cream set firmly and allows the cookies to absorb moisture, creating a more cohesive and enjoyable dessert experience.
- Espresso powder enhances the chocolate flavor without adding a coffee taste, providing depth and richness to the mint chocolate wafers.
- Prep Time: 45 minutes
- Cook Time: 8 minutes
- Category: Desserts, Snacks
- Method: Baking
- Cuisine: American
Nutrition
- Serving Size: 12
- Calories: 295 kcal
- Sugar: 22 g
- Sodium: 125 mg
- Fat: 17 g
- Saturated Fat: 10 g
- Unsaturated Fat: 6 g
- Trans Fat: 0.5 g
- Carbohydrates: 34 g
- Fiber: 2 g
- Protein: 4 g
- Cholesterol: 65 mg
Lucas Bennett
Founder & Recipe Creator
Expertise
Simple Everyday Recipes, Sustainable Cooking Practices, Creative Meal Planning, Recipe Testing and Improvement
Education
Fox Valley Technical College, Appleton, Wisconsin
Lake Superior College, Duluth, Minnesota
Lucas Bennett’s cooking journey started in his parents’ kitchen, where he learned to prepare tasty, no-fuss meals from scratch. His culinary passion led him to Fox Valley Technical College, where he gained practical cooking skills.
He then expanded his focus on sustainability at Lake Superior College. Today, Lucas shares easy, approachable recipes designed to make cooking enjoyable and stress-free for everyone.