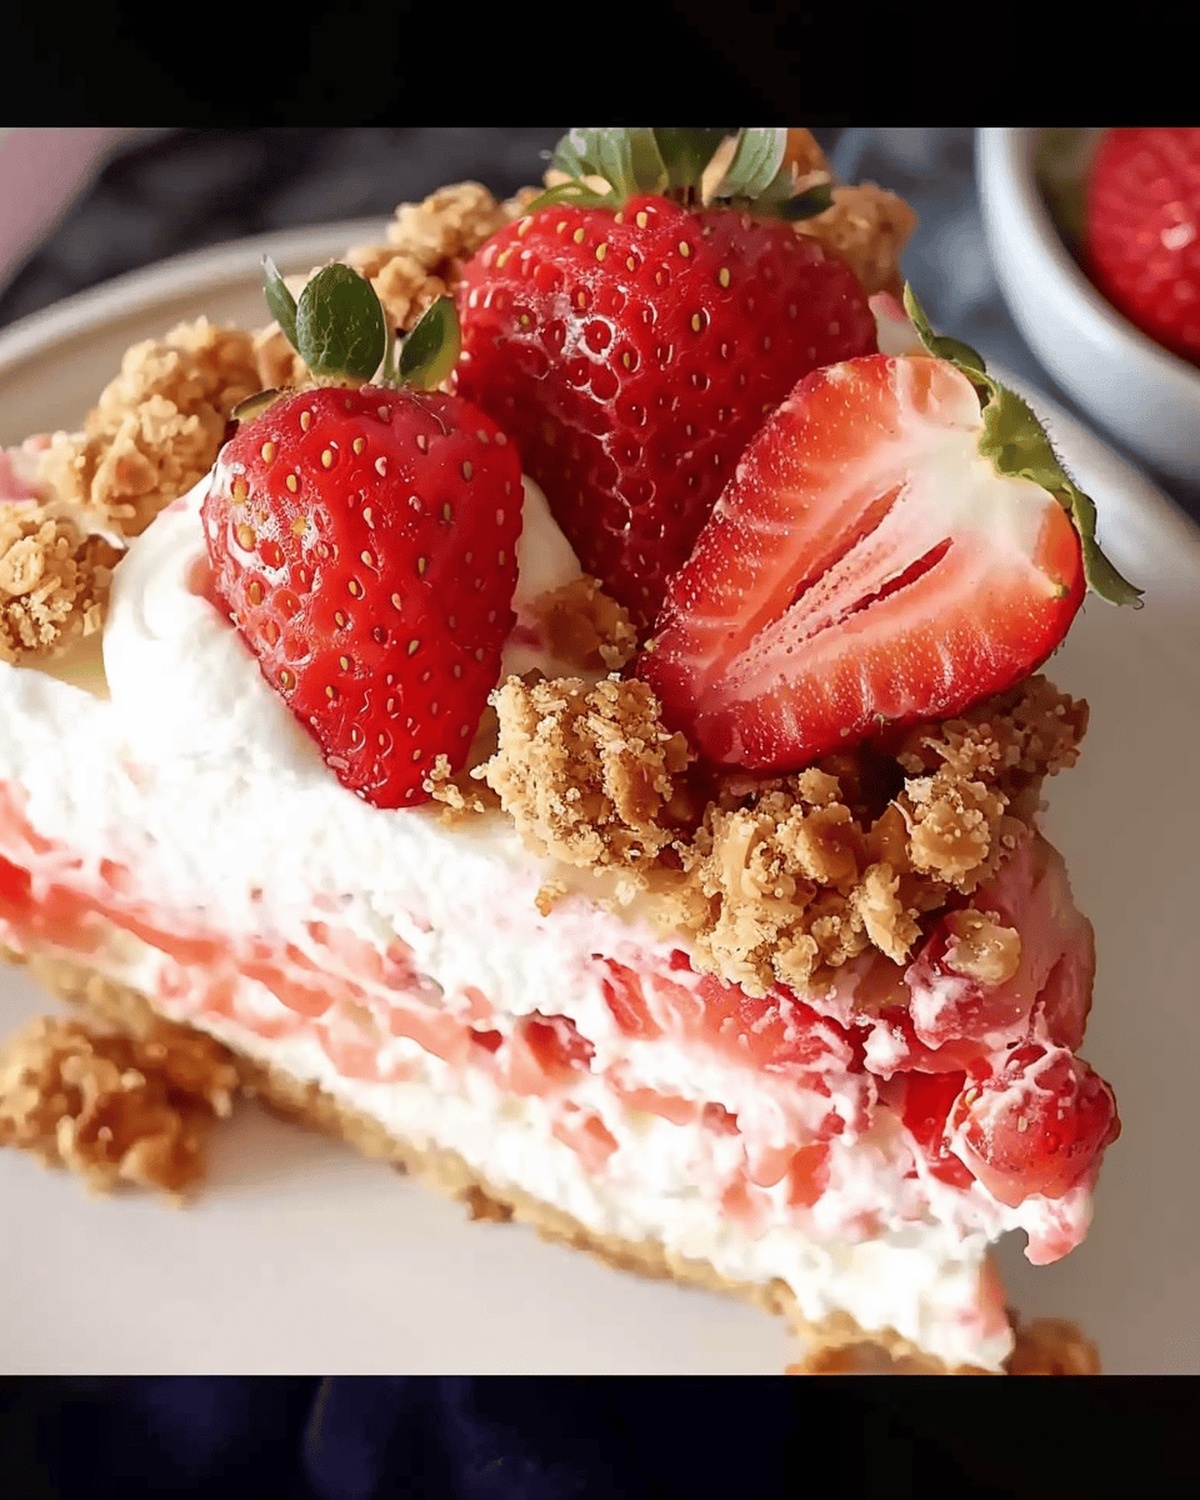
Dreamy Strawberry Crunch No Bake Cheesecake Recipe
Creamy, dreamy no-bake strawberry crunch cheesecake promises a dessert adventure that’ll make taste buds dance with delight.
Summer’s sweetest fruit meets velvety cream cheese in this decadent treat that requires zero oven time.
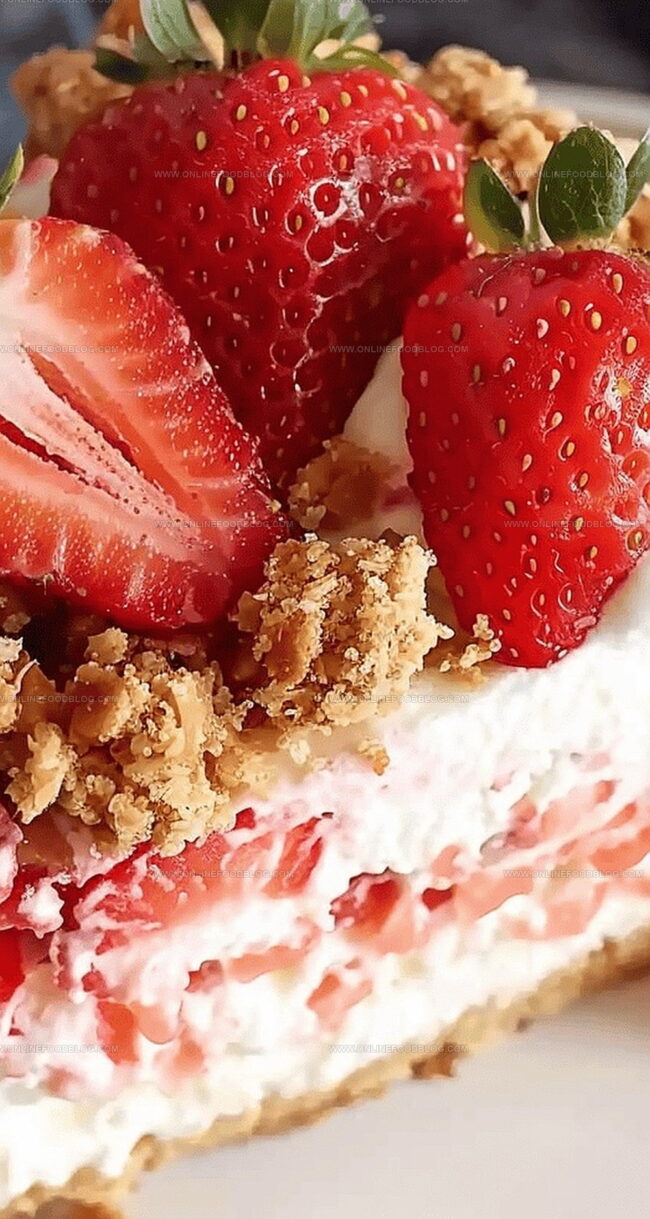
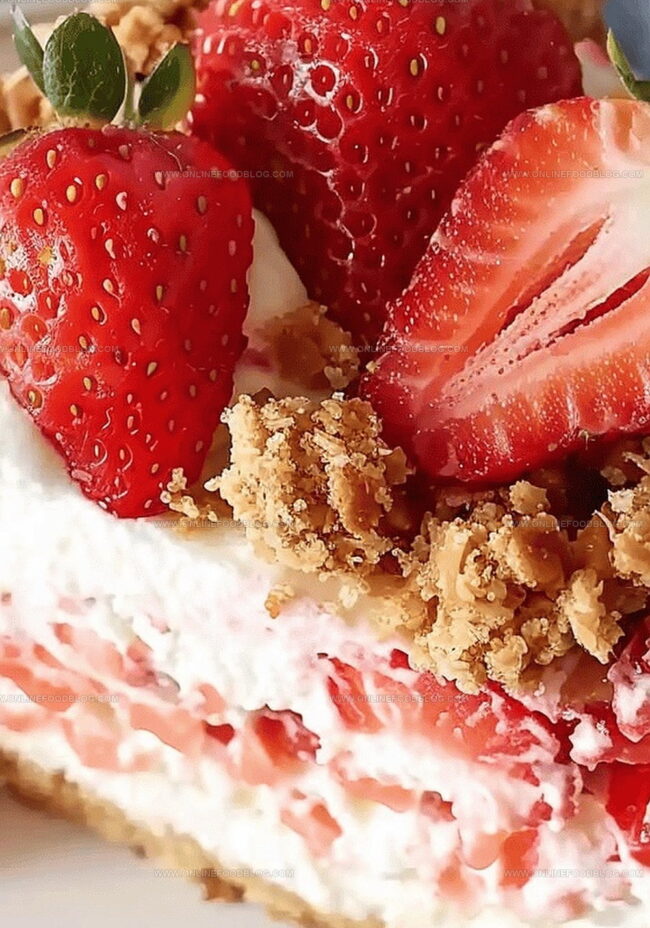
The strawberry crunch layer adds a magical twist to the classic cheesecake, creating irresistible texture and flavor.
Every forkful delivers a perfect balance of smooth filling and crispy topping, making this dessert a showstopper.
no complicated techniques or advanced baking skills needed – just simple ingredients and a few easy steps.
Cool, refreshing, and packed with strawberry goodness, this cheesecake turns an ordinary moment into something extraordinary.
Your dinner guests will be asking for seconds before the first slice is finished.
Quick Recipe Overview
Strawberry Crunch No Bake Cheesecake Ingredients
For Crust:For Cheesecake Filling:For Topping and Decoration:What Tools You’ll Need for This No-Bake Dessert
Equipment & Tools:Instructions for Making Strawberry Crunch Cheesecake
Crush Oreos and wafers into fine crumbs, mixing with melted butter. Press mixture firmly into a lined springform pan, creating an even base that slightly climbs the sides.
Whip cream cheese until silky smooth, gradually incorporating sugars. Fold in sour cream and vanilla for rich, velvety texture.
Whip heavy cream until it forms luxurious peaks. Gently fold into cream cheese mixture, creating a light, airy consistency.
Transfer cheesecake to refrigerator, allowing it to set and develop deep flavors. Let rest for minimum six hours or overnight.
Create golden Oreo crumble by combining crushed cookies with melted butter. Sprinkle crispy topping over chilled cheesecake. Decorate with fresh strawberries and delicate whipped cream swirls.
Remove from springform pan, slice into elegant portions, and serve chilled. Enjoy the perfect balance of creamy, crunchy, and fruity flavors.
Flavor Twists & Garnishing Tips for This Cheesecake
Ways to Serve Strawberry Crunch Cheesecake Neatly
Keeping Cheesecake Chilled & Ready to Enjoy
Print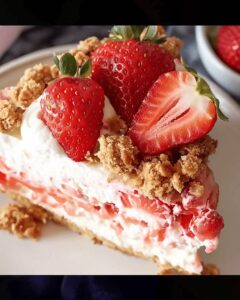
Luscious Strawberry Crunch No Bake Cheesecake
- Total Time: 6 hours 20 minutes
- Yield: 9 1x
Description
Paloma’s strawberry crunch no bake cheesecake celebrates summer’s sweet harvest with a creamy, luscious dessert. Crisp graham cracker layers and fresh strawberries create a delightful texture you’ll savor to the last delicious bite.
Ingredients
- 24 oz (680 g) cream cheese, softened
- 1.5 cups (360 ml) heavy whipping cream
- 1 cup (120 g) powdered sugar
- ¼ cup (50 g) granulated sugar
- ¼ cup (60 ml) sour cream
- 2 tsp vanilla extract
- Whipped cream
- Handful of strawberries
Instructions
- Craft Base: Pulverize Oreos, wafers, and butter into a fine, uniform crumb mixture, pressing firmly into a springform pan to create a solid, compact foundation.
- Prepare Filling: Whip cream cheese until silky, gradually blending sugars for a velvety smooth texture, then gently incorporate sour cream and vanilla extract.
- Aerate Mixture: Whip heavy cream to stiff, glossy peaks and fold delicately into the cream cheese blend, maintaining a light, ethereal consistency.
- Assemble Cheesecake: Transfer the luxurious filling over the prepared crust, smoothing with a spatula to eliminate any trapped air and ensure an even surface.
- Chill and Set: Refrigerate for a minimum of 6 hours, allowing the cheesecake to firm up and develop deep, rich flavors.
- Create Crunch Topping: Combine crushed golden Oreos with melted butter and gelatin to form a crisp, textured sprinkle.
- Garnish and Serve: Generously scatter the crunch topping across the chilled surface, then artfully arrange piped whipped cream and fresh strawberries for a stunning presentation, slicing and serving to delight guests.
Notes
- Chill Perfectly: Ensure the cheesecake sets for at least 6 hours to achieve optimal texture and flavor development.
- Prevent Crumbling: Press the cookie crust firmly and evenly to create a stable base that holds together when sliced.
- Maintain Airiness: Fold whipped cream gently into the cream cheese mixture to preserve the light, delicate texture.
- Topping Technique: Sprinkle the golden Oreo crunch generously just before serving to maintain its crisp, crunchy consistency.
- Prep Time: 20 minutes
- Cook Time: 0 minutes
- Category: Desserts
- Method: None
- Cuisine: American
Nutrition
- Serving Size: 9
- Calories: 380
- Sugar: 29 g
- Sodium: 180 mg
- Fat: 32 g
- Saturated Fat: 19 g
- Unsaturated Fat: 10 g
- Trans Fat: 0 g
- Carbohydrates: 29 g
- Fiber: 0 g
- Protein: 5 g
- Cholesterol: 90 mg
Mia Reynolds
Food Writer & Home Cooking Specialist
Expertise
Easy Home Baking, Recipe Writing and Storytelling, Local and Seasonal Ingredients, Baking for Beginners
Education
New England Culinary Institute (NECI), Montpelier, Vermont
Community College of Vermont, Winooski, Vermont
Mia Reynolds fell in love with baking as a teenager experimenting in her family kitchen. Her passion took her to New England Culinary Institute, where she learned practical pastry techniques, and later to Community College of Vermont to deepen her understanding of food management.
Mia combines clear, simple baking instructions with heartwarming stories, making home baking approachable for everyone.