Bite-sized Bliss: Mini Peanut Butter Cookie Cups Recipe
Dive into a world of irresistible sweetness with these mini peanut butter cookie cups that promise pure indulgence.
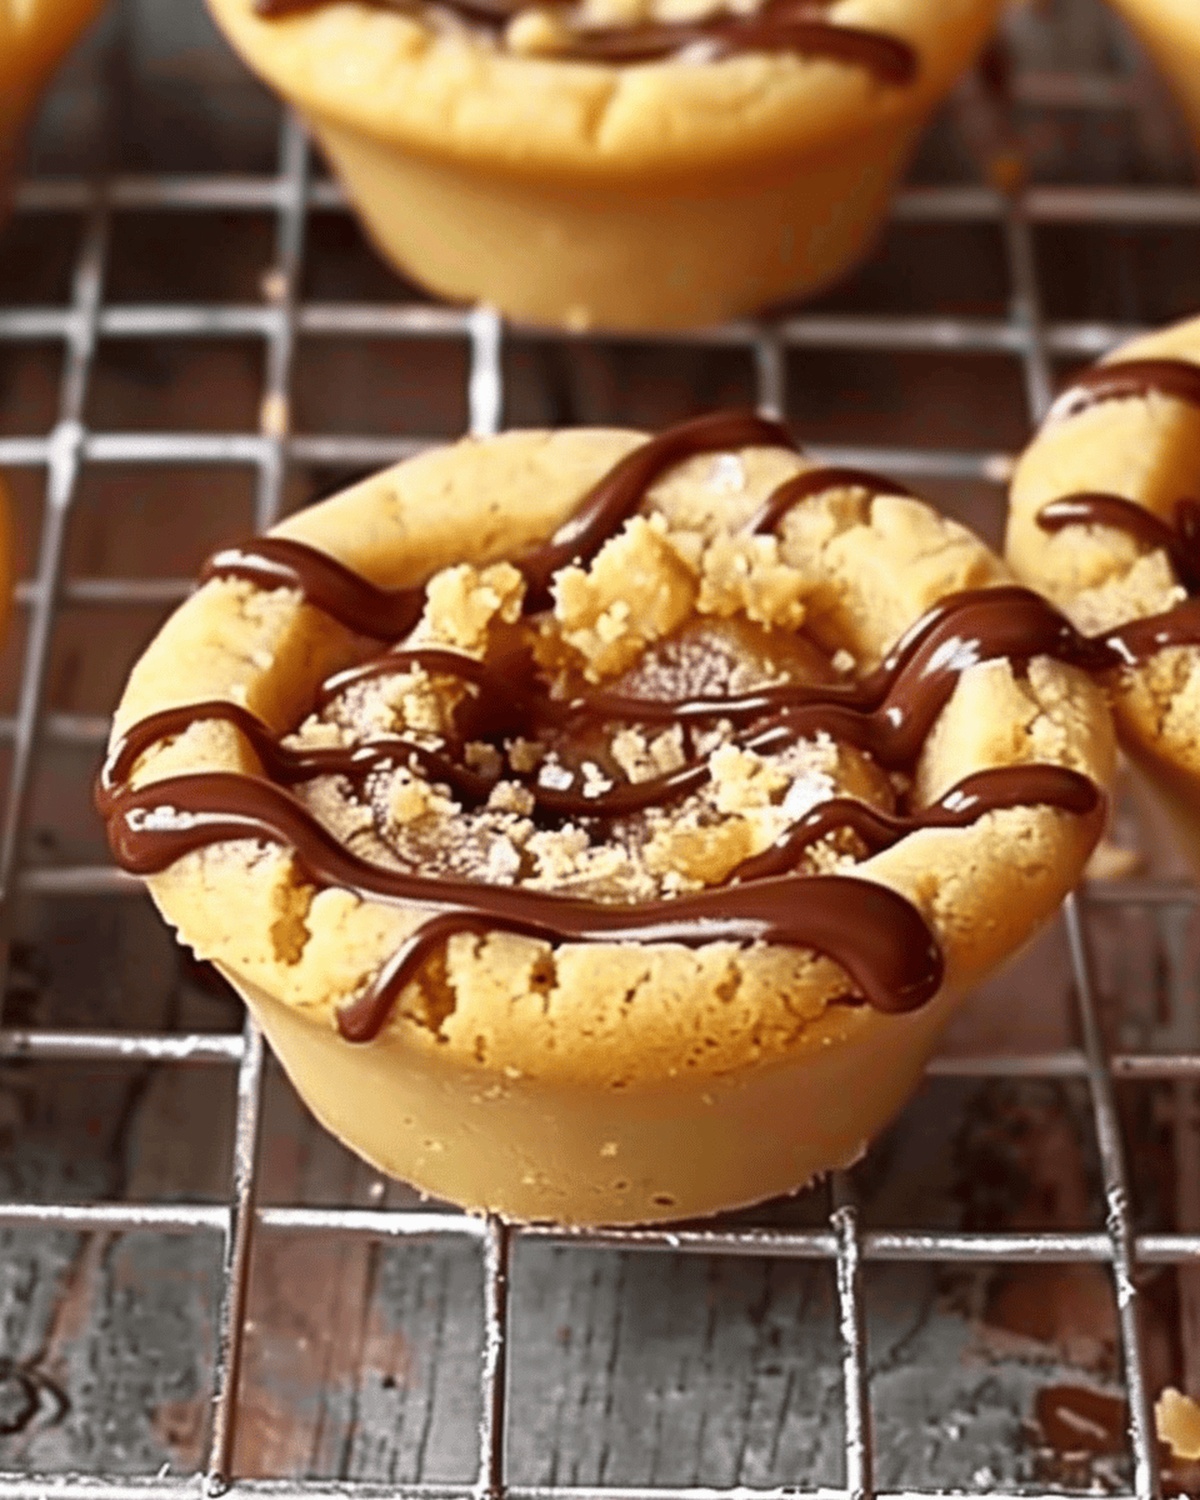
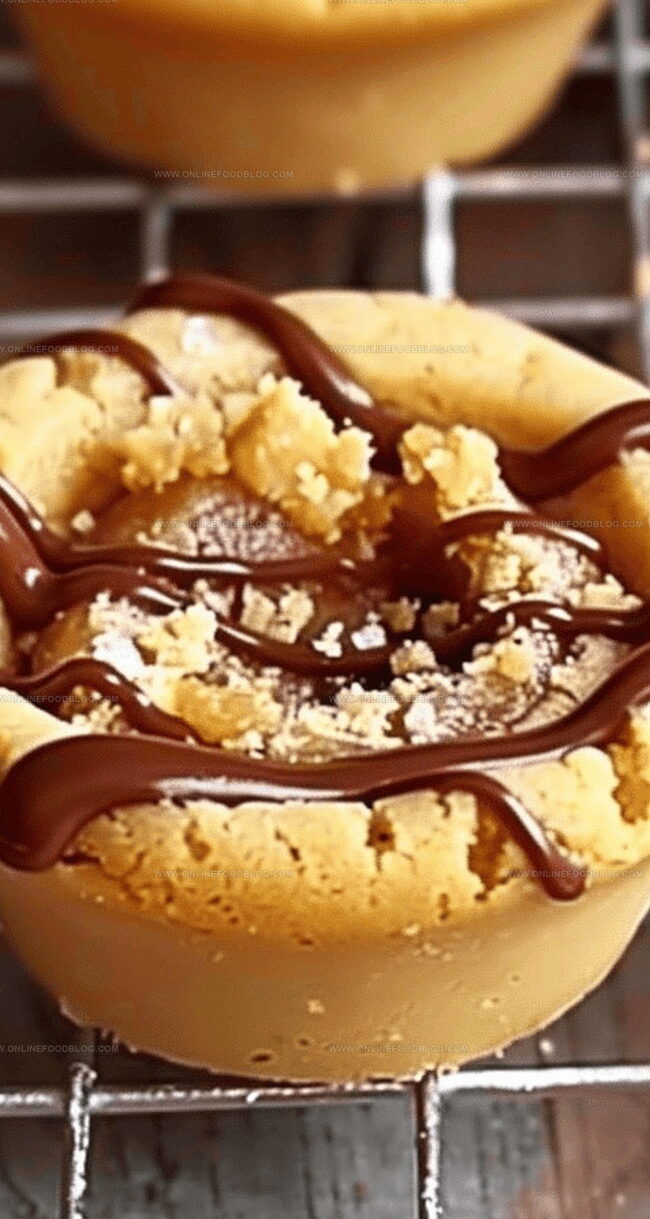
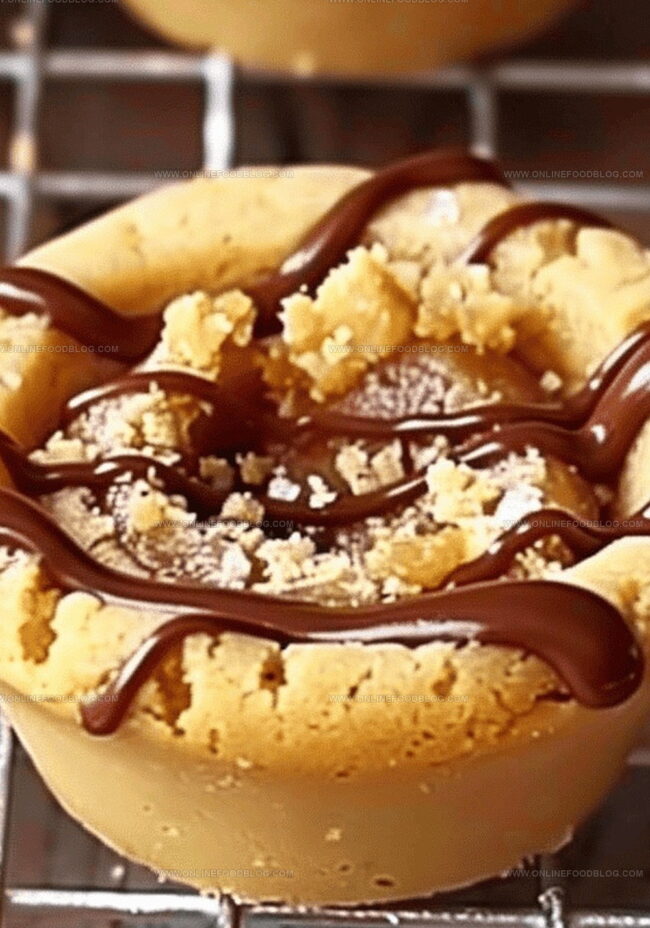
Soft, buttery cookies cradle a rich chocolate center, creating a delightful treat that melts in your mouth.
Each bite delivers a perfect balance of classic peanut butter flavor and smooth chocolate goodness.
The compact size makes these miniature desserts ideal for parties, potlucks, or a quick sweet escape.
Bite-sized and utterly addictive, these cookie cups transform ordinary moments into delectable memories.
The simple recipe guarantees success, even for novice bakers looking to impress.
Grab a plate and get ready to savor these delightful little morsels that will have everyone asking for seconds.
Quick Recipe Overview
Ingredients for Mini Peanut Butter Cookie Cups
For Cookie Base:For Wet Ingredients:For Topping and Filling:Equipment You’ll Use for Peanut Butter Cookie Cups
Step-by-Step: Making Mini Peanut Butter Cookie Cups
Warm up the oven and get your mini muffin pan ready for the delightful journey of creating peanut butter cookie cups.
Combine flour, baking soda, and salt in a bowl, creating a smooth powder mixture that will give structure to your cookies.
Cream together butter, sugars, and peanut butter until silky smooth. Add egg, milk, and vanilla extract, mixing until everything blends perfectly.
Gently fold dry ingredients into the wet mixture, creating a soft, luscious dough. Scoop small rounds and place them into the muffin pan.
Pop the pan into the freezer for a quick 10-minute chill to help the cookies hold their shape.
Bake the cookies until they’re golden and slightly puffy. Immediately press a peanut butter cup into the center of each warm cookie.
Prepare a quick ganache by melting chocolate with warm milk. Drizzle over cooled cookie cups for an extra touch of decadence.
Optional: Crush some peanut butter chips and sprinkle over the tops for a crunchy, delightful finish.
Tips & Flavor Upgrades for Cookie Cups
Serving Mini Peanut Butter Cookie Cups
Keep Mini Peanut Butter Cookie Cups Fresh
Print
Indulgent Mini Peanut Butter Cookie Cups
- Total Time: 28 minutes
- Yield: 22 1x
Description
Creamy peanut butter filling nestles inside these delectable mini peanut butter cookie cups, creating a perfect blend of sweet and salty flavors. Cookie lovers will savor each bite of this irresistible dessert that promises pure indulgence.
Ingredients
- ½ cup (128 grams) peanut butter
- ½ cup (100 grams) brown sugar
- ½ cup (100 grams) granulated sugar
- 8 tbsps (113 grams) unsalted butter, softened
- 1 ¾ cups (220 grams) flour
- 36 mini peanut butter cups, unwrapped
- 1 egg, room temperature
- 1/8 cup (30 milliliters) milk
- 2 tsp vanilla extract
- 1 tsp baking soda
- ½ tsp salt
- 4 oz (113 grams) semi-sweet chocolate bar, chopped
- ¼ cup (60 milliliters) milk, heated
- ⅓ cup (57 grams) peanut butter chips, crushed
Instructions
- Preparation: Thoroughly grease a mini muffin pan to ensure effortless cookie removal and prevent sticking.
- Dry Ingredients: Whisk flour, baking soda, and salt in a medium bowl until uniformly combined.
- Wet Mixture: Cream butter, sugars, and peanut butter until achieving a smooth, homogeneous texture.
- Liquid Integration: Blend egg, milk, and vanilla extract into the butter mixture until fully incorporated.
- Dough Formation: Gradually fold dry ingredients into wet ingredients, stirring until a cohesive cookie dough develops.
- Portioning: Scoop and roll 36 uniform dough balls, ensuring consistent size and shape.
- Chilling: Place dough balls in the prepared muffin pan, then freeze for 10 minutes to solidify.
- Baking: Preheat oven to 375°F and bake for 8 minutes until edges turn golden brown.
- Chocolate Cup Insertion: Immediately press an unwrapped peanut butter cup into the center of each warm cookie.
- Ganache Creation: Pour heated milk over chopped chocolate, stirring until achieving a silky, smooth consistency.
- Finishing Touches: Transfer ganache to a piping bag, drizzle over cooled cookie cups, and sprinkle with crushed peanut butter chips.
Notes
- Prevent Sticking: Thoroughly grease the mini muffin pan to ensure cookies release easily without breaking.
- Uniform Consistency: Cream butter, sugars, and peanut butter until smooth to create a perfect cookie texture.
- Chill for Success: Freeze dough balls for 10 minutes before baking to help maintain shape and prevent spreading.
- Ganache Tip: Pour heated milk over chocolate and stir gently to create a silky, smooth drizzle that enhances the cookie’s flavor.
- Prep Time: 20 minutes
- Cook Time: 8 minutes
- Category: Desserts, Snacks
- Method: Baking
- Cuisine: American
Nutrition
- Serving Size: 22
- Calories: 200
- Sugar: 10 g
- Sodium: 150 mg
- Fat: 10 g
- Saturated Fat: 4 g
- Unsaturated Fat: 6 g
- Trans Fat: 0 g
- Carbohydrates: 26 g
- Fiber: 1 g
- Protein: 3 g
- Cholesterol: 15 mg
Mia Reynolds
Food Writer & Home Cooking Specialist
Expertise
Easy Home Baking, Recipe Writing and Storytelling, Local and Seasonal Ingredients, Baking for Beginners
Education
New England Culinary Institute (NECI), Montpelier, Vermont
Community College of Vermont, Winooski, Vermont
Mia Reynolds fell in love with baking as a teenager experimenting in her family kitchen. Her passion took her to New England Culinary Institute, where she learned practical pastry techniques, and later to Community College of Vermont to deepen her understanding of food management.
Mia combines clear, simple baking instructions with heartwarming stories, making home baking approachable for everyone.