Quick & Cozy Homemade Bread Bowls Recipe Everyone Will Love
When homemade bread bowls emerge from your kitchen, magic happens in culinary spaces.
These delightful vessels change ordinary meals into extraordinary dining experiences with their rustic charm and warm embrace.
Crafting bread bowls requires simple ingredients and passionate technique that elevates everyday cooking.
Professional bakers and home cooks alike appreciate the changeative power of these edible containers.
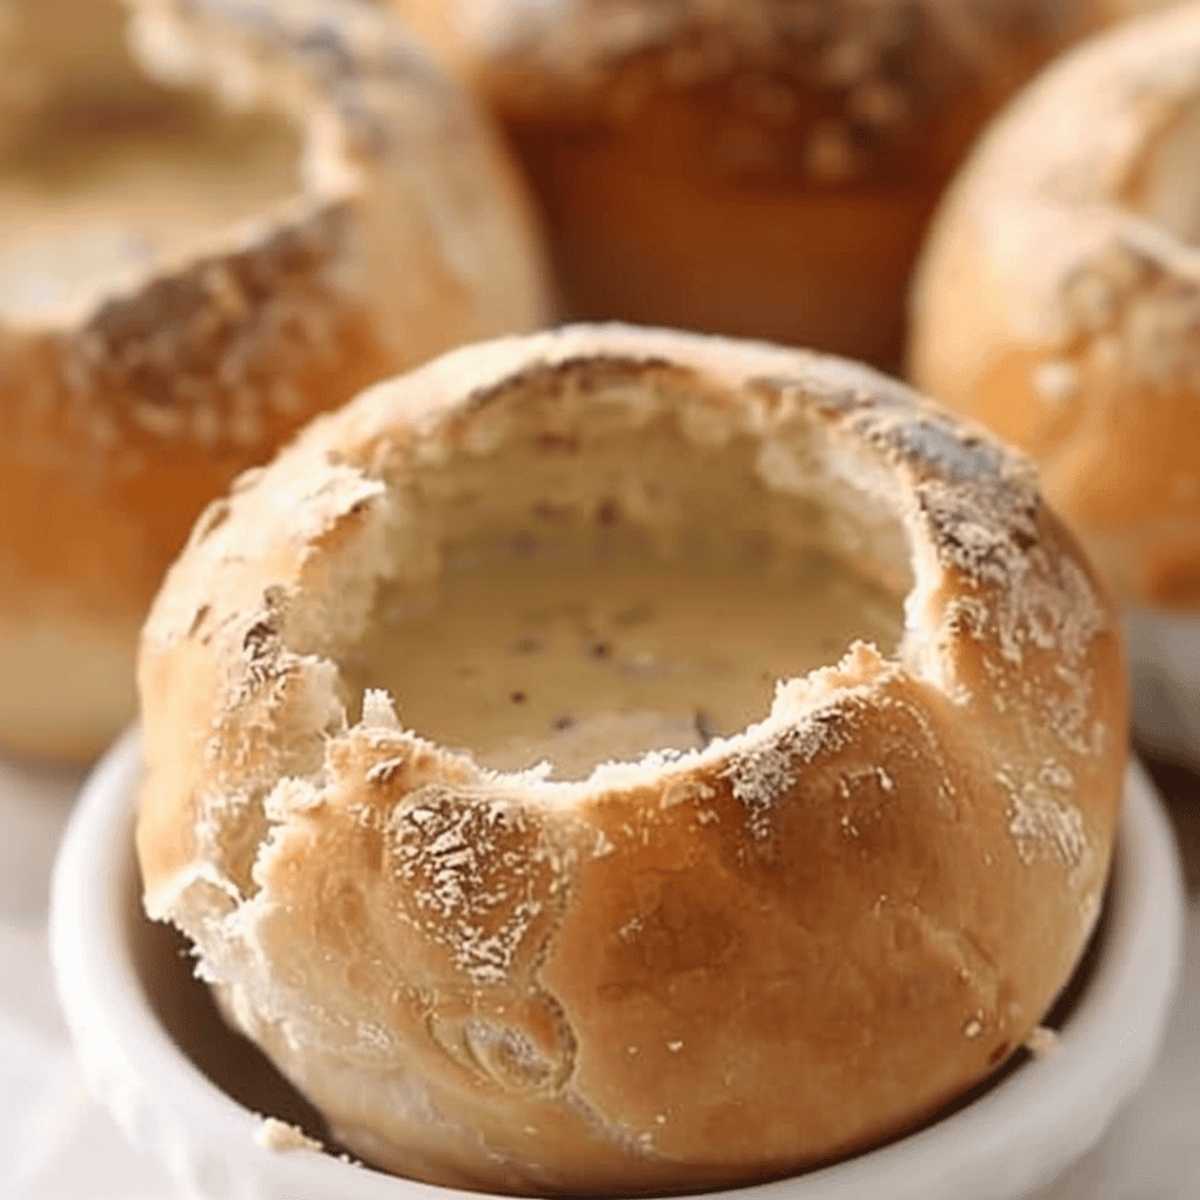
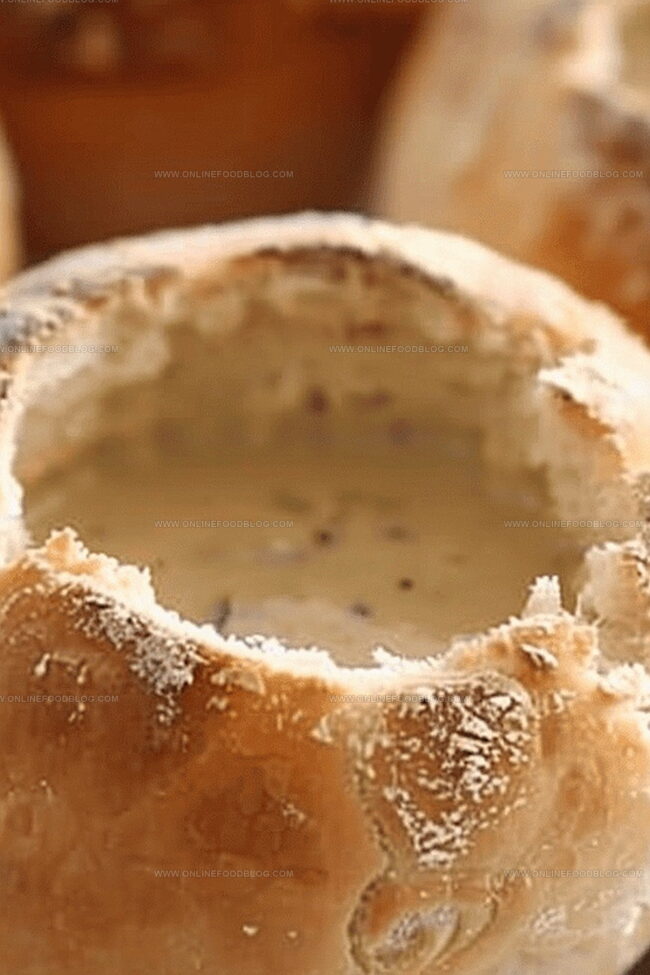
Their golden-brown exteriors conceal soft, pillowy interiors perfect for holding hearty soups, creamy chowders, and robust stews.
Fresh ingredients and careful kneading create bread bowls that speak to comfort and connection.
Warm souls gather around tables, eager to break apart and savor these delectable bread creations.
What Makes Homemade Bread Bowls a Favorite
Everything You Need for Bread Bowls
Dry Ingredients:Liquid and Activation Ingredients:Equipment and Preparation Ingredients:Steps to Create Homemade Bread Bowls

Step 1: Create Initial Dough Mixture
In a large mixing bowl or stand mixer, combine warm water, oil, sugar, salt, yeast, and of flour. Mix until ingredients are well incorporated.
Step 2: Develop Dough Consistency
Gradually add remaining flour at a time. Continue mixing until dough pulls away from bowl sides and becomes smooth with a slight tackiness.
Step 3: Knead and First Rise
Knead the dough until smooth and elastic. Transfer to a greased bowl, cover, and let rise in a warm spot for about 1 hour or until doubled in size.
Step 4: Shape Bread Bowls
Gently deflate the risen dough. Divide into 6 equal pieces. Roll each piece into a round ball and place on a greased or parchment-lined baking sheet.
Step 5: Prepare for Second Rise
Use a sharp knife to cut an X on top of each dough ball. Cover lightly with a kitchen towel and let rise for 30-45 minutes until doubled in size.
Step 6: Preheat and Bake
Heat oven to 400°F during the final 15 minutes of rising. Bake bread bowls for 15 minutes or until golden brown and fully cooked.
Step 7: Cool and Prepare for Serving
Transfer bread bowls to a cooling rack. Once completely cool, cut a circle from the top of each bowl. Scoop out the soft interior to create a hollow bowl.
Step 8: Serve and Enjoy
Ladle your favorite hot soup into the freshly made bread bowls. Serve immediately and savor the warm, comforting meal.
Bread Bowl Baking Tips and Tricks
Best Ways to Save and Warm Bread Bowls
Soups That Go with Bread Bowls
Unique Bread Bowl Variations
Print
Homemade Bread Bowls Recipe
- Total Time: 30 minutes
- Yield: 4 1x
Description
Hearty homemade bread bowls offer a rustic charm perfect for creamy soups and comforting stews. Crafted with simple ingredients and baked to golden perfection, these edible vessels promise a delightful dining experience you’ll savor down to the last crumb.
Ingredients
Main Ingredients:
- 4 cups bread flour (plus more as needed)
- 1½ cups water (warm)
- ¾ tablespoon rapid rise yeast
Enhancing Ingredients:
- 2 tablespoons sugar
- 2 tablespoons oil
- 1 teaspoon salt
Instructions
- Combine warm water (110°F/43°C), vegetable oil, sugar, salt, active dry yeast, and of all-purpose flour in a large mixing bowl or stand mixer, creating a smooth initial batter.
- Incrementally incorporate remaining flour, approximately at a time, until the dough separates cleanly from the bowl’s edges while maintaining a slightly tacky texture.
- Knead the dough thoroughly for 6-8 minutes, developing a smooth and elastic consistency that springs back when gently pressed.
- Transfer the dough to a lightly greased bowl, cover with a clean kitchen towel or plastic wrap, and allow to rise in a draft-free, warm environment until volume doubles, approximately 60-75 minutes.
- Deflate the risen dough by gently pressing down, then divide into six equal portions using a sharp knife or dough scraper.
- Shape each portion into a round, symmetrical ball by rotating and tucking the edges underneath, creating smooth, taut surfaces.
- Position the dough balls on a parchment-lined or greased baking sheet, spacing them about 2 inches (5 centimeters) apart.
- Using a sharp knife, carefully score a shallow x-shaped pattern across the top of each dough ball, which helps control expansion during baking.
- Cover the dough balls loosely with a kitchen towel and allow a second rise until they visibly increase in size, typically 30-45 minutes.
- Preheat the oven to 400°F (204°C) during the final 15 minutes of rising time, ensuring consistent temperature.
- Bake the bread bowls for 14-16 minutes, rotating the baking sheet midway to ensure uniform golden-brown coloration and complete internal cooking.
- Transfer the baked bread bowls to a wire cooling rack, allowing complete cooling to room temperature.
- When ready to serve, slice a circular lid from the top of each bread bowl, then carefully hollow out the interior, creating a sturdy edible vessel perfect for hearty soups or stews.
Notes
- Master the art of creating soft, golden bread bowls that hold soups and stews perfectly without falling apart.
- Ensure water temperature is lukewarm (around 110°F) to activate yeast without killing it, which is crucial for proper dough rising.
- Let dough rise in a draft-free, warm spot like near a preheated oven to help achieve maximum volume and tender texture.
- Cut an ‘X’ on top of dough balls before baking to allow steam to escape and create beautiful, professional-looking bread bowls.
- Cool bread bowls completely before cutting out the center to maintain structural integrity and prevent soggy bottoms.
- Store unused bread bowls in an airtight container for up to 2 days, or freeze for longer preservation without losing quality.
- Prep Time: 15 minutes
- Cook Time: 15 minutes
- Category: Lunch, Dinner, Appetizer
- Method: Baking
- Cuisine: American
Nutrition
- Serving Size: 4
- Calories: 342 kcal
- Sugar: 3.5 g
- Sodium: 290 mg
- Fat: 5.8 g
- Saturated Fat: 0.8 g
- Unsaturated Fat: 4.2 g
- Trans Fat: 0 g
- Carbohydrates: 62 g
- Fiber: 2.1 g
- Protein: 10.5 g
- Cholesterol: 0 mg
Lucas Bennett
Founder & Recipe Creator
Expertise
Simple Everyday Recipes, Sustainable Cooking Practices, Creative Meal Planning, Recipe Testing and Improvement
Education
Fox Valley Technical College, Appleton, Wisconsin
Lake Superior College, Duluth, Minnesota
Lucas Bennett’s cooking journey started in his parents’ kitchen, where he learned to prepare tasty, no-fuss meals from scratch. His culinary passion led him to Fox Valley Technical College, where he gained practical cooking skills.
He then expanded his focus on sustainability at Lake Superior College. Today, Lucas shares easy, approachable recipes designed to make cooking enjoyable and stress-free for everyone.