Fluffy Gluten-Free Delight Donuts Recipe: Fry Up Joy in Minutes
Soft, pillowy donuts that dance with gluten-free magic invite you to indulge in a delectable treat that defies dietary restrictions.
Sweet memories of classic pastry shops blend seamlessly with this modern recipe adaptation.
Each bite promises a nostalgic experience without compromising taste or texture.
The light, airy dough emerges golden and crisp, surprising even seasoned bakers with its incredible quality.
Ingredients carefully selected ensure every donut delivers maximum flavor and satisfying richness.
Simple techniques make these gluten-free delights accessible to home cooks of all skill levels.
Grab your mixing bowl and whisk – a world of delicious possibilities awaits your culinary adventure.
Quick Recipe Overview
Ingredients in Gluten-Free Delight Donuts
For Dry Base:For Liquid Mixture:For Finishing:Tools to Fry or Bake Gluten-Free Donuts
Instructions for Gluten-Free Delight Donuts
Crank up the oven to a cozy 350ºF and grab your trusty donut pan. Give it a generous spray of non-stick magic, making sure every nook and cranny is covered.
Gather your gluten-free flour, a pinch of nutmeg, sweetening sugar, magic rising powder, and a whisper of salt. Toss them together in a bowl and set aside.
In a roomy mixing bowl, whirl together milk, eggs, vanilla essence, and smooth vegetable oil until they become best friends.
Gently fold the dry ingredients into the wet mixture. Treat the batter like a delicate dance partner – mix just enough to bring everything together.
Slip the batter into a ziplock bag, snip a corner, and pipe those golden rings into the pan. Slip into the oven for 10-11 minutes until they’re perfectly golden and a toothpick comes out clean.
Let the donuts rest in the pan for a short spell, then carefully flip them out to cool completely.
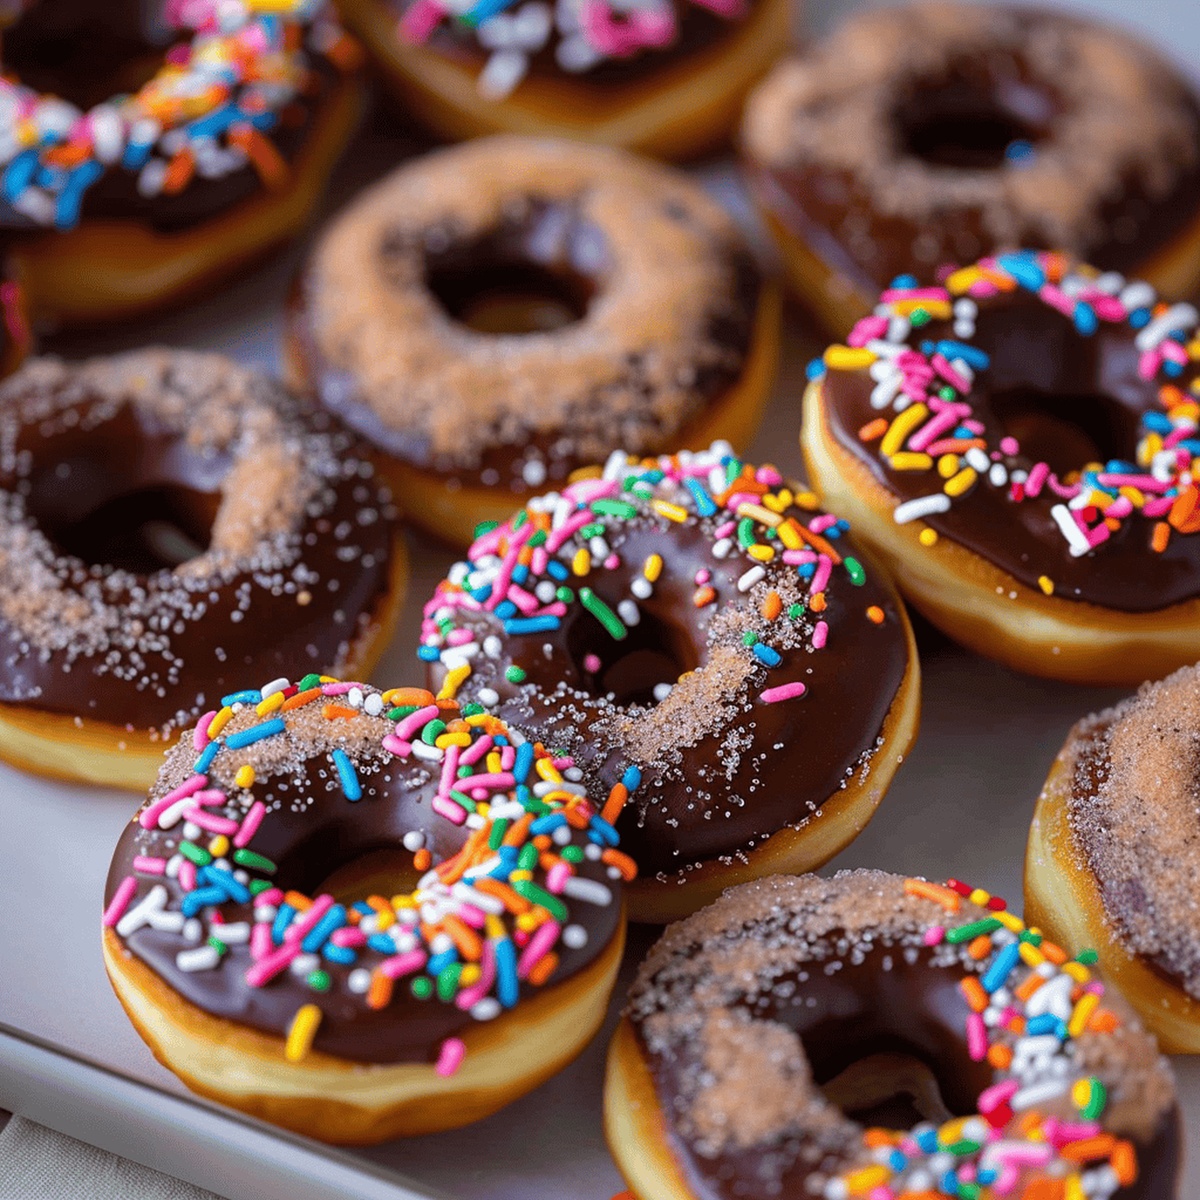
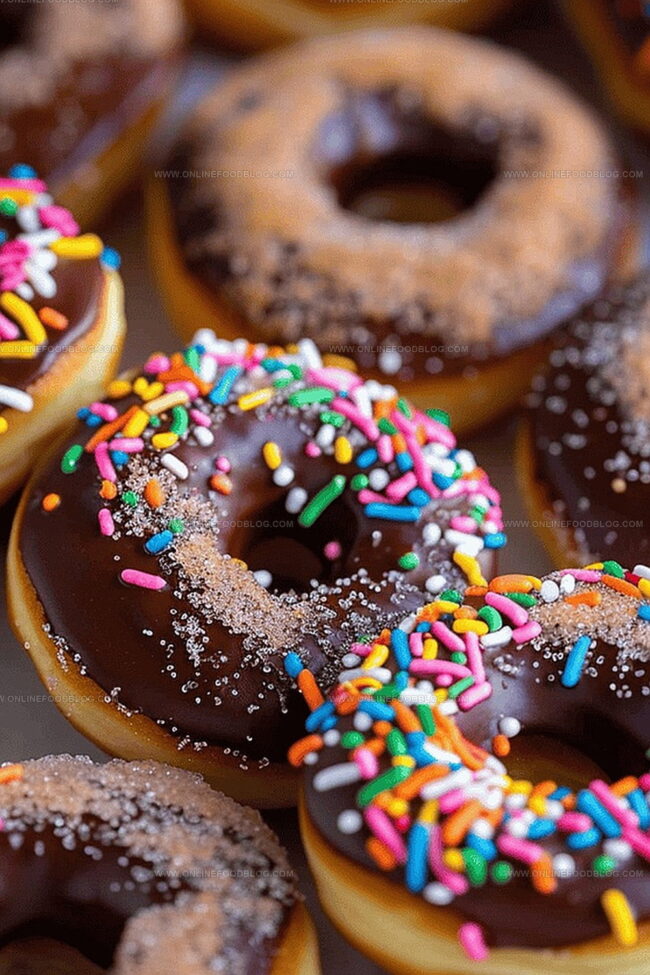
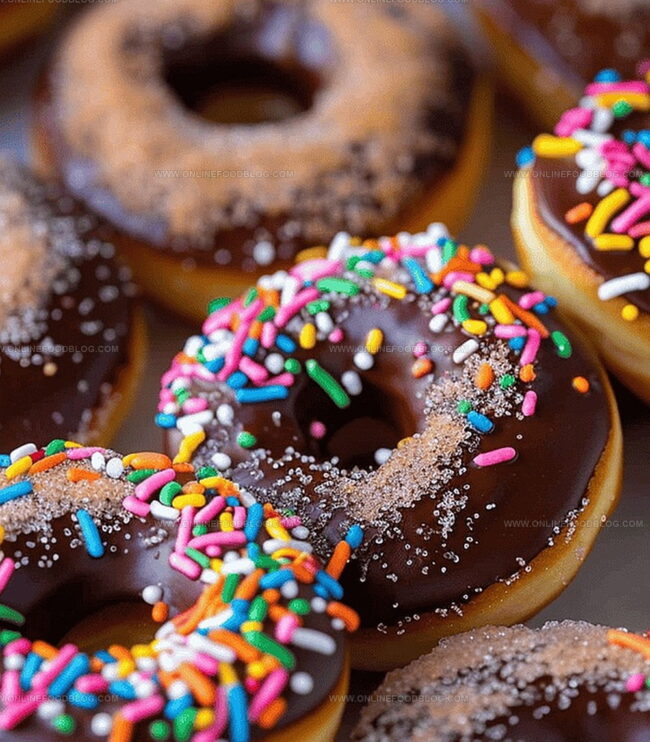
Dress up your donuts with your favorite glaze or topping. For that classic shine, try a double-dip technique with a brief pause between coatings.
Tips for Perfect Gluten-Free Donuts
Serving Gluten-Free Delight Donuts Warm
Storage Tips for Gluten-Free Donuts
Print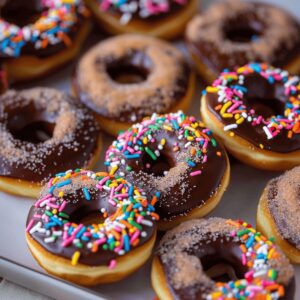
Heavenly Gluten-Free Donuts
- Total Time: 26 minutes
- Yield: 13 1x
Description
Homemade gluten-free delight donuts combine classic bakery charm with smart ingredient swaps for celiac-friendly indulgence. Crisp exterior and tender center make these treats perfect for weekend brunch or sweet afternoon snacking.
Ingredients
- 2 cups (480 ml/16 fl oz) gluten-free all-purpose flour (King Arthur’s Measure for Measure)
- 2 large eggs
- ½ cup (120 ml/4 fl oz) whole milk
- ¼ cup + 2 tbsps (90 ml/3 fl oz) vegetable oil
- 2 tsps baking powder
- 1 tsp salt
- ½ tsp ground nutmeg
- ½ cup (100 g/3.5 oz) granulated sugar
- 1 tsp vanilla extract
- ½ cup (85 g/3 oz) semi-sweet chocolate chips
- 2 tbsps unsalted butter
- 2 tsps light corn syrup
- 1 ½ cups (180 g/6.3 oz) powdered sugar
- 1 cup (120 g/4.2 oz) powdered sugar
- ⅔ cup (133 g/4.7 oz) granulated sugar
- 2 tsps cinnamon
- 1–2 tbsps whole milk
- 1 tsp vanilla extract
- Rainbow sprinkles (Great Value brand)
Instructions
- Preheat and Prepare: Heat oven to 350°F (175°C). Generously spray donut pan with non-stick cooking spray, ensuring even coverage with a paper towel.
- Combine Dry Ingredients: Whisk gluten-free flour, ground nutmeg, granulated sugar, baking powder, and salt in a medium bowl until thoroughly blended.
- Mix Wet Components: In a large mixing bowl, thoroughly combine milk, eggs, vanilla extract, and vegetable oil until smooth and homogeneous.
- Create Batter: Fold dry ingredients into wet mixture gently, mixing until just incorporated. Take care not to overmix to preserve delicate texture.
- Fill Donut Pan: Transfer batter to a piping bag or use a cookie scoop. Distribute batter evenly into donut pan wells, filling approximately two-thirds full to allow proper rising.
- Bake to Perfection: Place pan in preheated oven and bake for 10-11 minutes. Verify doneness by inserting a wooden skewer – it should emerge completely clean.
- Cool and Release: Allow donuts to rest in pan for 10-12 minutes. Carefully invert onto a wire cooling rack, gently tapping to release.
- Finish and Decorate: Apply preferred topping or glaze. For an authentic finish, perform a double-dip method with a 15-minute interval between glazing applications.
Notes
- Protect Pan Surface: Spray thoroughly with non-stick cooking spray, using a paper towel for even distribution to prevent donuts from sticking.
- Prevent Tough Texture: Mix wet and dry ingredients gently, avoiding overmixing to maintain a light, tender crumb in your gluten-free donuts.
- Master Filling Technique: Use a piping bag or cookie scoop to fill donut wells precisely two-thirds full, ensuring consistent size and perfect rising.
- Cooling is Crucial: Allow donuts to rest in the pan for 10-12 minutes after baking, helping them set and release easily without breaking.
- Prep Time: 15 minutes
- Cook Time: 11 minutes
- Category: Breakfast, Snacks, Desserts
- Method: Baking
- Cuisine: American
Nutrition
- Serving Size: 13
- Calories: 220
- Sugar: 18 g
- Sodium: 210 mg
- Fat: 10 g
- Saturated Fat: 3 g
- Unsaturated Fat: 7 g
- Trans Fat: 0 g
- Carbohydrates: 30 g
- Fiber: 1 g
- Protein: 3 g
- Cholesterol: 45 mg
Mia Reynolds
Food Writer & Home Cooking Specialist
Expertise
Easy Home Baking, Recipe Writing and Storytelling, Local and Seasonal Ingredients, Baking for Beginners
Education
New England Culinary Institute (NECI), Montpelier, Vermont
Community College of Vermont, Winooski, Vermont
Mia Reynolds fell in love with baking as a teenager experimenting in her family kitchen. Her passion took her to New England Culinary Institute, where she learned practical pastry techniques, and later to Community College of Vermont to deepen her understanding of food management.
Mia combines clear, simple baking instructions with heartwarming stories, making home baking approachable for everyone.